Monday, October 30, 2006

Periscope Lift


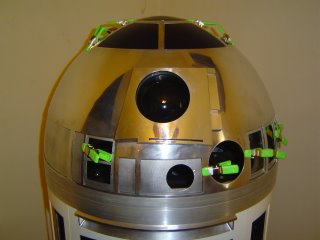
I know this thing looks huge, But it not and it will get reduced where the bulk is not needed.
I plan to have this activate by a Light Sensor in the dome.
It will raise the Periscope then pan left/right then lower the Periscope.
I'm getting alot of help from a fellow Vex user and it's very nice of him to do this for me.
Well, Here's the Pics!

Wednesday, October 25, 2006

Octagon Port


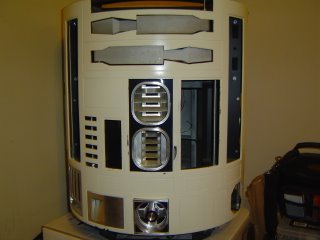
I installed the 1st Octo. today and will J.B. Weld the countersunk screws when I get the door hinges mounted.
Once I do this, You'll never know there was screws showing on the outside.

A&A & Utility Arms


As I said, Things will change here alot. I'm learning as I go and will make many mistakes.
But I try to improve on everything I work on.
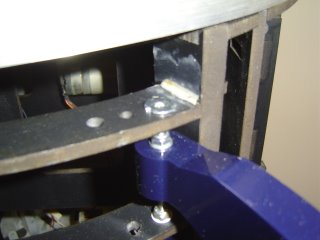
The Arm mounting point, I found alittle area for improvement.

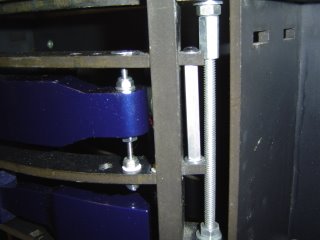
This pic shows the end of the arm carriage and I used a shim to lock the carriage. I don't know if this is what Andy intended this for, But it sure adds strength to the carriage.

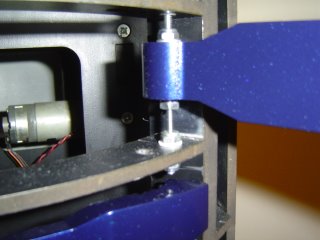
The next pic shows the threaded shaft I used to pivot the Arms.
The Aluminum Arms come predrilled, But the hole was to big for me.
So I used a Nylon sleeve inside the Arm and reduced the size of the hole to fit the threaded rod.
I used 2 teflon washers on top/bottom of the Arm, The I bolted them with 2 lock nuts.
This gives me an adjustment point for the Arms to be set to the skin.

The next pic shows the T-nut I used to align the threaded rod to the carriage.
Now the T-nut does'nt lock the Arm so it won't move and thats what I intended it to do.
I greased the T-nut and threaded the rod into it and at the bottom of the carriage I used teflon washers and lock nuts. Between the lock nuts, Theres another nylon sleeve inside the frame.
This allows the threaded rod to pivot.
This is what the whole system looks like.
The system allows the threaded rod with the Arms locked to the rod to pivot the whole system together. I've took my skins off the frame several times and pivoted the Arms over/over and the position has stayed true everytime. So I'm convinced the system will hold up to wear and tear.
I'm currently working on the Vex system to move the Arms and other items.

Thursday, October 19, 2006

Pics Finally


Ok, I could'nt wait till the weekend to post some new work on R2.
So here's the Utility Arms, I got them painted and installed.

Wednesday, October 18, 2006

Utility Arms

Well since my Comp. died, I'm on my wifes laptop and will only post pics on the weekends.
But today I got my Utility Arms painted and installed into the A&A frame.
I have the Aluminum arms and I ran into a problem when installing them.
The arms are to spec., But the Aluminum skins I have are not allowing the arms to open.
So what I did was to enlarge a certain area of the skin as the R2 Builders requested.
Also after doing this, I had to cut the arms in the area where the back of the hand area comes
into contact with the skin.
From the outside you can't see where I cut the arm and when the arm is open,
It looks like R2 has thumbs.
I'll post pics this weekend and you'll see where the cut was done.

Wednesday, October 11, 2006

Dome Panels Again


I got the panels painted again, And right now they're alittle dusty.
I'm afraid to wipe them done right now.
But here's what they look like and 1 day I'll get them mounted.
I've also got to get my center button painted

Saturday, October 07, 2006

Radar Eye/Data Port Mounting


Ok, I studied some pics from Astromech and found many different positions for the Eye.
I'm not sure which is correct. 1 is high - 1 is low - 1 is crooked etc.
So I mounted the eye kinda neutral.
The Data Port fit perfect in the A&A Frame.
Anyway, Please leave a comment about the Eye position, Good/Bad?

Thursday, October 05, 2006

Slow Progress


I got some painting done today, But I have a couple of bad spots to touchup.
The pic does'nt show the paint very well, But its slick and shiney.
Also the Power Coupler, I just set it in the spot and I'll have to get it mounted soon.
Hopefully I'll get the arms painted and finished soon.
The white will get its final paint and from there on, I'll have to be careful not to mess it up
this time.

Monday, October 02, 2006

Power Coupler Painting


I got them painted and I need to do some touchup.
The Liquid Mask does a pretty good job, But it did try to
lift some of the paint.
Using an Xacto knife, I was able to get the mask out without to
much damage.
Here's 2 pics of how it turned out.

Sunday, October 01, 2006

Front Logics


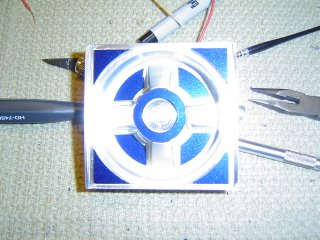
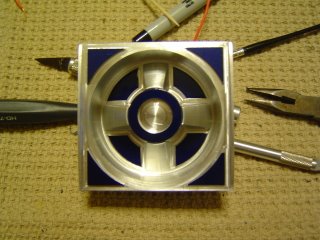
This is not what I wanted to do, But it will have to do for now.
I wanted to get my local shop to machine the surrounds and they're booked
till the first of the year.
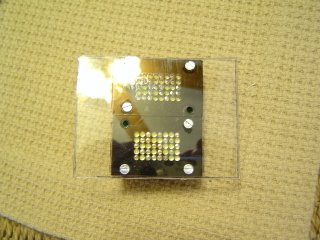
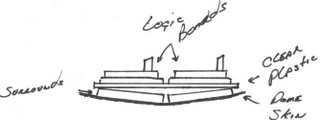
So, What I did was to use a plastic flat and mount the logics to the flat.
This allows the Aluminum surrounds to mount normal in the dome
and keeps the logics flat across the angled surrounds.
I made it wider than the logics and will drill an oversize hole on each side to
mount it to the dome. The large hole will allow me to adjust the logics, So
they look correct from the outside.

Masking for Paint


Ok, I got this idea from Victor about liqiud masking.
I could'nt find the Latex stuff he used, But I found this stuff.
I'll know tommorrow if it works as good as Victors.
If you can see it in the pic, It's that goo down in the Power Ports.