Friday, March 16, 2007

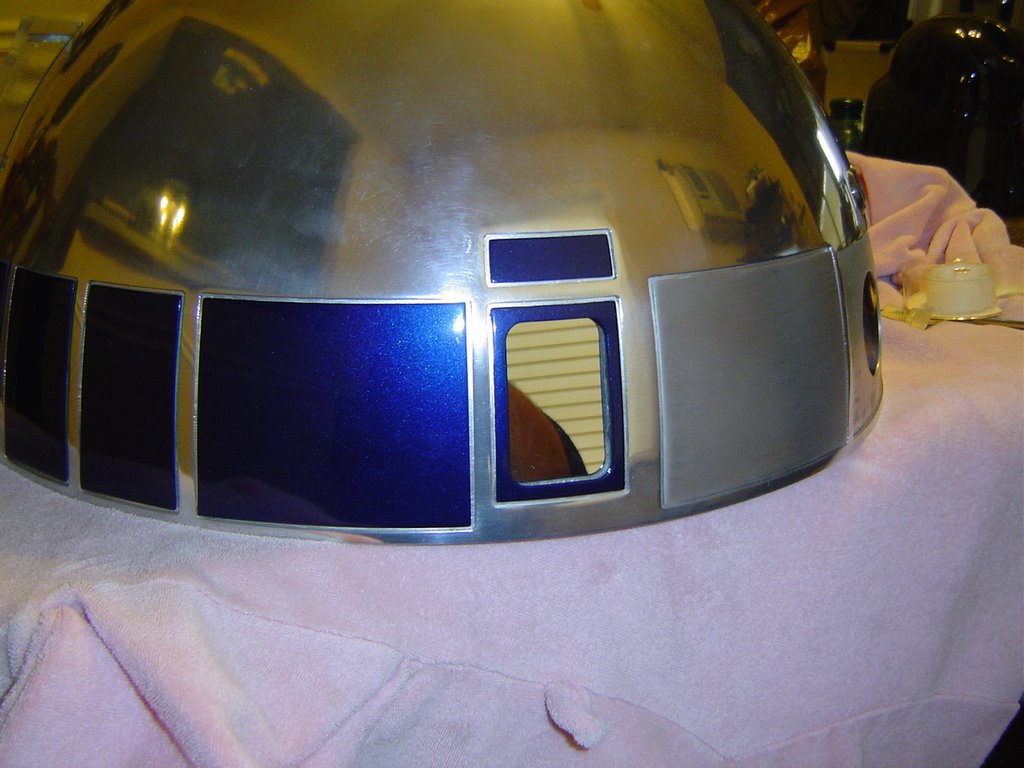
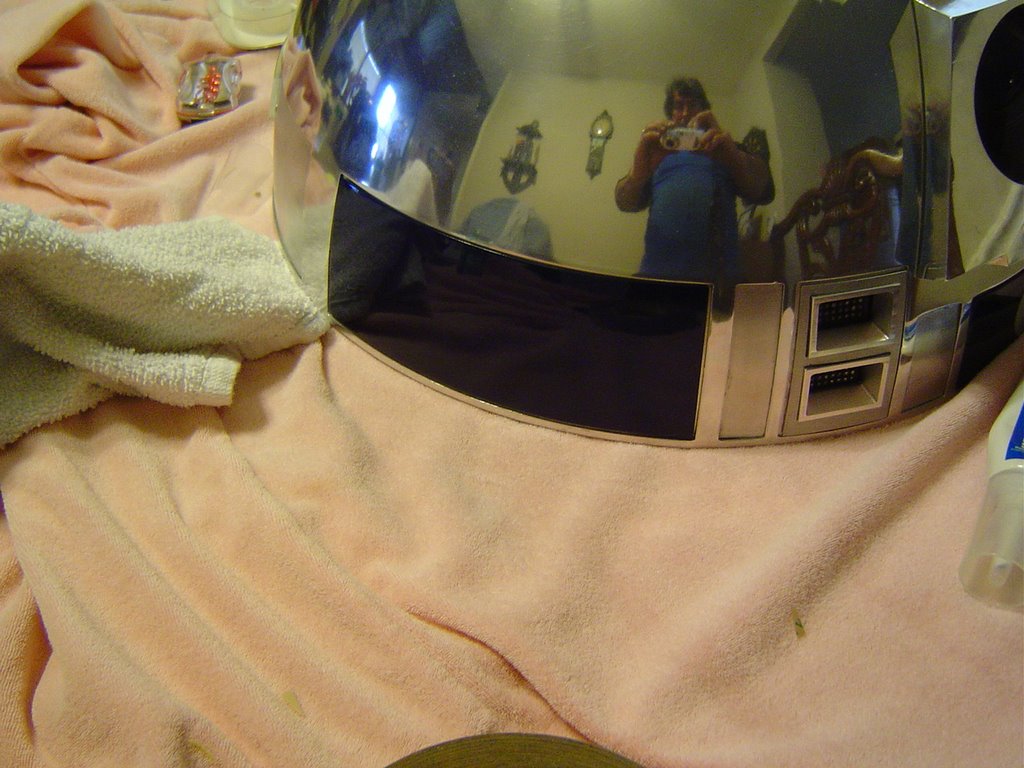
Starting to Look like R2


Here's my most resent Pic.


Still got to paint the eye and other things.

Thursday, March 15, 2007

Rear Logics Working

I was'nt sure if I could get this thing to work, But it turned out nice.
The Led board is 1 of Leon's and the Pic board is from Carl's Electronics.
Both boards had to be assymbled and my soldering is not that great,
But I made it through the process.
Here's a short Video of how it works.
http://s71.photobucket.com/albums/i124/ctx3201/?action=view&current=MOV01739.flv

Sunday, March 11, 2007

Rear Logic Panel & PSI


The PSI area turned out pretty nice once I got the Frame area it.
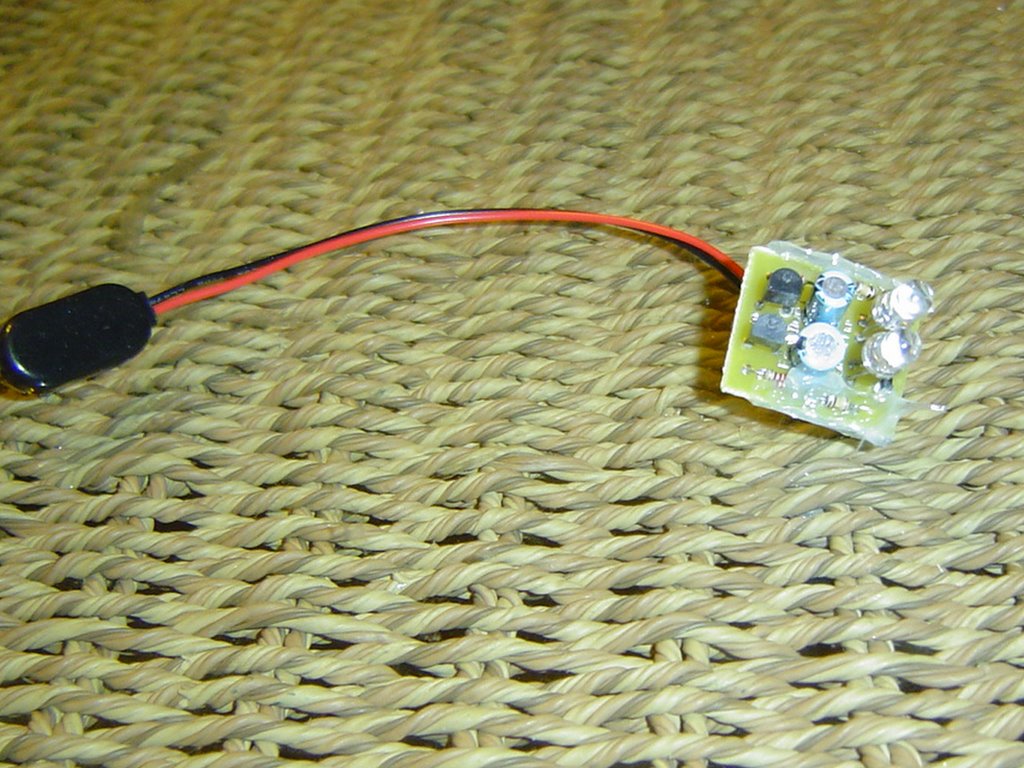
The rear Logic, Could have turned out alittle better.
Some of the indents showed up, But that's about the best I could do.
Now I have some lose pieces to get painted and the paint process is over.

Saturday, March 10, 2007

Main Eye


Also got the Eye primed today, So it won't be long and the Blue will be layed.


The only thing I'm worried about painting the eye is, It has so many curves


and painting something like that tends to run very easy.


I also picked up some Felt Pads for the Holos.


This will restrict some of the movement, So they can be positioned and they'll stay there.


More Painting


I got the area around the rear PSI painted today.

I won't be able to put the picture frame Aluminum piece around it until it dries.

I also hit the Jackpot on paint today, 6-cans and they were on sale for $3.00 each.

Tuesday, March 06, 2007

PSI Building Again


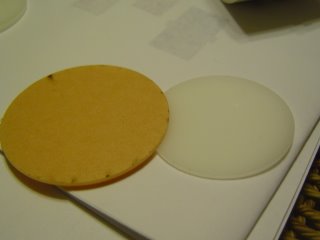
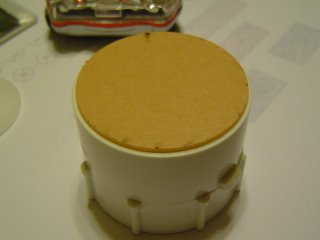
Here's the lens I used in the PSI light.

I had to order the Light Kit from Walmart Online, It was $20.00 plus shipping.

So this makes this lens kinda expensive, But it does a great job with the LEDS.

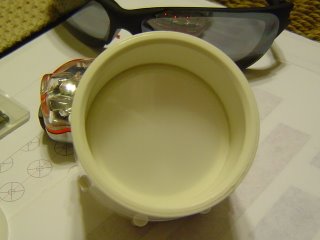
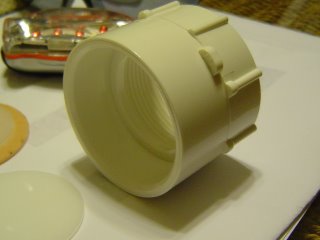
The light kit is made by Schwinn and they have several models, The one I used is model #SW531 and it fits perfect in the 1-1/2 PVC pipe.

The back of the lens, You will have to cut the part off where the original bulb

mounted. This makes the LEDS fit in alittle futher and gives more light to the PSI.

Rear Logic Panel


I worked on this some more and I'm ready now for the final primer.

Once this dries, I'll paint this area and then I'll install the rear Holo.

I also need to paint the area around the rear PSI.

Saturday, March 03, 2007

Holo Mounting


I got another Holo mounted and I set up the light inside the Holo.

I decided that the Holos would remain unpainted.

The reason I did this, I spent 2 hours researching every Pic I could find
that showed the difference in the colors. I found plenty of blue pics and I sat and look at them over and over.
The more I looked at the blue the more I started to not like the look.

So this is how it turned out.

Wednesday, February 28, 2007

Holo colors

I took your advise (Jason) and I think I'm going to go this route with the colors. My dome is so shinney in person that it takes way from the Holo's. With this in mind, Here's how I plan to paint the Holos. The front and back Holos: The surrounds I will paint Blue. I've seen the black in person and it looks Great!! if you have a satin finish on the dome.
The Holo on the top: I plan to leave the surround alone. The blue Pie Panel gives it a break
between the dome and the holo.
Once I get this done, I will make a decision on the color of the caps.
If I paint 1 cap I will be forced to paint all the caps to keep the colors flowing correctly.
This will not be screen correct, But I feel if I don't do the Holos this way the hole dome
will be off balance and will make the dome look bad.
Going high polish on the dome has it's drawbacks and this is 1 of them.
Comments are still welcome.

Tuesday, February 27, 2007

R2's 1st Holo


I got my Holo's in the mail and put the top 1 in so I could get the pic.


The only thing I have to figure out now is color.


On the top 1, I may just paint the cap. On the others,


I may paint the surround blue and maybe the cap blue, But I'm not sure.


I put a poll on the R2 Builders Club and will use this info to help me make up my mind.

Sunday, February 25, 2007

Rear Logic Update


I got the 1st coat of primer on the panel and this shows me my low/high spots.

I'll sand the area and add some Glazing putty to remove any low spots.

It should turn out as if there was no cuts around the surround.

Saturday, February 24, 2007

Logic Surround


I did'nt like that open area around the surround, So I started the body work on this panel.

It's rough right now, But I wanted to show how I was getting this done.

Alittle modelers putty then some glazing putty and sanding was done.

Now I need to prime the panel and look for bad spots then I can paint the panel.

Sunday, February 18, 2007

Back Door Signature


I forgot to show this, But here's my R2 door with Kenny Bakers Sig.
I will use the door for future Signatures and will find away to seal them.
I wish my door had it's final coat of paint, So I'll have to be carefull and not damage
the signature.

MG-34 Blaster Update 2


Got alittle more work done.
The detail work is taking alot of time to get right and I still have alot to do.
But here it is in the rough.
I bought some small brass knobs and some tubing for the top of the gun.
But it will be awhile before this stuff goes on the gun.

Thursday, February 15, 2007

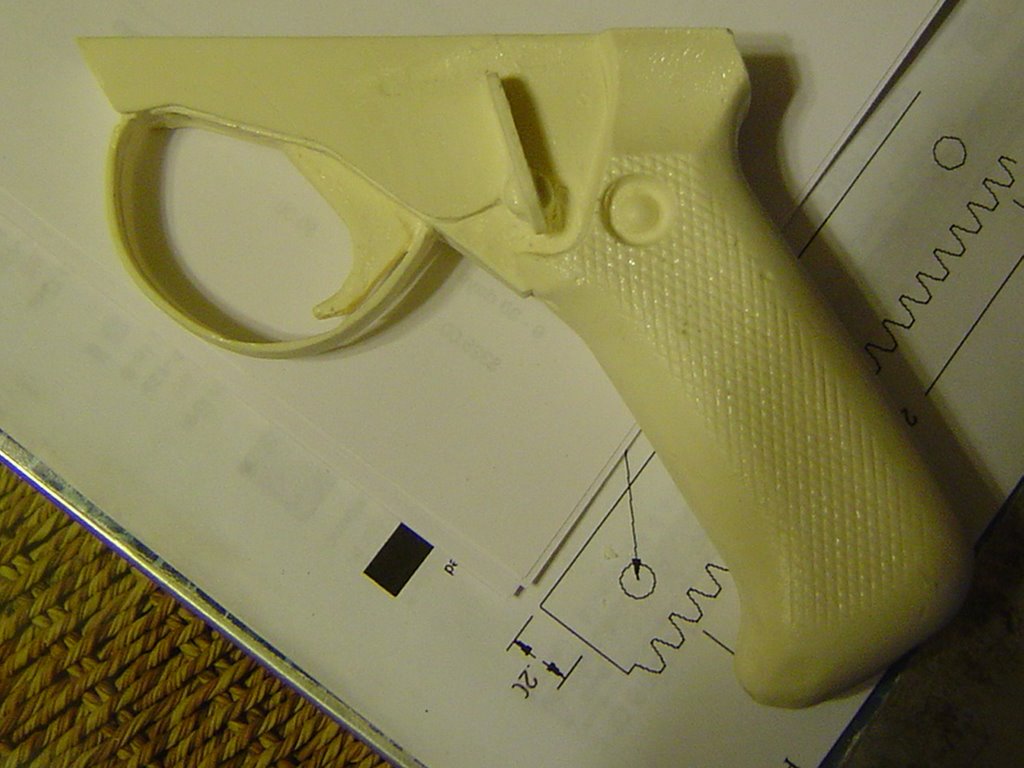
MG-34 Blaster Pistol Grip


It came in today and I did alittle clean up to it.
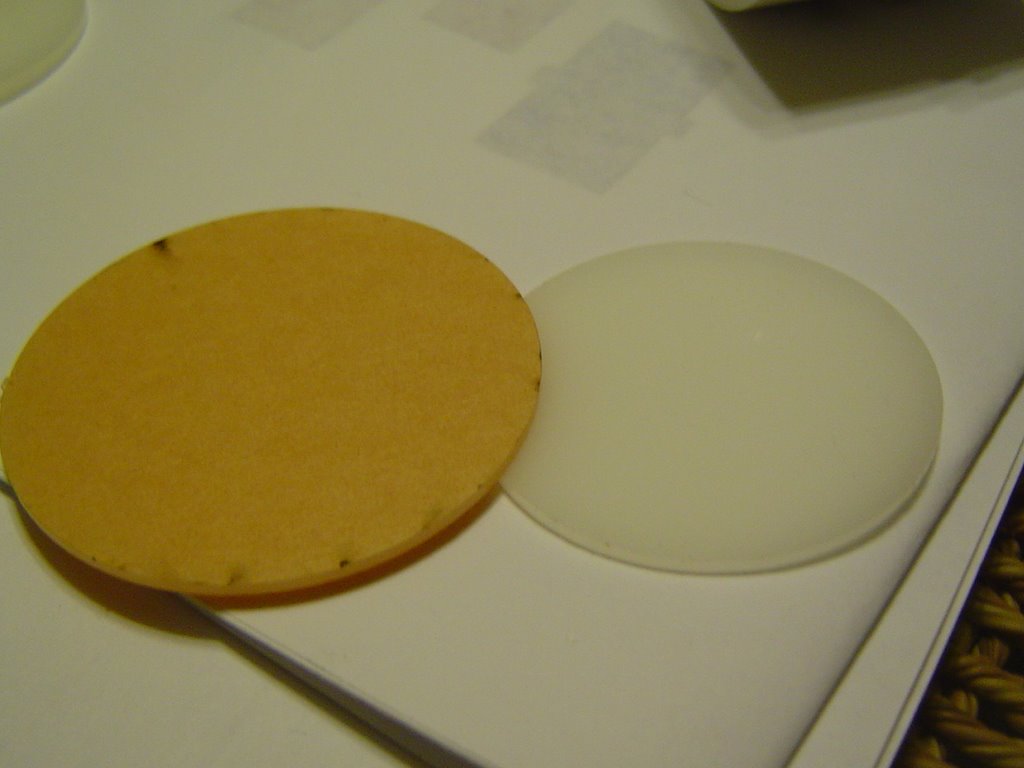
There's still alot of sanding and cleanup to be done.
This is suppose to be molded after a German Machine gun Grip.
It's made of resin and I'll have to find out what sticks to resin to fill the
low spots.
Maybe Saturday, I'll get it mounted to the rest of the gun.

Wednesday, February 14, 2007

MG-34 Blaster Update


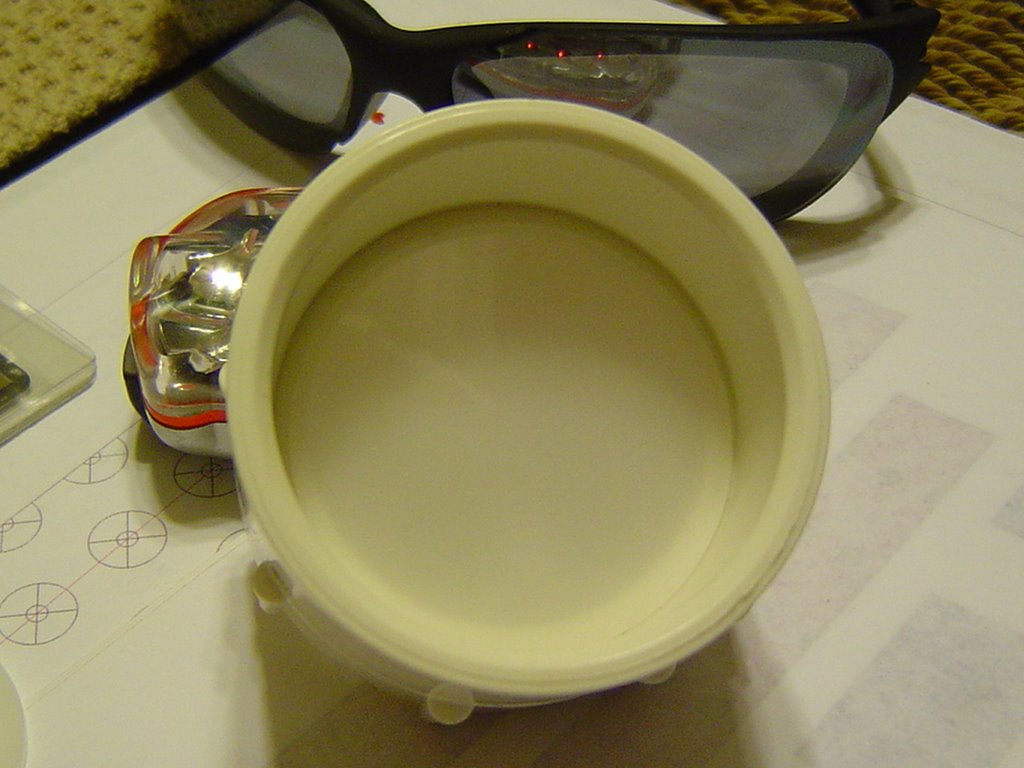
I got alittle work done.
I have'nt been feeling too good lately and this is as far as I got.
Once I get the Pistol grip in the mail, It will look alot better.
Monday, February 12, 2007

More R2ing


Got another panel bonded to the dome, But I think this one is bent.
I could'nt get it to lay down completely, But it's not to bad.

The A.C.Ryan AcrylPanel 2 way Mirror came in today.
And I got it mounted and when I get the red light ready I'll show more pics.

Saturday, February 10, 2007

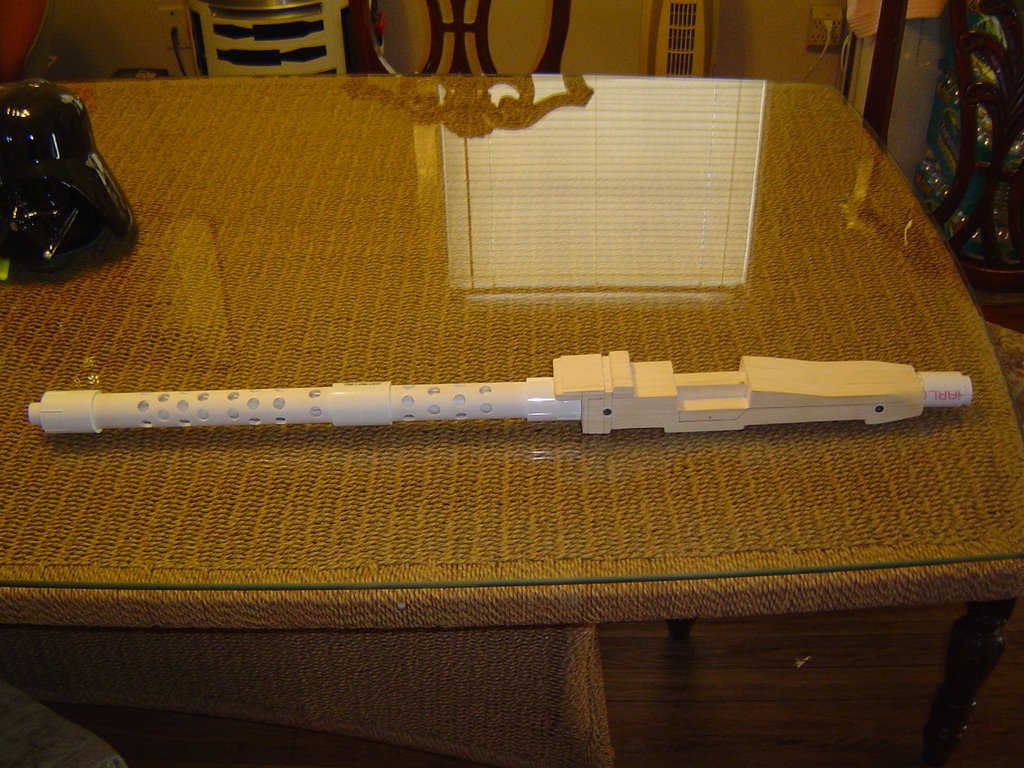
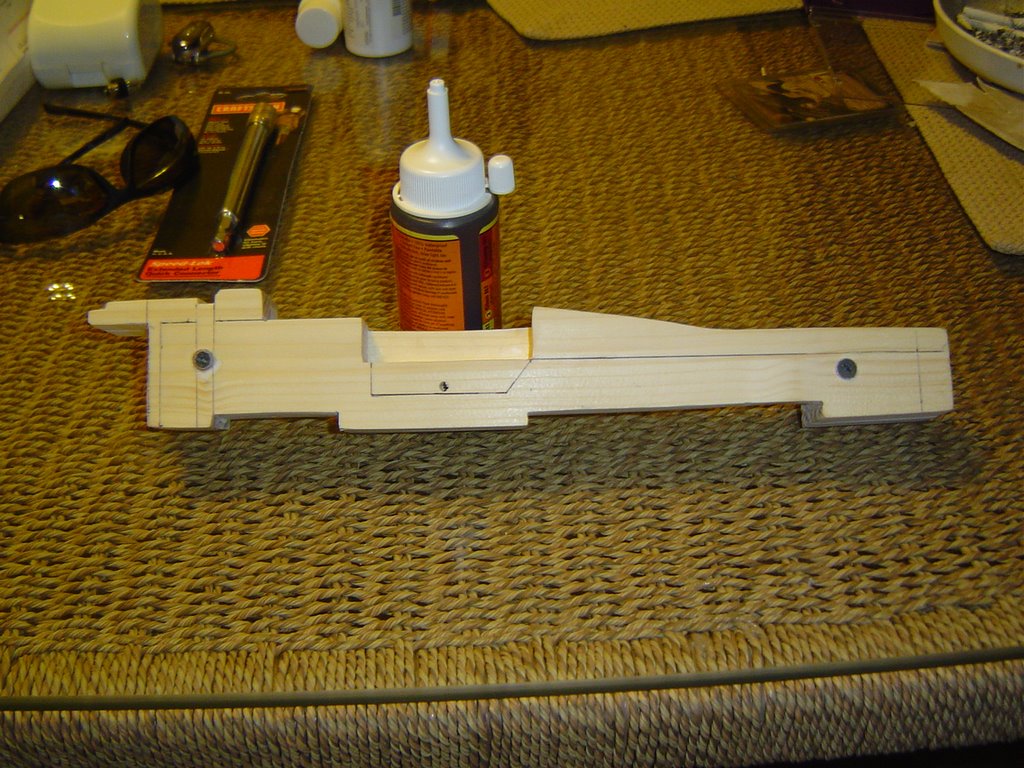
MG-34 Blaster


I started a new project for alittle while.
I get kinda burned out on R2 every once and a while.
Anyway, I found a site that builds Blasters and could'nt resist.
It's 1 of the long Blasters that the Storm Troopers carried.
Never done anything like this before, But here's my start.
It's made of wood and PVC. That smaller pipe goes inside the larger
pipe with the holes. Hopefully it will turn out OK.

Tuesday, February 06, 2007

PSI Mounted

Got the front PSI mounted.
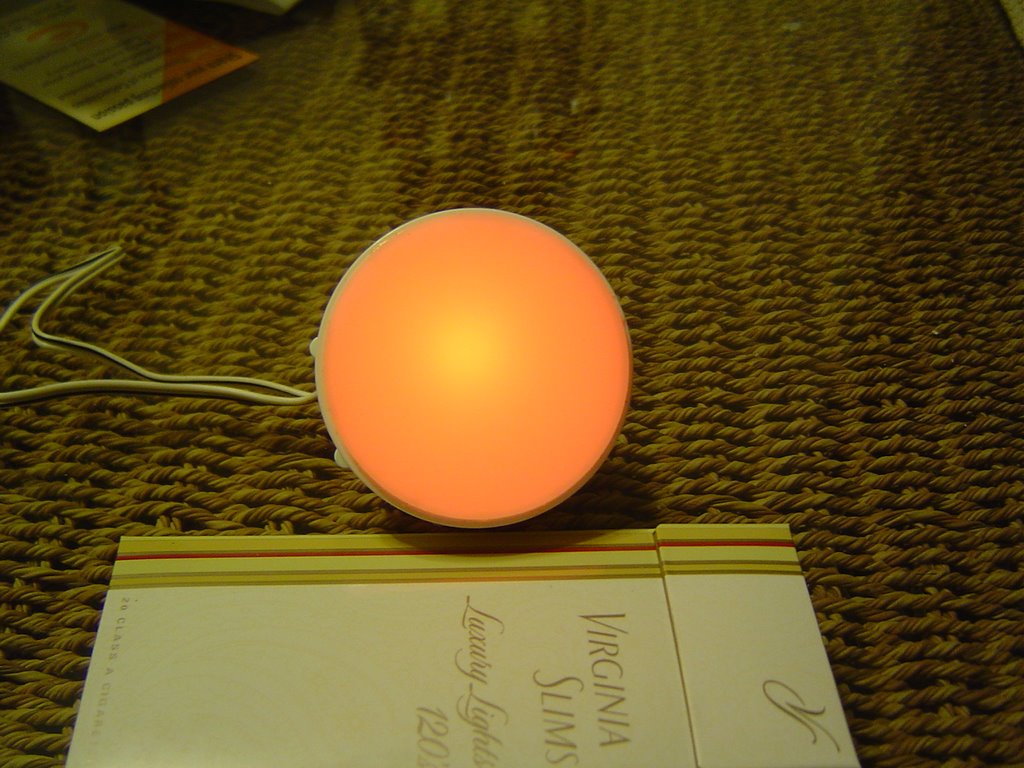
Yeah I know the camera shows a hotspot, But I tell you its not there.
Here's the link:
http://s71.photobucket.com/albums/i124/ctx3201/?action=view&current=MOV01652.flv

Monday, February 05, 2007

More Panels


I got a couple of panels added on the back of the dome.
I added the 1 around the red light area and 1 of the Aluminum
colored ones.

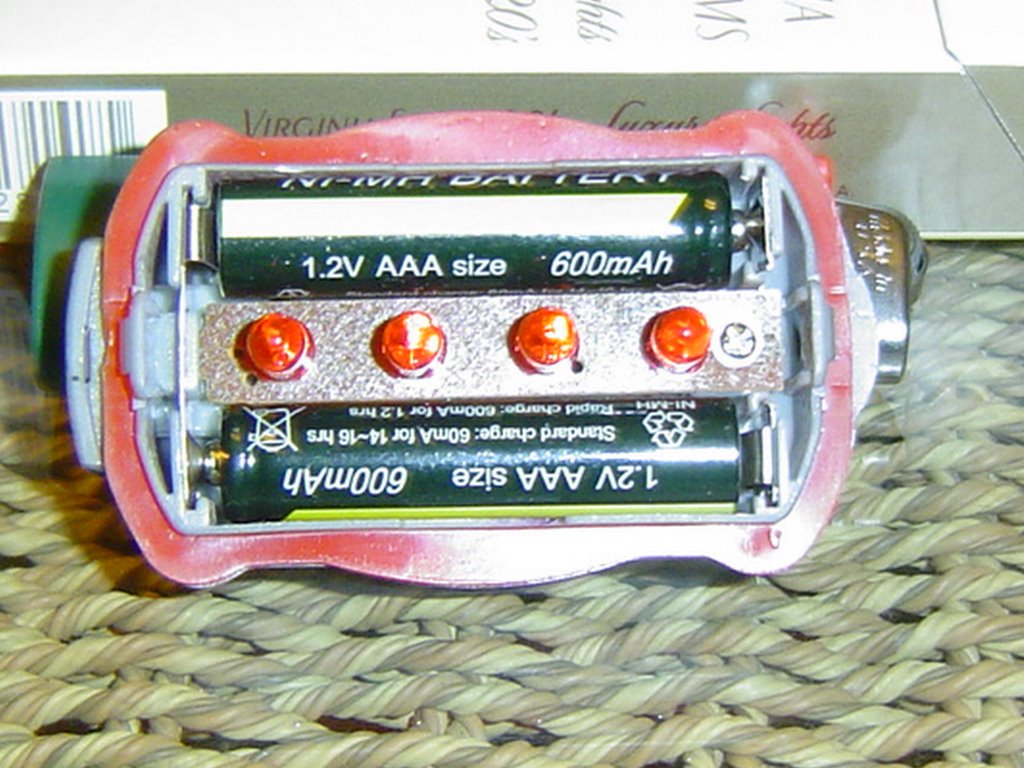
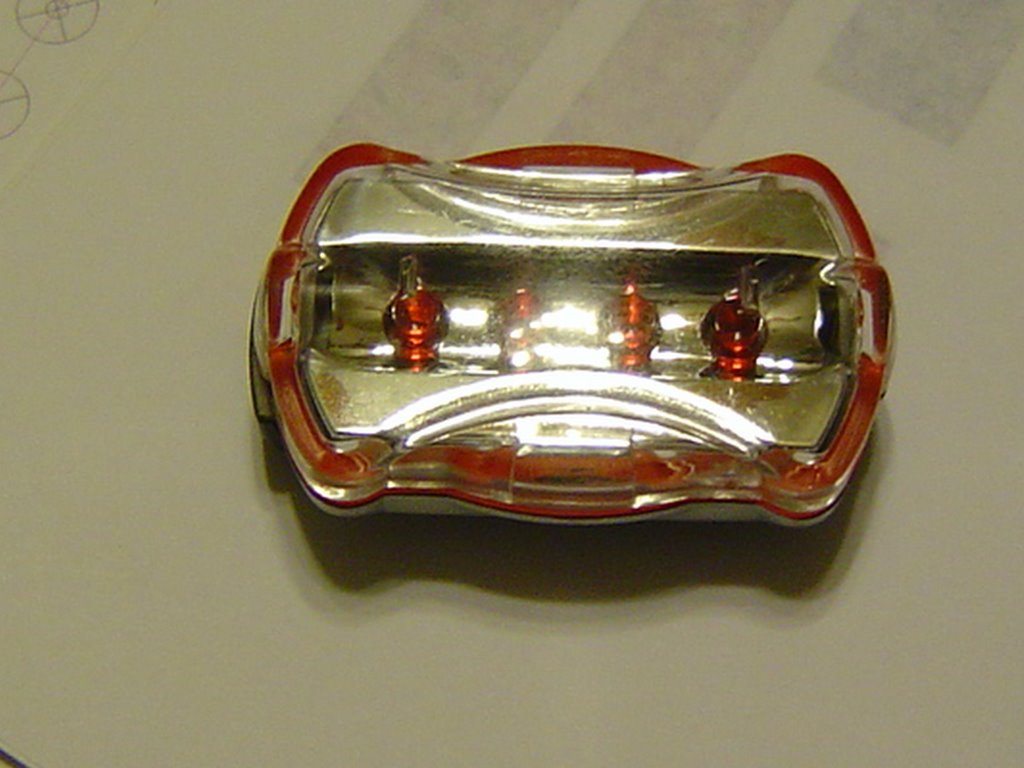
IDEA!!!


I'm not sure what that area is called on the side of R2's dome that flashes red.
But this is what I think I might use to light it up.
Just got to defuse the red LEDs.
It's the right size and it comes apart real easy.

Once you take it apart, All you have them is just 4 LEDs and a switch.

It will stay solid or flash fast or flash slow.

PSI Colors


I swear, In person you can't see that hotspot!!!

PSI Building


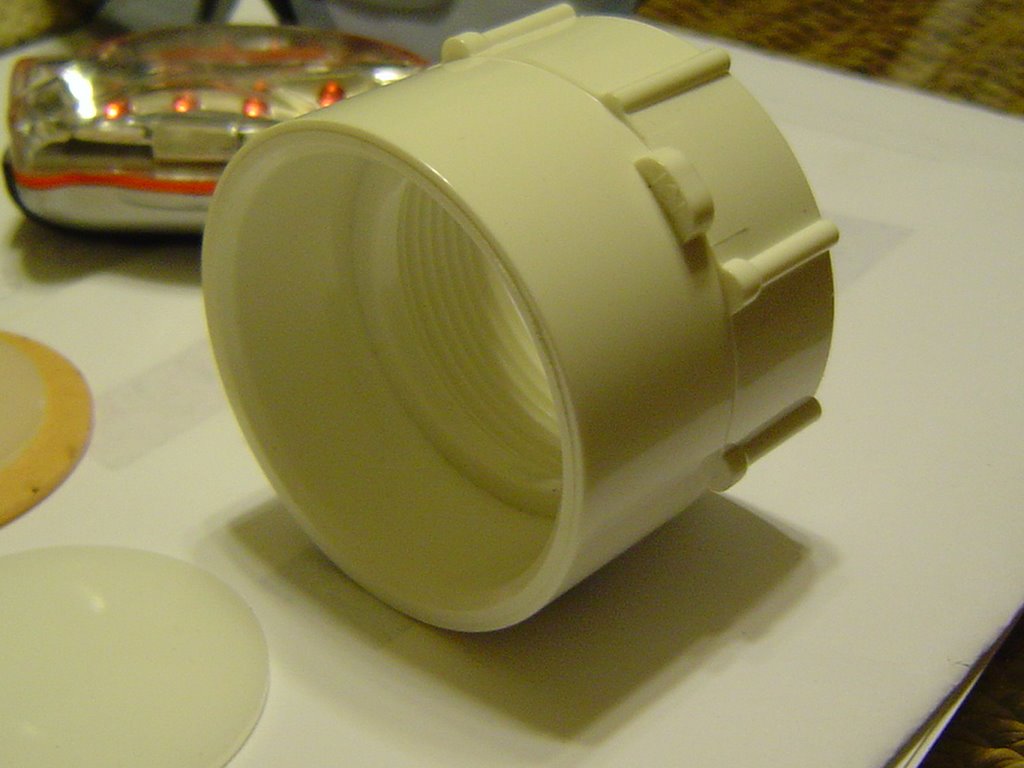
Here's what I used to build the PSI Light.
1- PVC 1-1/2 coupler ( Slip on 1 end- Threads on the other end )
1 set - Andy's PSI Lenses
2 - LED Electronic Boards
1 - Flashlight reflector

The flashlight reflector fits in the threaded side, ( I only had 1 lense, So I can't show a pic )
Allthough it does not thread in, It just goes in this side. And you can angle the LEDS just alittle.

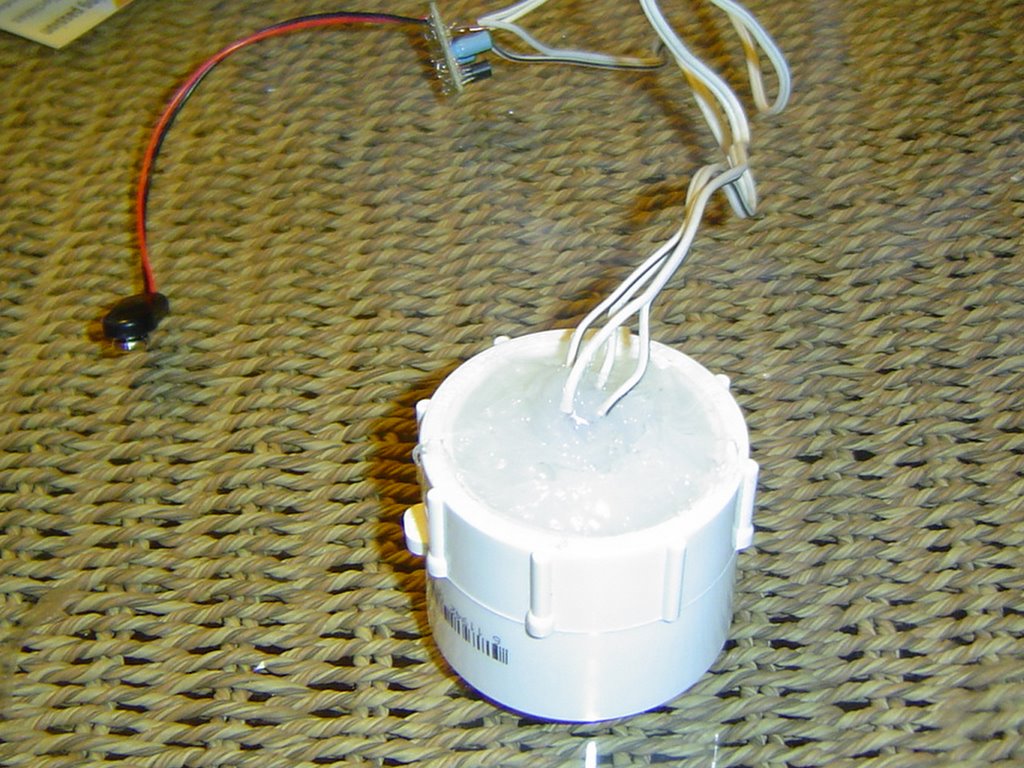
The PVC coupler has and inner grove inside and the small lense from Andy fits right in there and acts as a diffuser, So the hot spots don't show up on the outter lense. I just used some Silicone to hold it in place.

The Larger Lense fits the outter lip perfect. I used doublesided tape to attach it to the PVC.

Although the pic shows I have'nt peeled the protective cover yet.


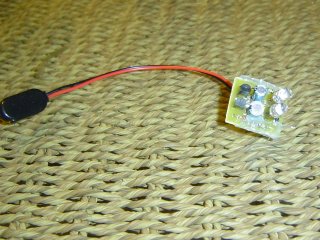
The LED Board comes preasymbled, But I had to cut the LEDs loose from the board so I could resolder them to a wire. When you cut them loose, Leave enough on the board to solder the wires too. I also changed the order the lights were flashing. It was Long red/Short blue.
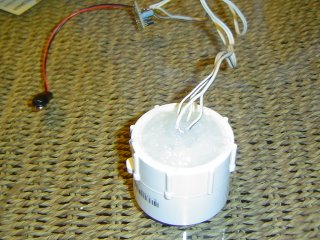
After I had everything in the PVC, I filled the PVC with Silicone to prevent the wires from moving or pulling loose. Kinda permanant but it's cheap, So if it burns out I can build another.
In my earlier post it shows the PSI working and it shows a hot spot, But in person you can't see it.