Sunday, October 01, 2006

Masking for Paint


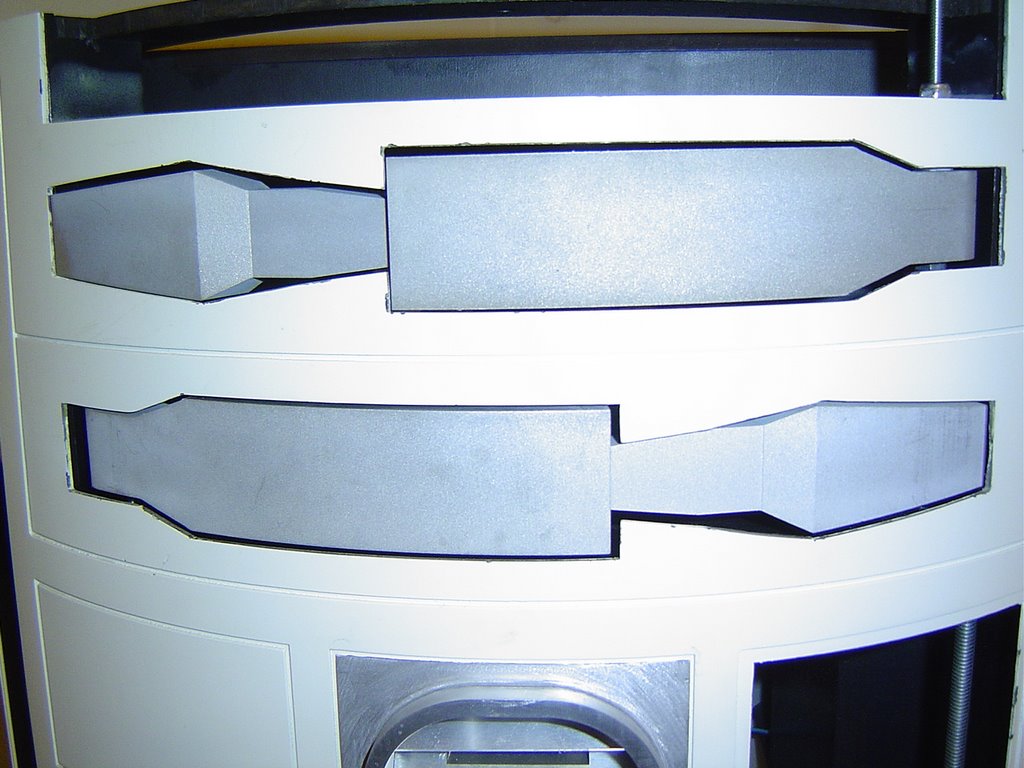
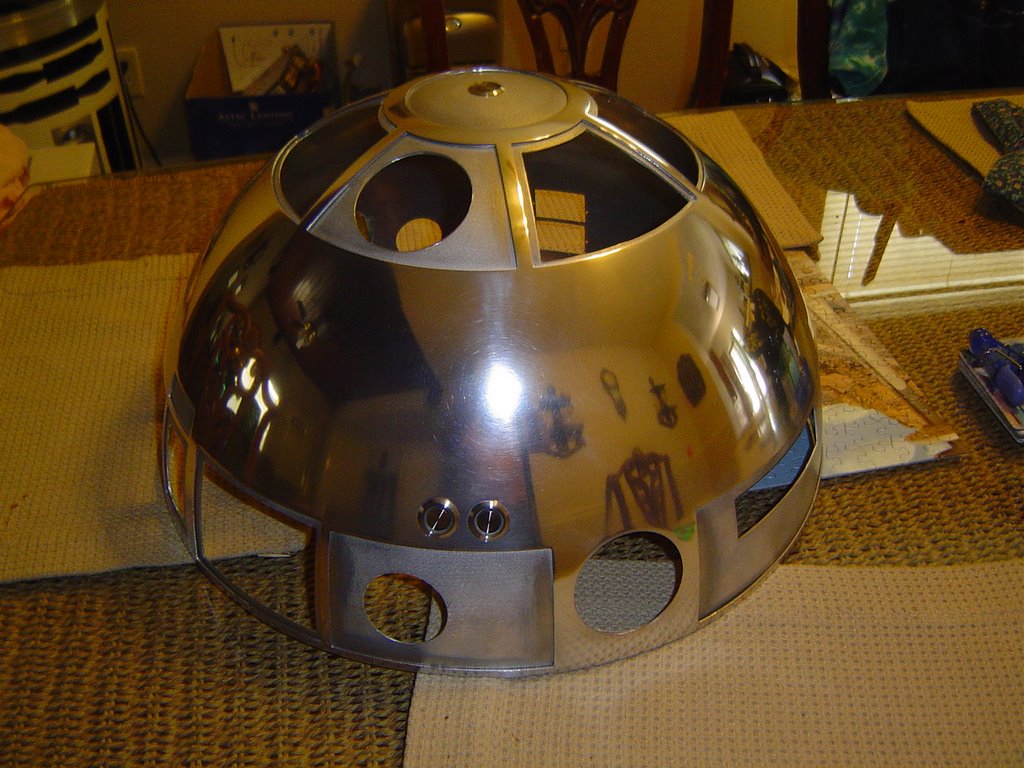
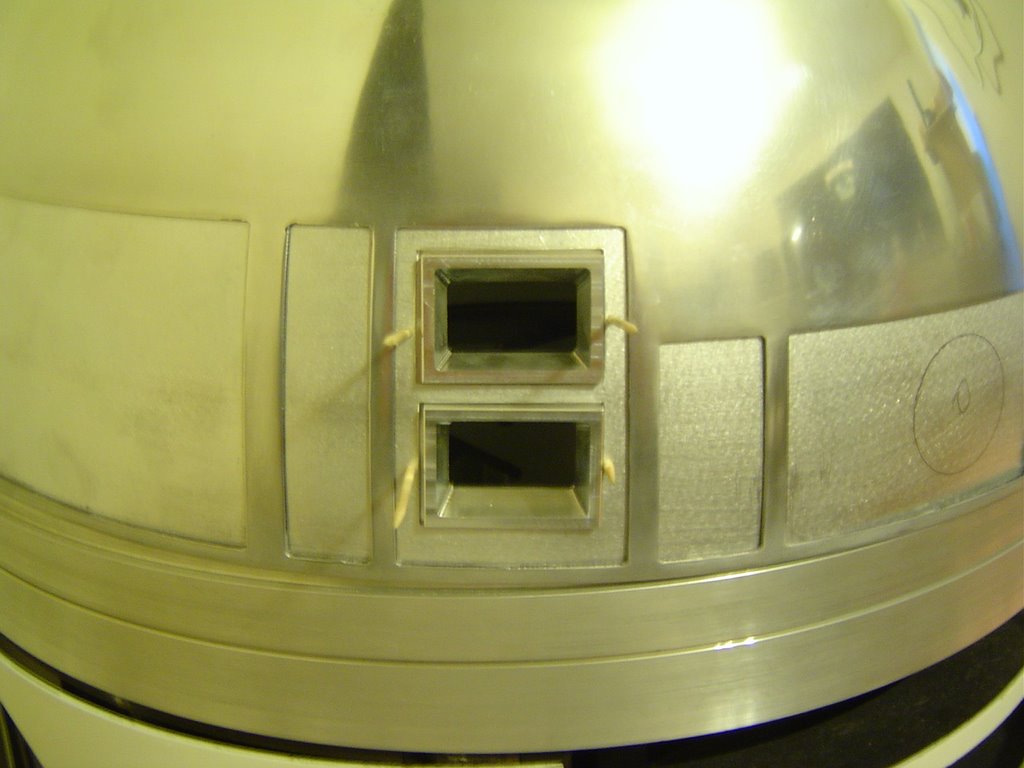
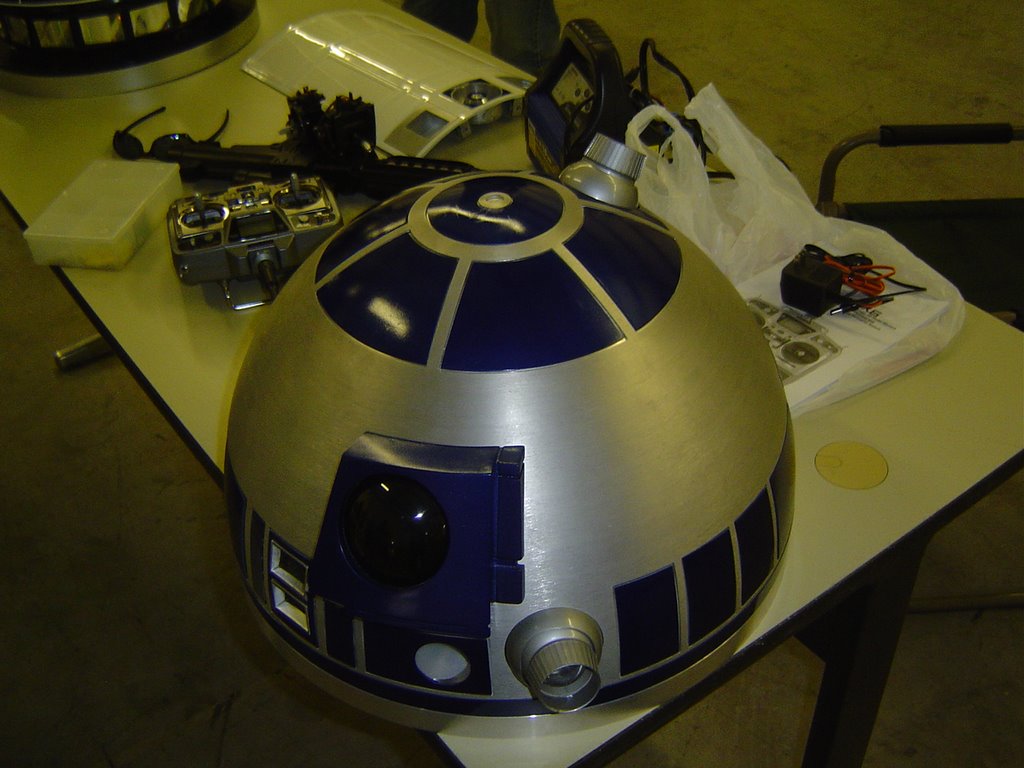
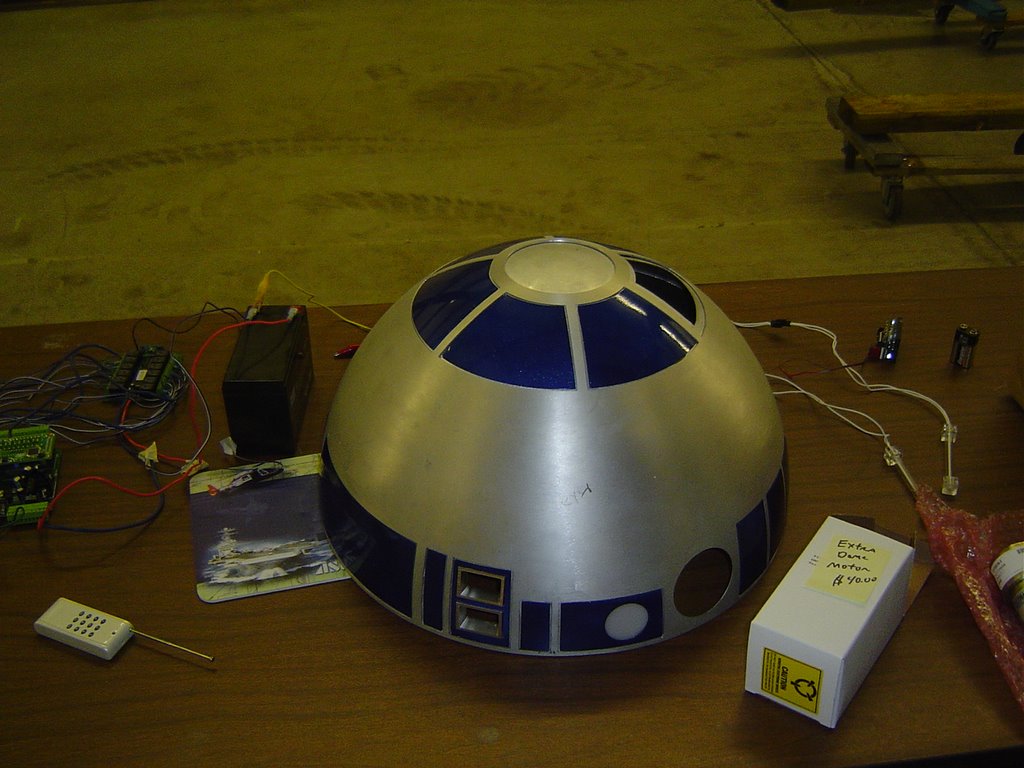
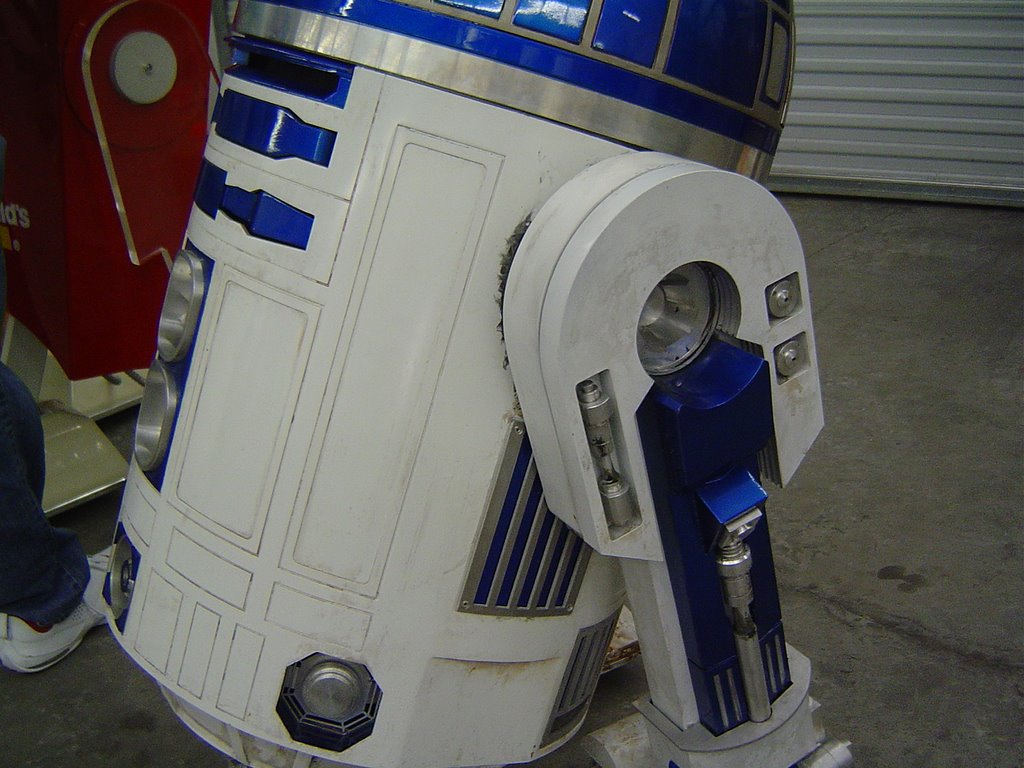
Ok, I got this idea from Victor about liqiud masking.
I could'nt find the Latex stuff he used, But I found this stuff.
I'll know tommorrow if it works as good as Victors.
If you can see it in the pic, It's that goo down in the Power Ports.

Monday, September 25, 2006

Oh YEAH, PAINTING


Now that I'm not having the Krider Blue problem anymore, I'm painting away HAHAHAHA!!!
Man, And it even rain today (Humidity) HA, Didn't even slow me down one bit.
You don't know what a feeling it is to get this painting problem solved.

Sunday, September 24, 2006

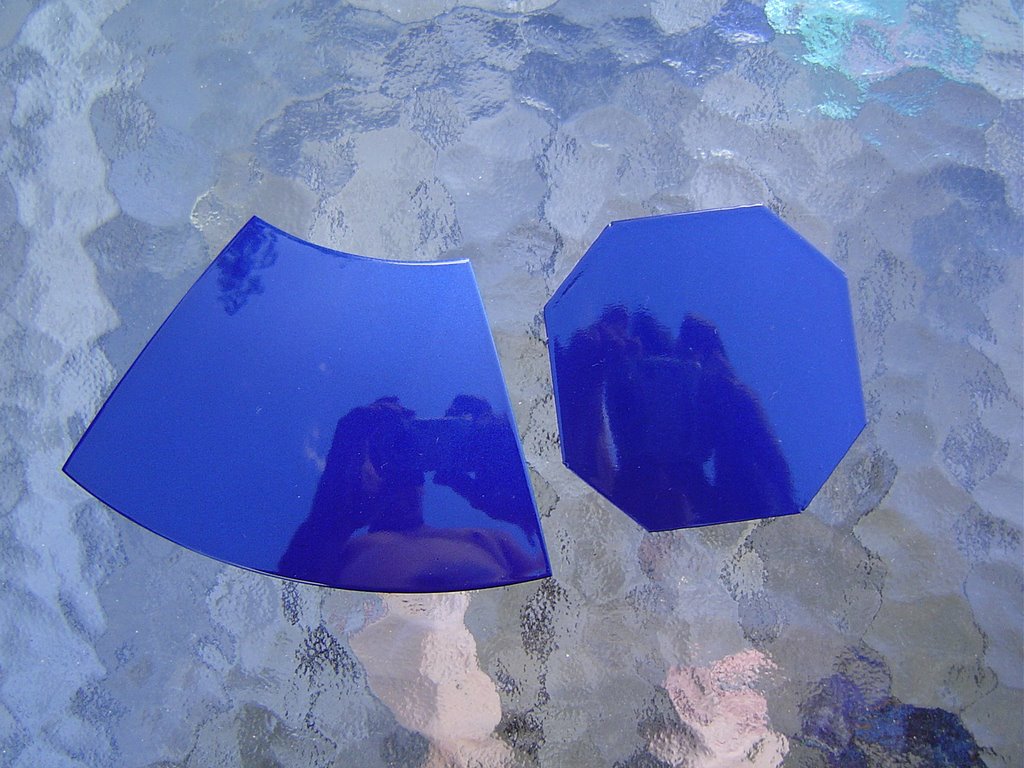
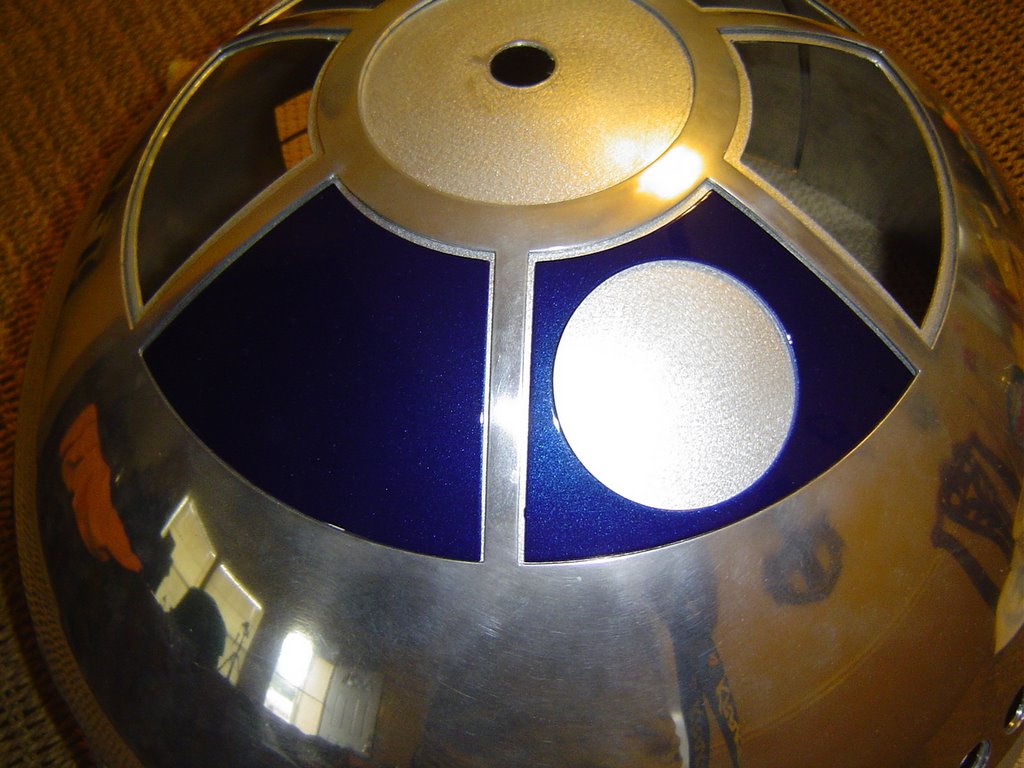
New Paint Method


I tried several times to get the Krider blue to work for me and everytime something went wrong.
So I came up with my own paint method and it's very close to the Krider color.
At anyrate, Be the judge for yourself.
Krider's is the Pie Panel and mine is the Octagon.
With/Without flash pics.

Friday, September 22, 2006

New Aluminum Arms


Oh YEAH, Oh YEAH!!
I got those Aluminum arms installed!!!
They're not fine tuned yet, But I could'nt wait.
Someone had posted on R2 Builders that the Aluminum Arms were to heavy for
the A&A frame, But thats not completely true.
You just have to mount them with shims and beef up the carriage alittle.

Trial Fitting the rear Logics


I cut the area around the Logics, So I can adjust the position when its time for the final fit.

Wednesday, September 20, 2006

Rear Logics


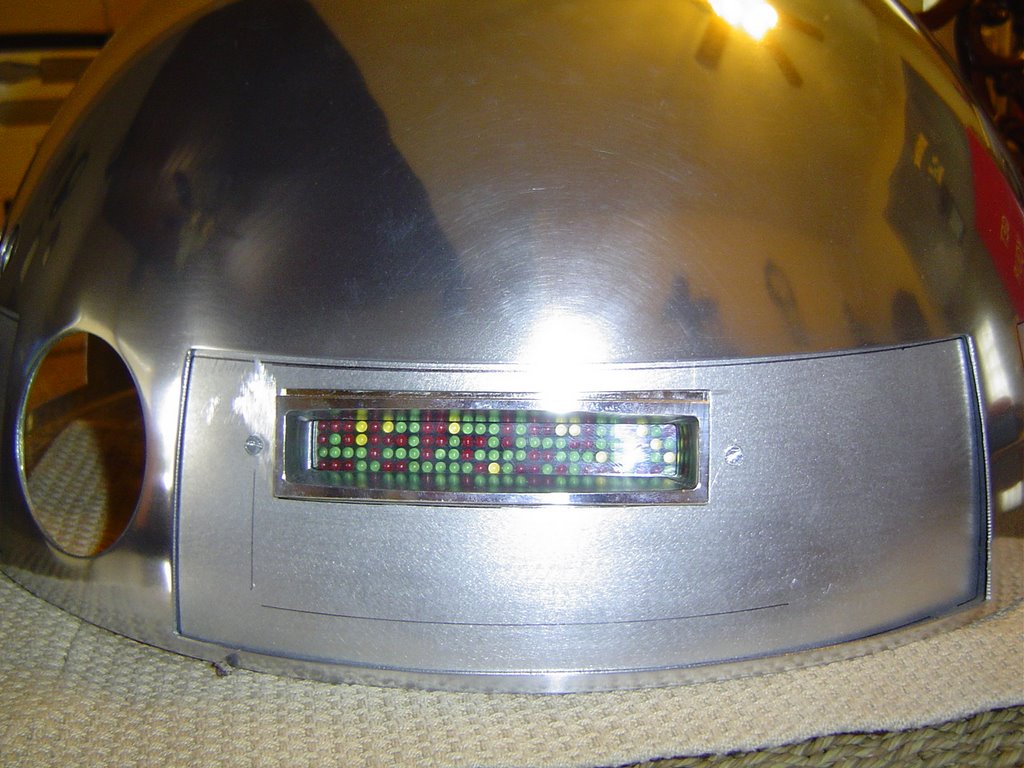
Here's the pic of what I got finished.
The surrounds need some buffing and I still need the Pic Flasher. Sorry the pics are alittle bright, But i wanted the detail to show.
After I got all the LEDS in the board, I had to find 2 that went bad during the soldering and replace them. The bad part was all I had to find them with was a 3 volt battery and a print of the pattern they were in.
Anyway all 108 leds work now.

Monday, September 18, 2006

Updates

I've got alot of things ready for post, But I've been so busy and alittle sick That I'll have to post pics later.
Anyway, I got the LEDS soldered into the board I bought from Leon, Just got to get the resistors soldered.
I had to file the Aluminum surround for the Leds, Because there was a difference between
Leon's board and Wayne's surrounds. It took 3 hours to get them to match up.
Hopefully this weekend I'll have this mounted and tested.
Got the last louver mounted into the front vents and the small speakers mounted behind the
vents.
I also got the inner dome remarked, I did this so I could order the hinges and start predrilling
the countersink holes to attach the hinges and other items.
Well, I'll get the pics up soon.

Sunday, September 10, 2006

Utility Arms Redone


OK, I know!!
I change things all the time, But I was not happy with the way my arms were mounted.
Sometimes you have to step back and say: Why did I do that?
I turned something simple into a mess.
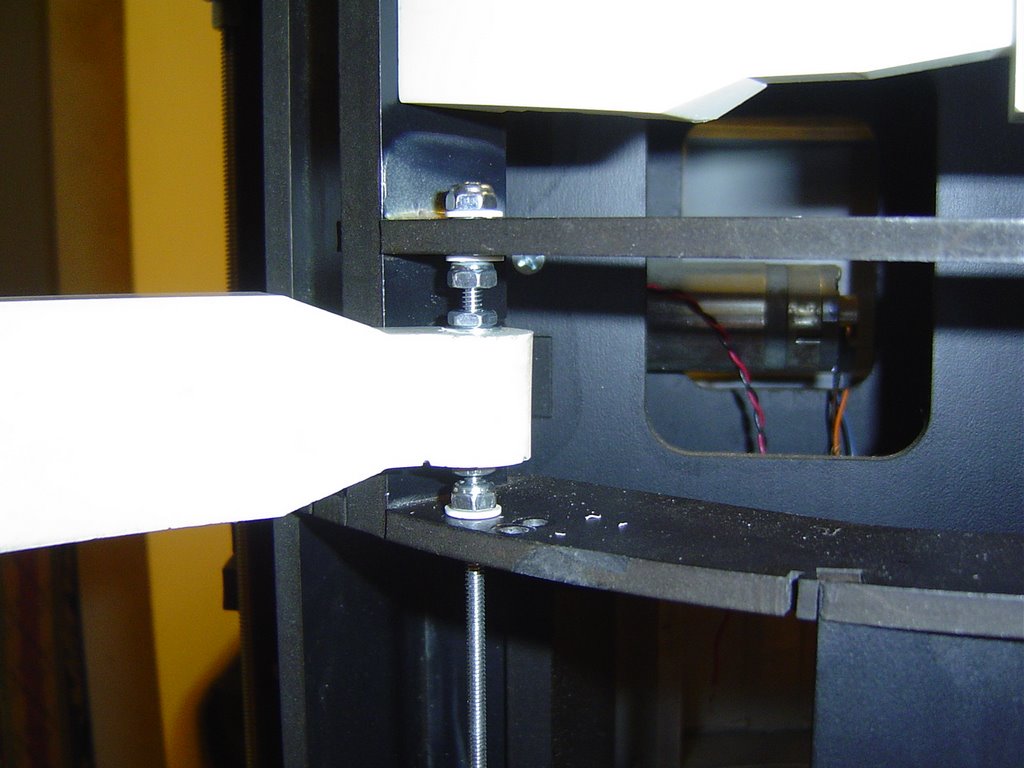
Anyway, This is how they will be from now on.
I used:
6-32 x 6" Threaded rod, 6-32 Lock nuts
1/4 x .140 x 1 Nylon Spacers
Teflon washers that came with the Vex kit.
I cut the Spacers a little thicker than the A&A frame and drilled the preset holes to 1/4,
So the spacers would fit and also give some extra length so the lock nuts would tighten against
the spacers and slightly against the frame. Once set into the frame they provided a bearing for the threaded rods to slide.
The teflon washers, Also provided a slick surface for the lock nuts to slide.
More/Less I made my own bearings.
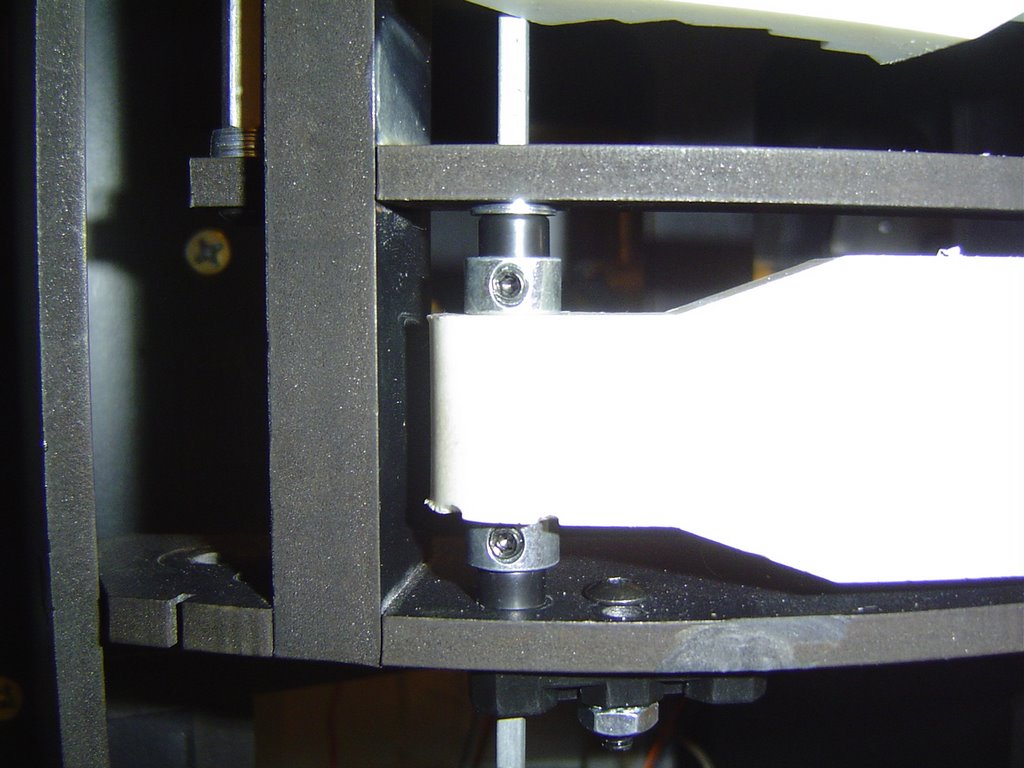
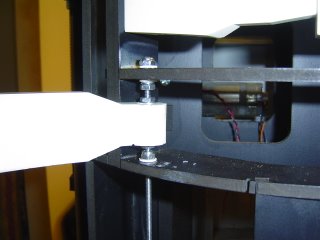
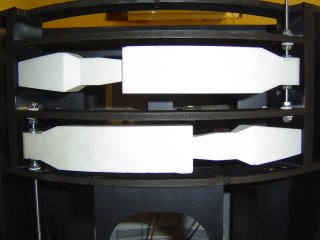
In the pics you can see how I made this work, The only problem now is to cut the rods to the
correct length and to find a belt drive gear to work each arm.
By the way, I've got the Aluminum arms on order and when they come in, I'll redo again!!

Tuesday, September 05, 2006

Utility Arms


Oh Boy, These things are driving me CRAZY!!!
When I first got my arms I drilled the hole the size that kinda looked like it was meant to be.
Big mistake!!!
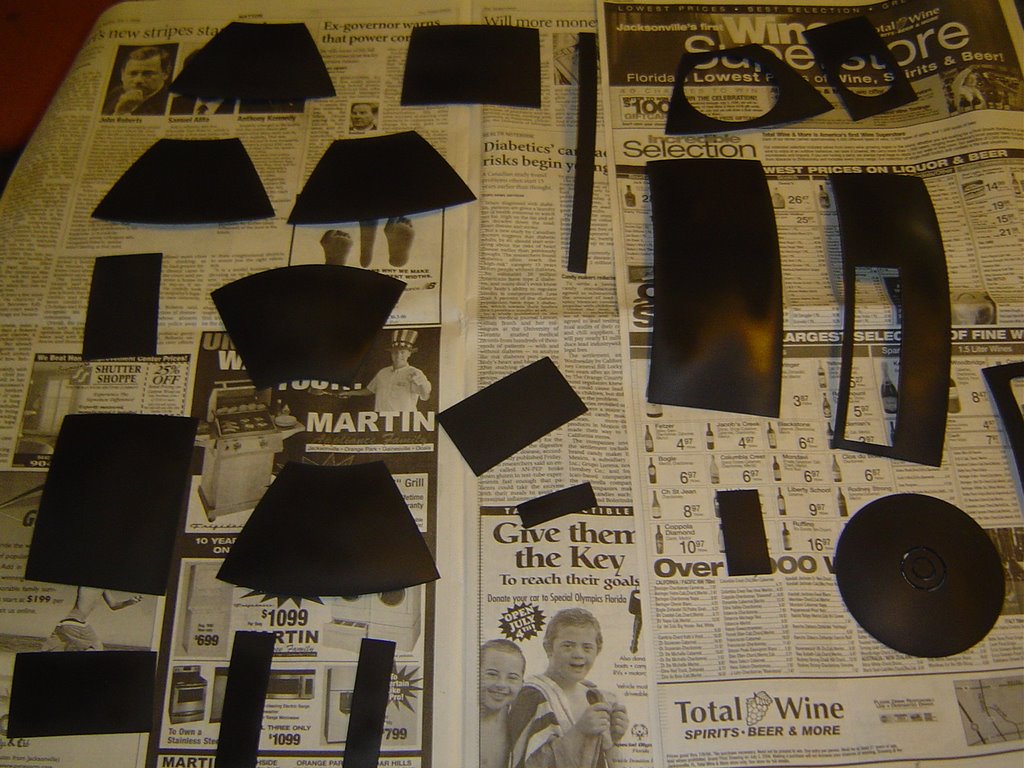
So now I have to fill that hole solid and work it again.
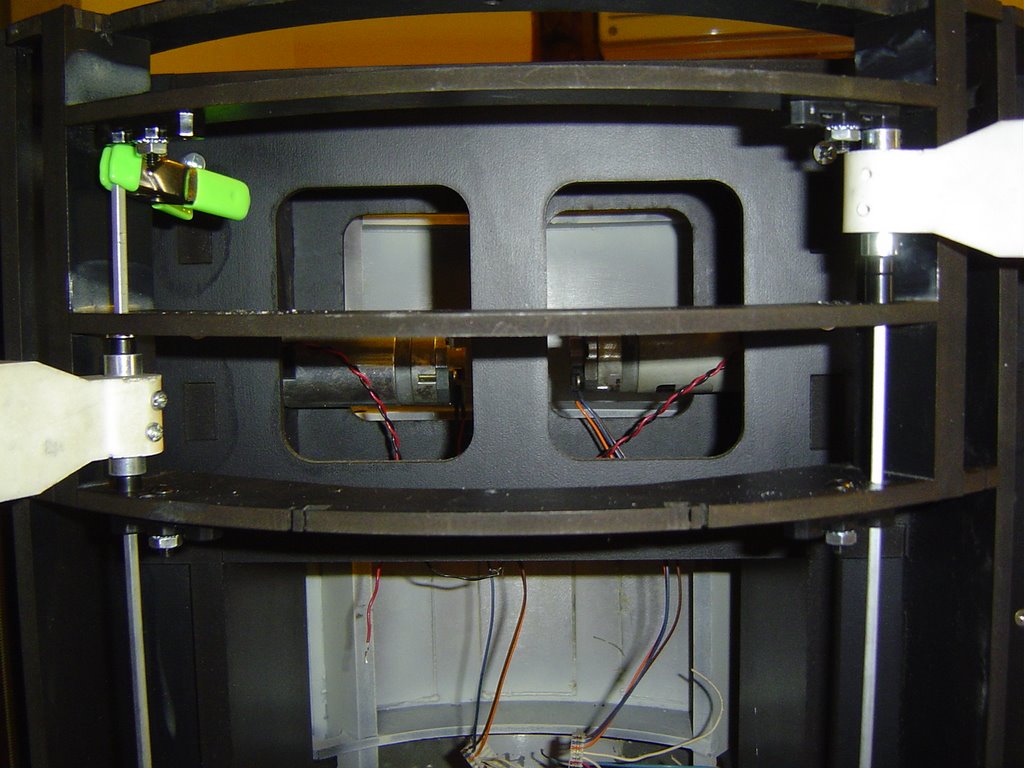
Ok, What I used for bearings and spacers were the parts that come in the Vex kit from Radio Shack. As you can see the rod comes down into the belly area, Thats where I'll attach my gear to drive the arms open/close.
Here again is where I have to make a sacrifice!!
The rods will be in the area where the arms close at, So I'll cut a slot in both arms and they will close all the way and have a stop to close too. Hopefully I can paint the rods flat black and they won't show that much.
I still don't have these set correctly, But I will, I hope.
Anyway back to work I go!!!

Sunday, September 03, 2006

Recent Dome Pics


Here's where I stand as far as getting the dome together.
All panels are cut and ready to silicone the domes together.
My nerves will be shot by time I get the 2 domes meshed, But it's
progress.
I've take alot of advice from Victor, He's been alot of help on this project!!!
So, after I clean the inner/outter areas, I'll have 1 dome instead of 2 domes.
I noticed the pics make some areas look jagged, But they're not.

Monday, August 28, 2006

Front Logics


I started working on the surrounds today.
They're just set in place for now with toothpicks, So they're not exactly straight and I don't have the panel around it.
I've got to find some small screws and if a tap this small is available.
I'll true everything up when I find the screws.

Sunday, August 27, 2006

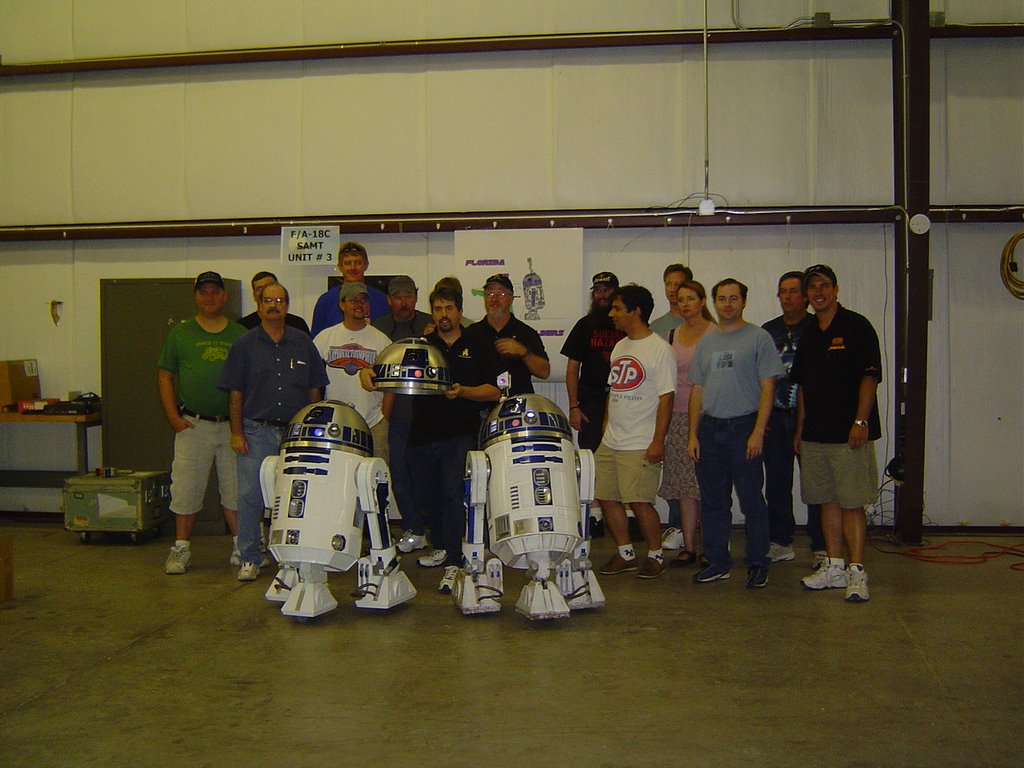
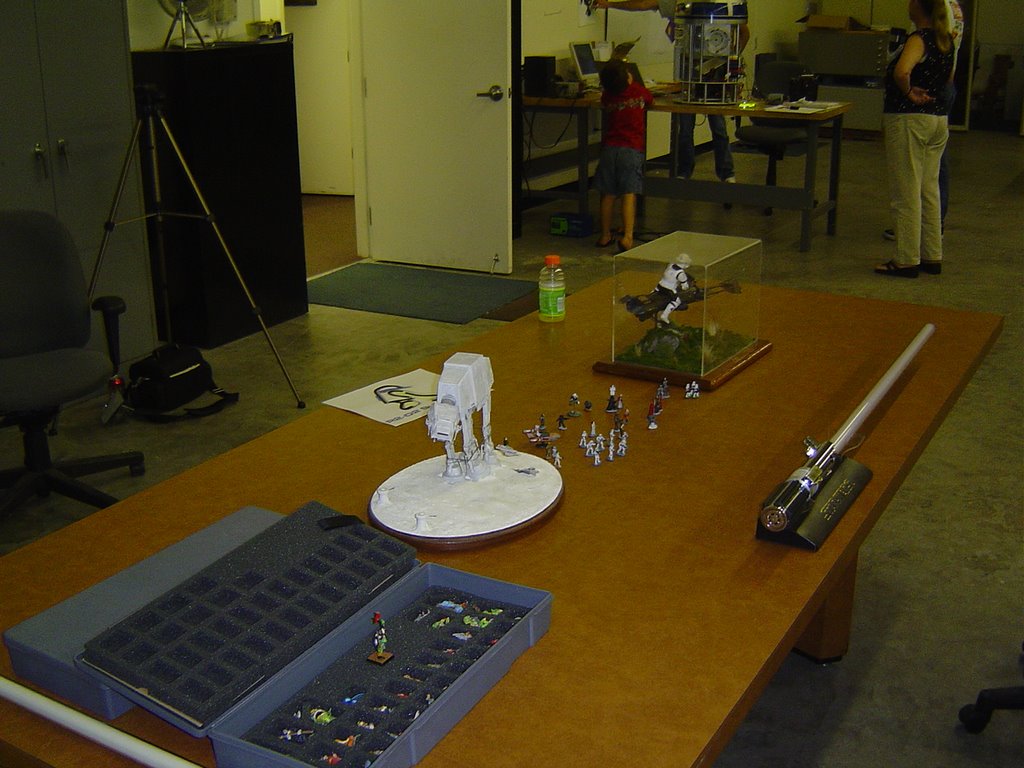
Group Pics and some other Pics


There was a nice bunch of people at the meeting.
That's me with the Tydie shirt and the big belly on the right.

More Pics


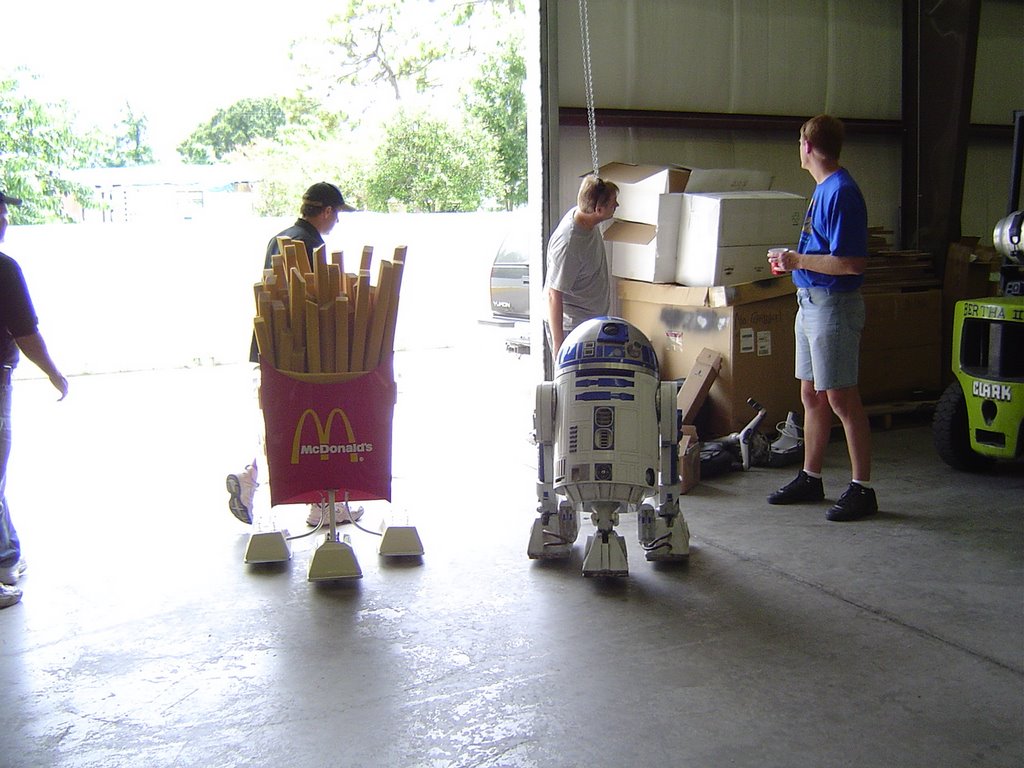
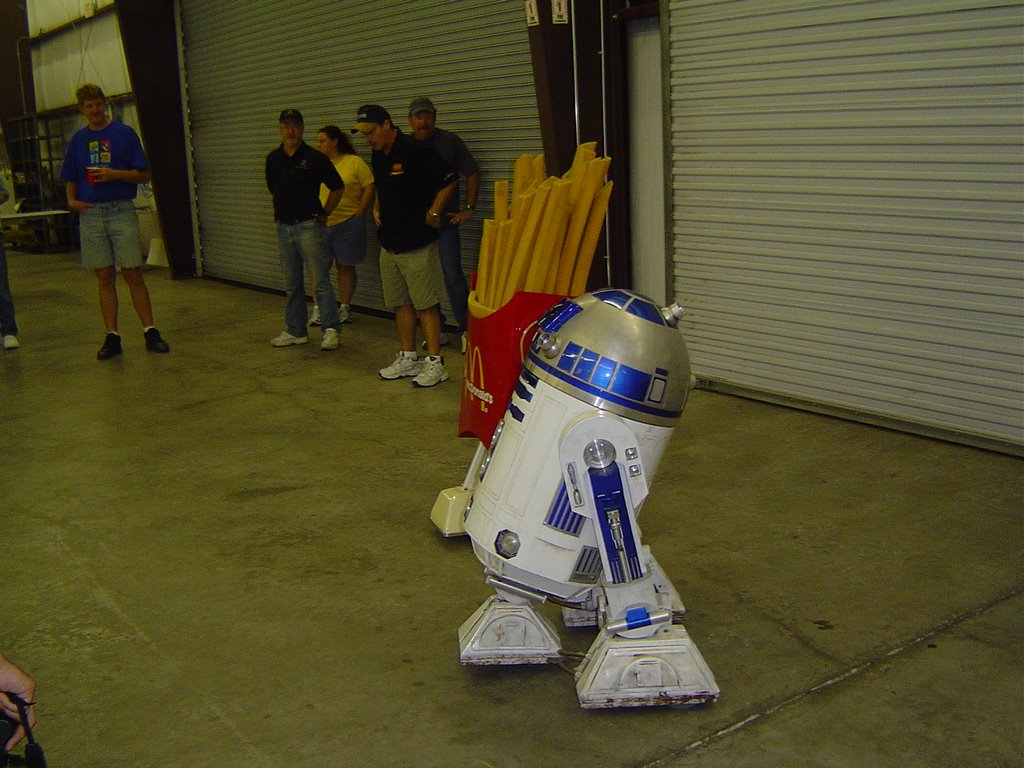
They had a special guest, R2 from Disney!!!!
It really was a nice meeting!!!!

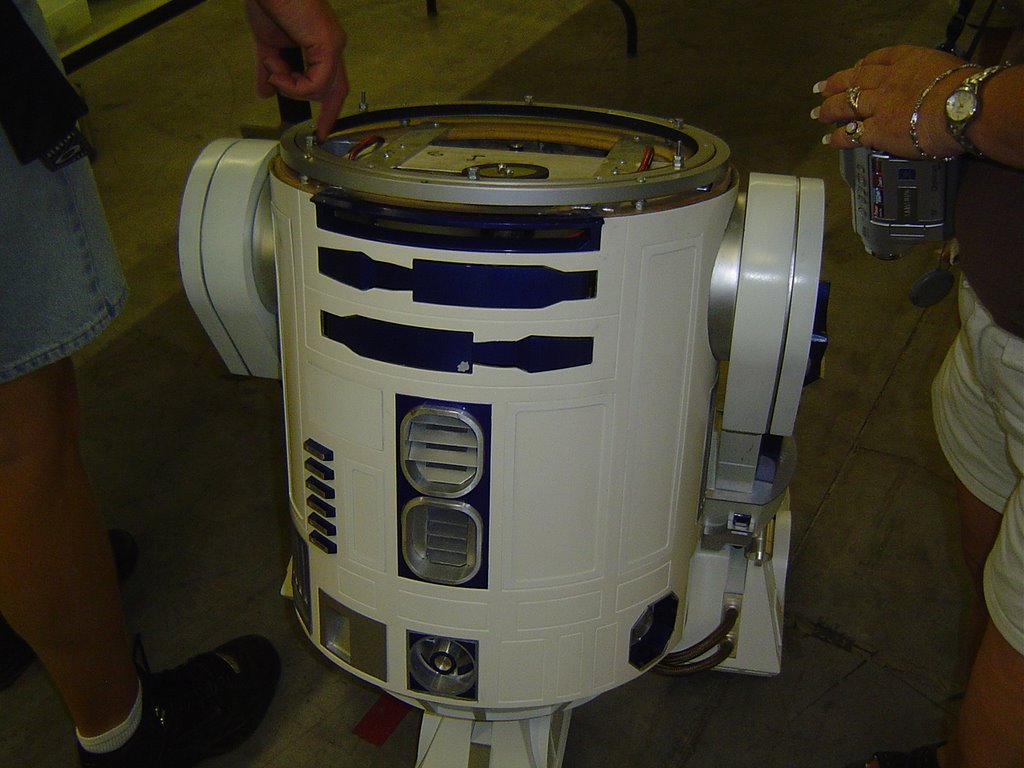
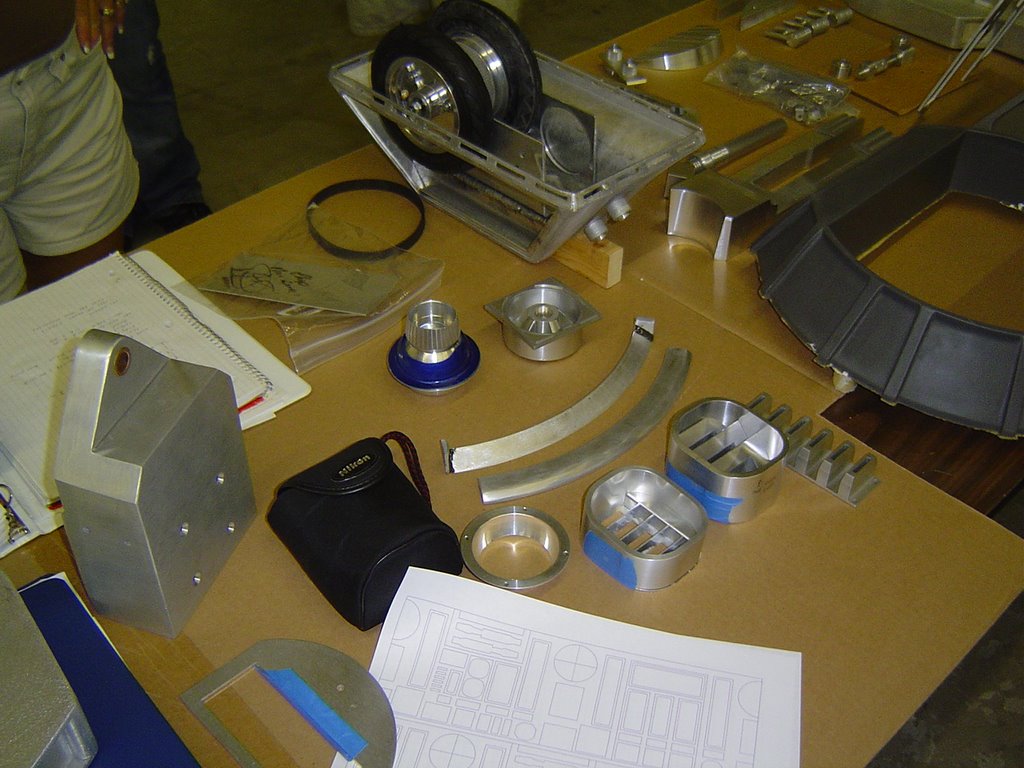
Orlando Pics


As I promised, Here are the pics from the meeting.
There's some yellowing to the pics due to the light inside the building.
But here they are!!!!

Saturday, August 26, 2006

Orlando Meeting

This was the best day I've had in a long time!!!
The meeting was awesome and seeing 2- R2's in action was GREAT!!!
Meeting other builders and their work, Really boosted my need to get my R2 together.
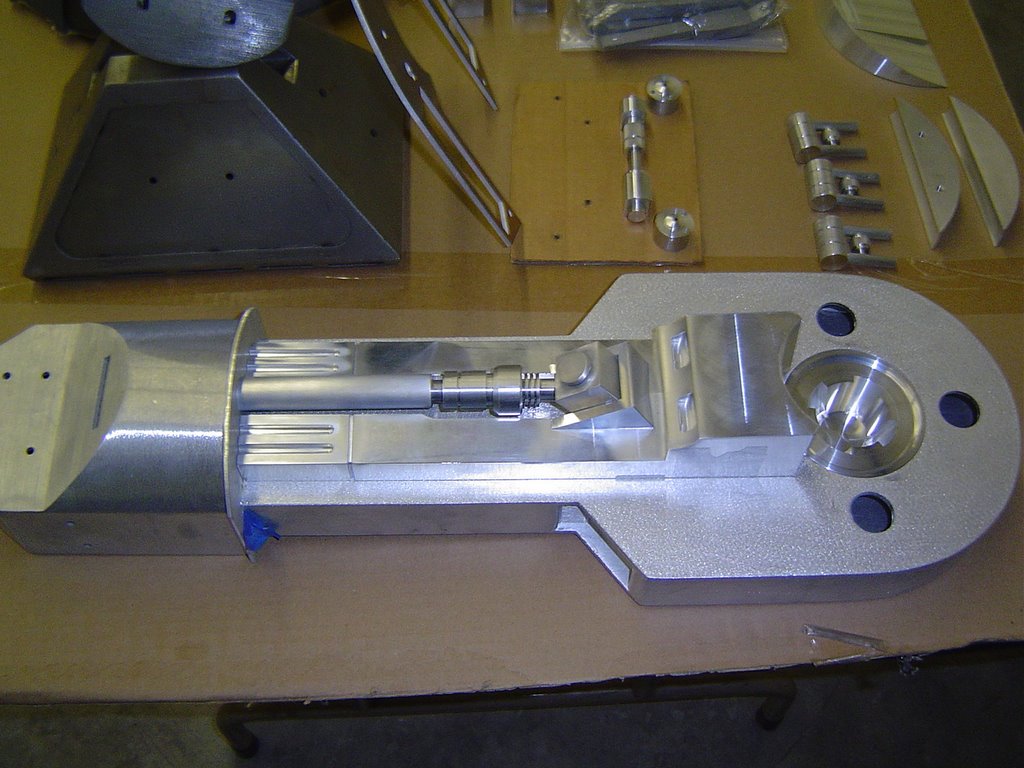
I picked up my Radar Eye and showed off my foot motor design.
I was alittle nervous about my design, But everyone liked what I had done.
So when I get home, I'll post some pics of the meeting.
Thank you Chip and everyone for doing the meet and I was very happy to meet
everyone that was there.
Jason, Aarron said to tell you Hello!!!
Calvin

Wednesday, August 23, 2006

R2 Computer Update


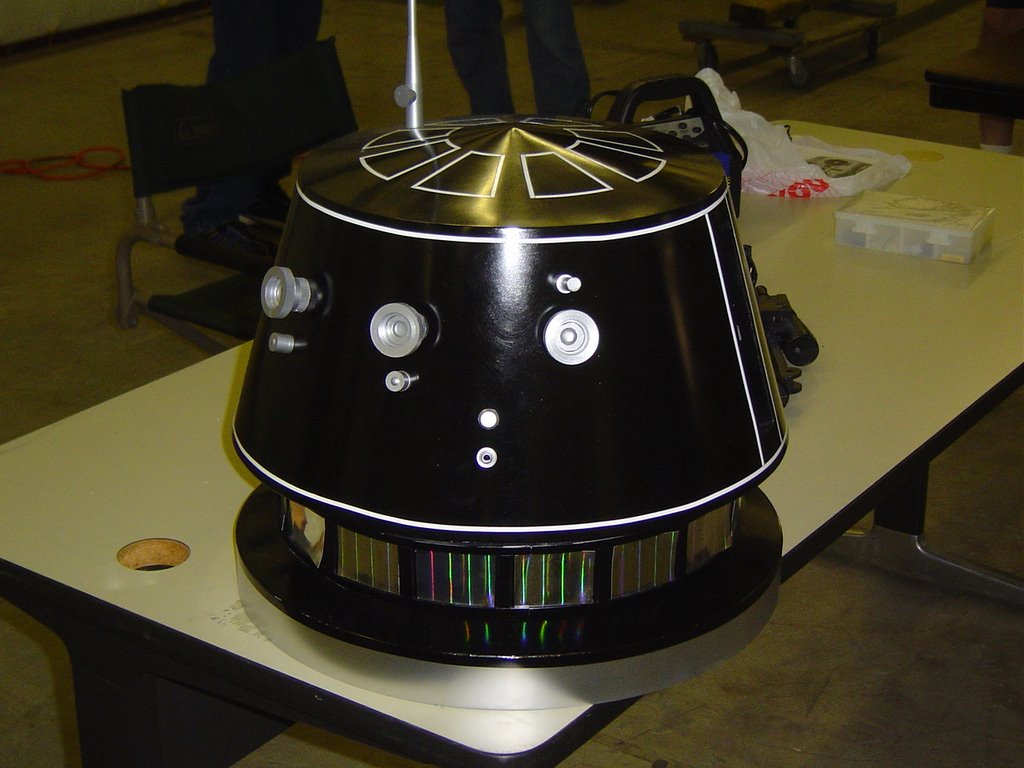
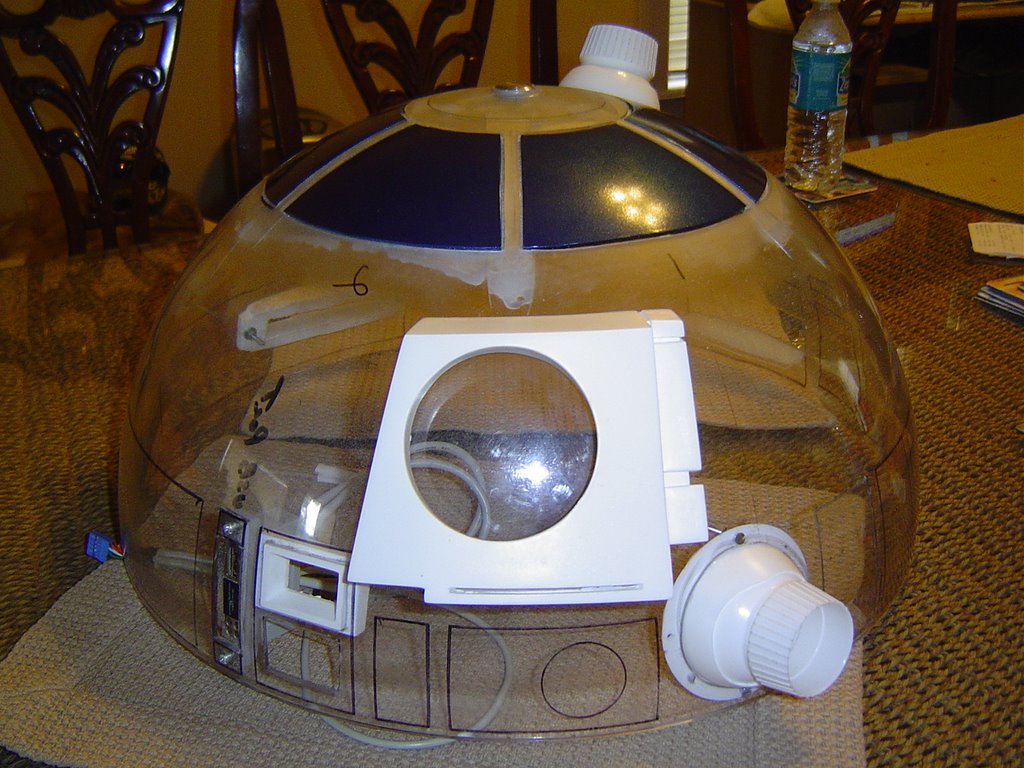
I bought some parts from Resin Parts and got them installed on the plastic dome.
It's starting to look like R2 instead of a pile of junk.
It still looks pretty rough right now, But once I get it finished it will look alot better.
I saved alot of stuff for this dome and as I
improve on it, I'll post more updates
This dome would not be good enough for an
R2, But as a computer it's just fine.

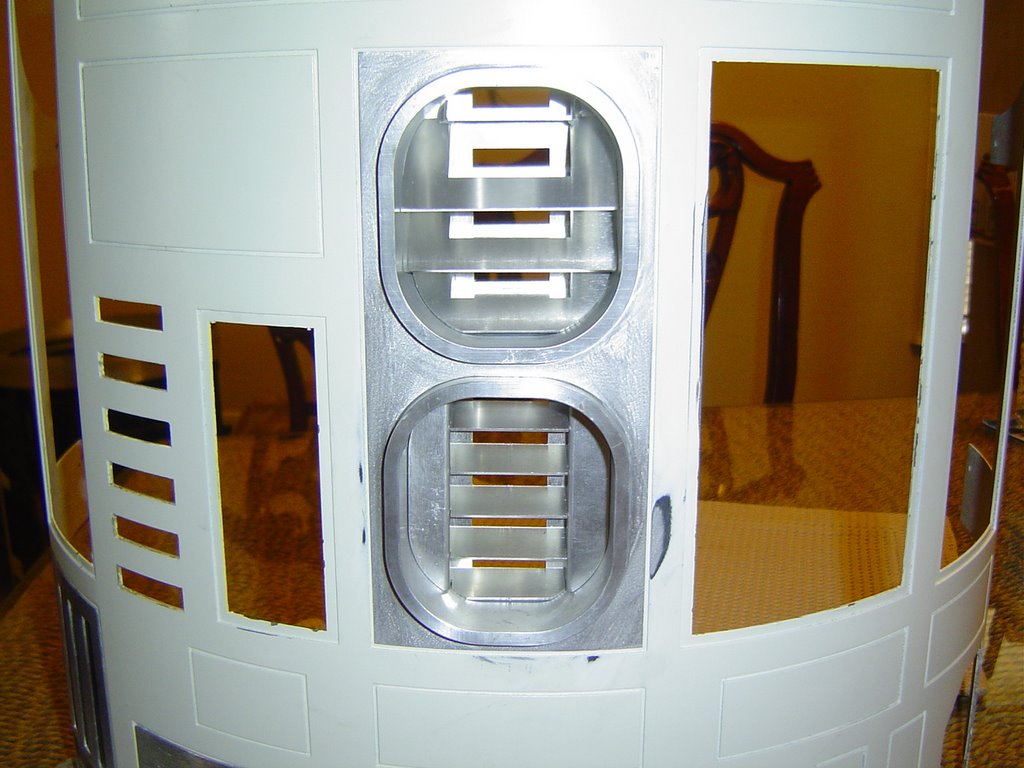
Vent Inserts


I got these installed, But I need to fit away to mount the very top fin in the upper surround.
I used a Hot Glue gun to put the vents together and it seems to be holding very well.
Once I get everything together I'll break it back down for the final paint finish.
Behind these to vents, I have some small speakers I will install for the mid/high sounds
from R2.

Got Some Progress


I have'nt been doing much lately. Between the weather and just not getting into doing much, I kinda fell behind. But I got more panels rough cut and a little painting done.
With that said, Here's some pics of what I've done to the dome.
The blue panels I just tape into place to get the pic, So they're not set yet.
Thats the only 2 Pie Panels I have repainted,
I'm trying my best not to get grit in the paint and its really taking time.

Wednesday, July 12, 2006

Painted Panels


I got 4 panels painted, But I'm not happy with the finish :(
They have some grit and pits in the paint, So I'll have to start
over and try it again.
Also I used the old Krider Blue setup and the camera does not show the
true color.
I think I rushed the paint between coats and thats why I got the pits or something was on the primer before I started.

Sunday, July 02, 2006

Dome Panels


I got the 1st coat of primer on the panels.
Not a very good pic, But I had other things to do today.
Soon I'll sand the first coat, then apply another coat.
Once the primer is finished, I'll start the blue finish.