Saturday, February 10, 2007

MG-34 Blaster


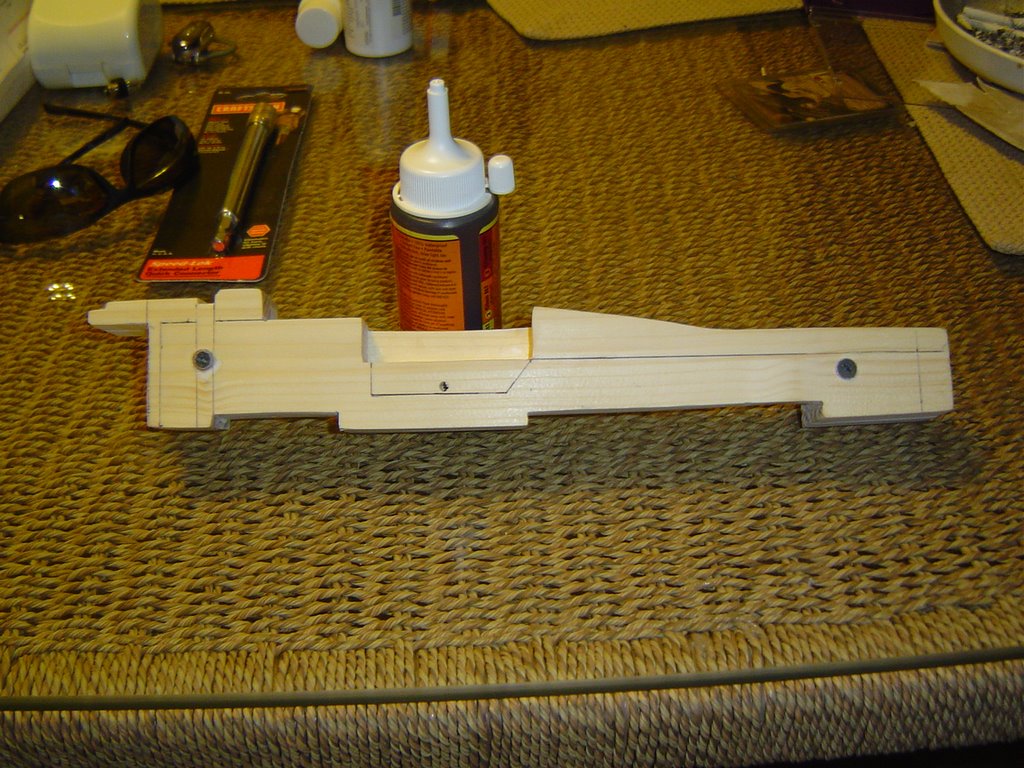
I started a new project for alittle while.
I get kinda burned out on R2 every once and a while.
Anyway, I found a site that builds Blasters and could'nt resist.
It's 1 of the long Blasters that the Storm Troopers carried.
Never done anything like this before, But here's my start.
It's made of wood and PVC. That smaller pipe goes inside the larger
pipe with the holes. Hopefully it will turn out OK.

Tuesday, February 06, 2007

PSI Mounted

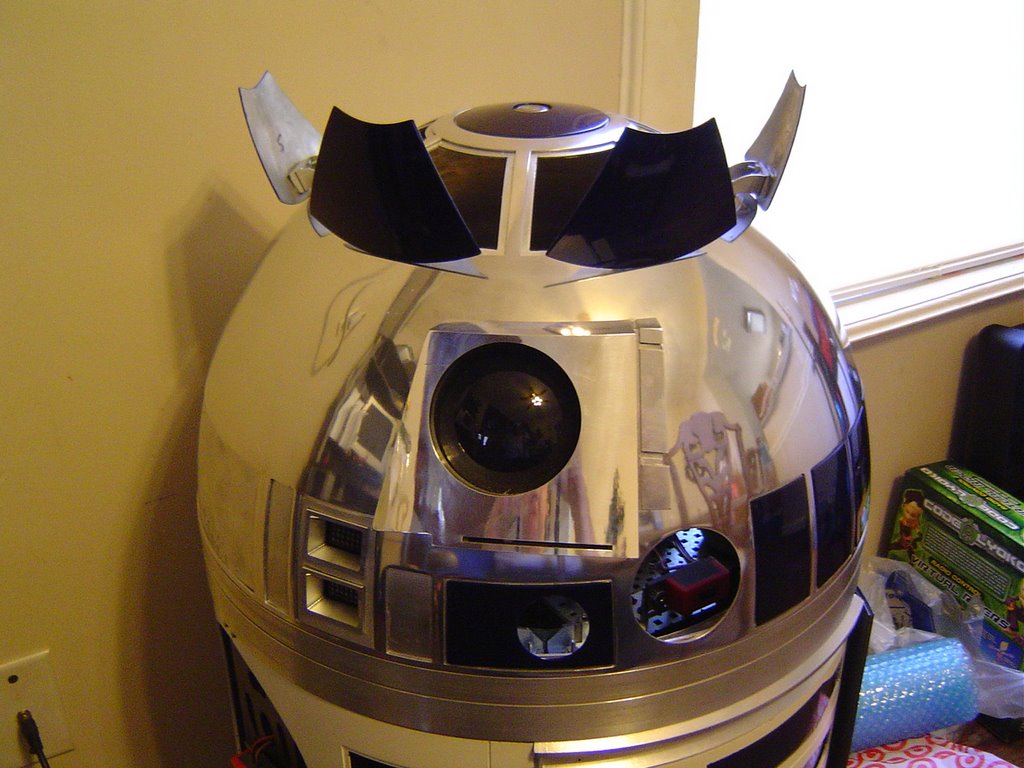
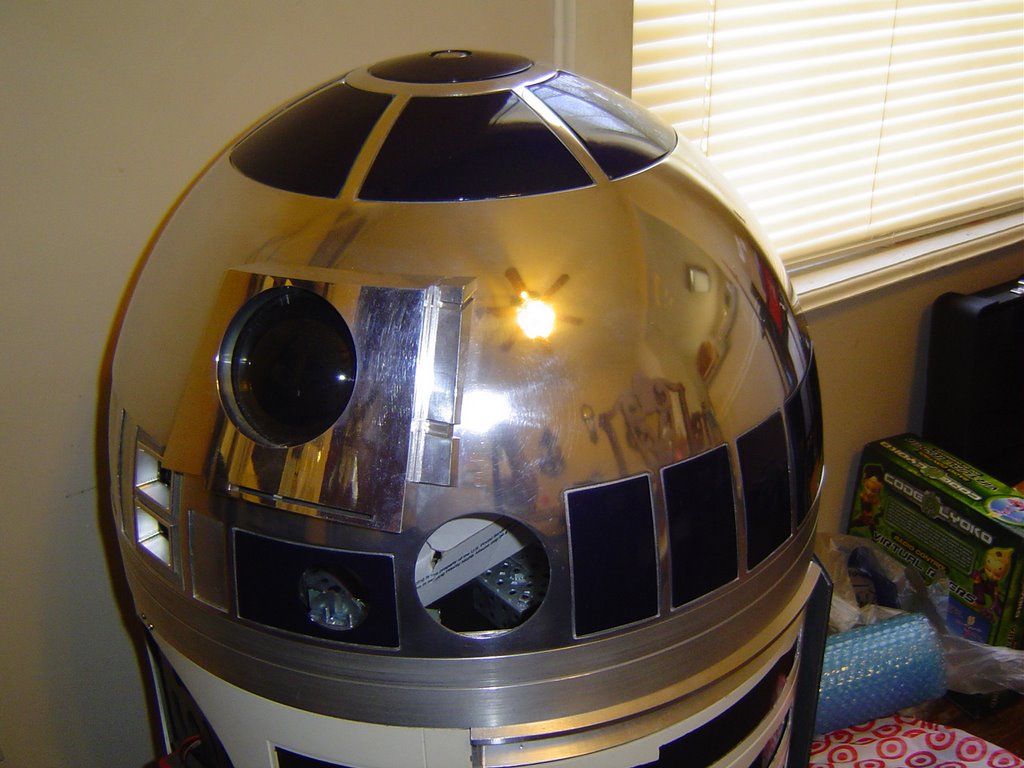
Got the front PSI mounted.
Yeah I know the camera shows a hotspot, But I tell you its not there.
Here's the link:
http://s71.photobucket.com/albums/i124/ctx3201/?action=view&current=MOV01652.flv

Monday, February 05, 2007

More Panels


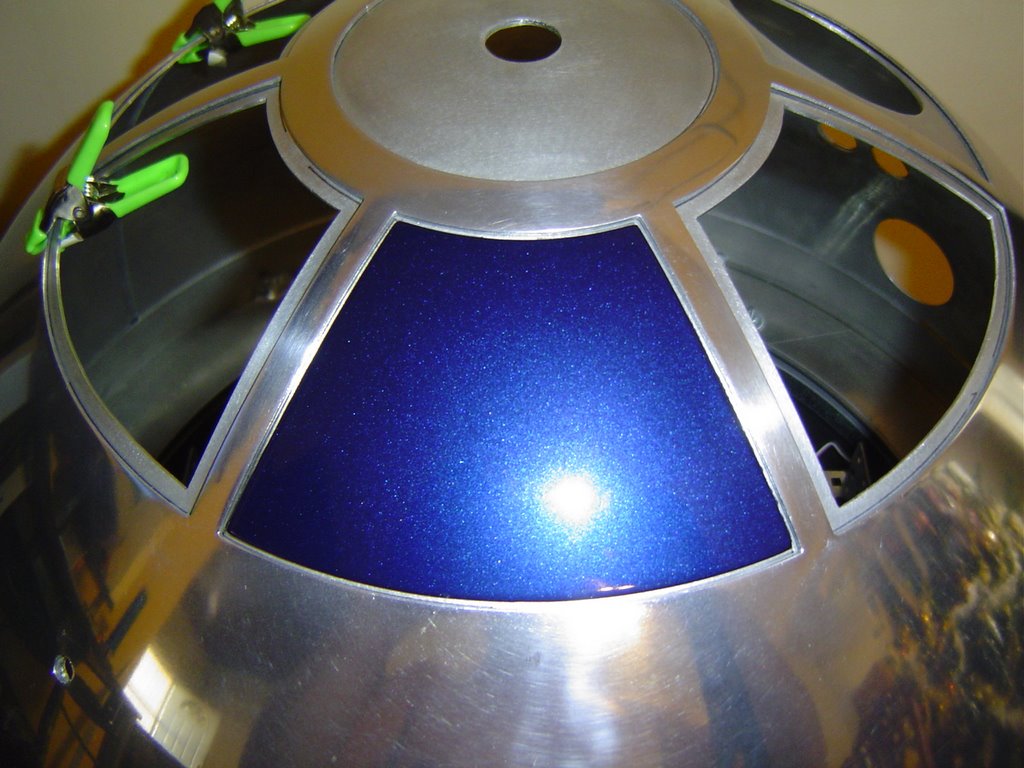
I got a couple of panels added on the back of the dome.
I added the 1 around the red light area and 1 of the Aluminum
colored ones.

IDEA!!!


I'm not sure what that area is called on the side of R2's dome that flashes red.
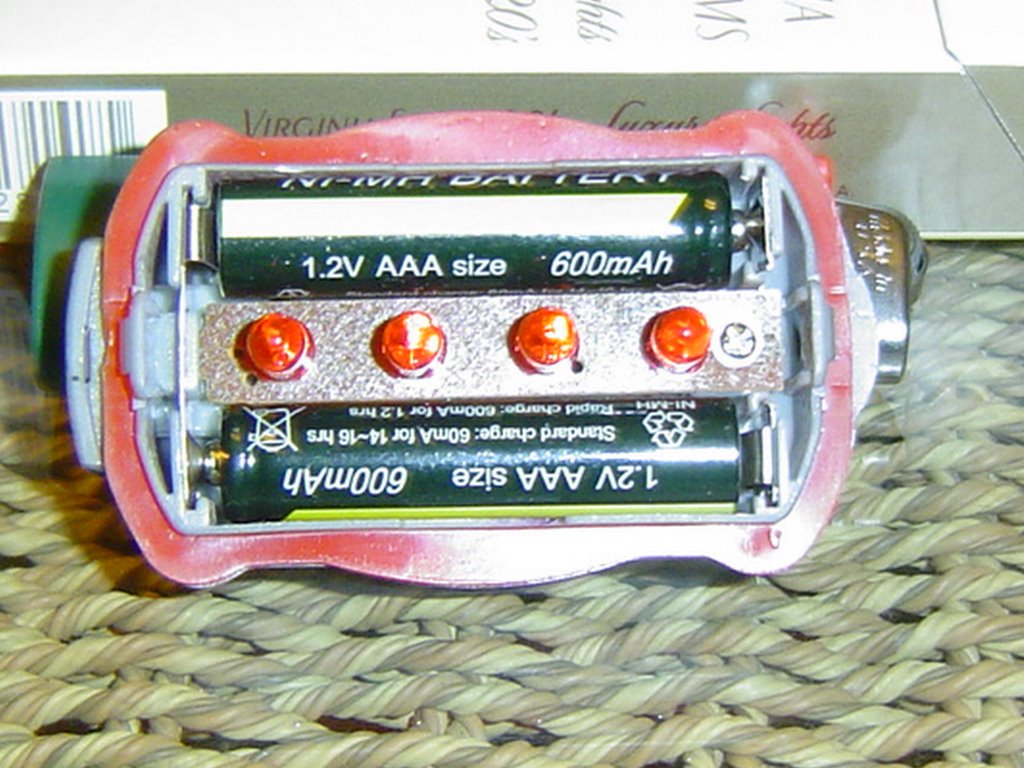
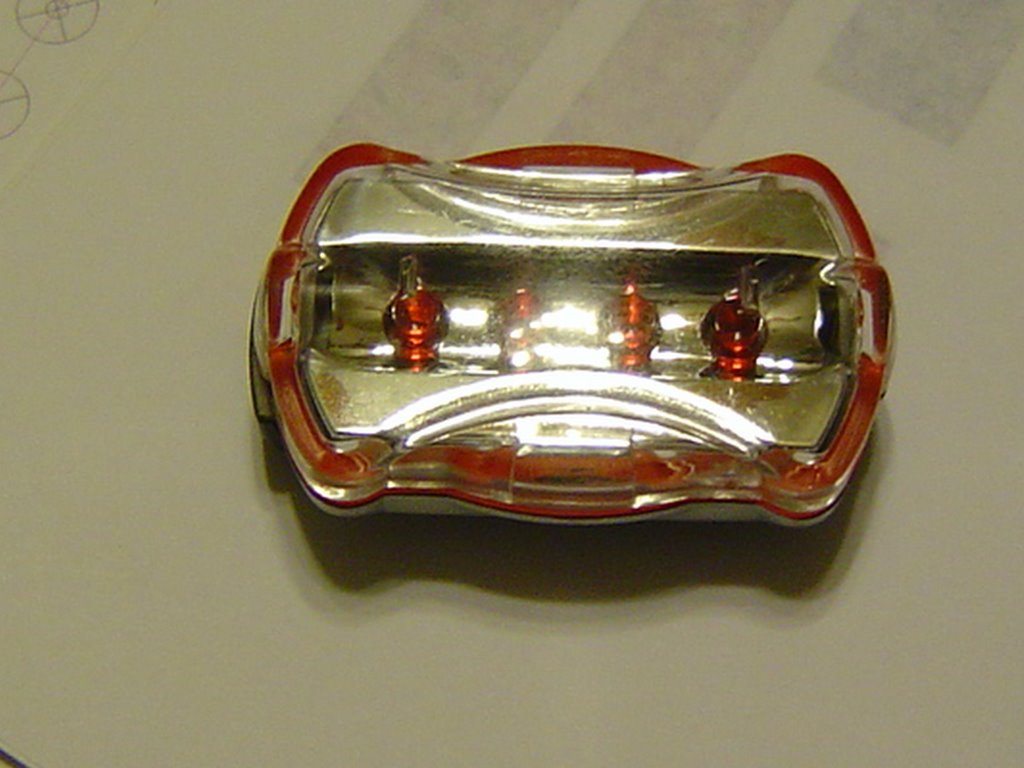
But this is what I think I might use to light it up.
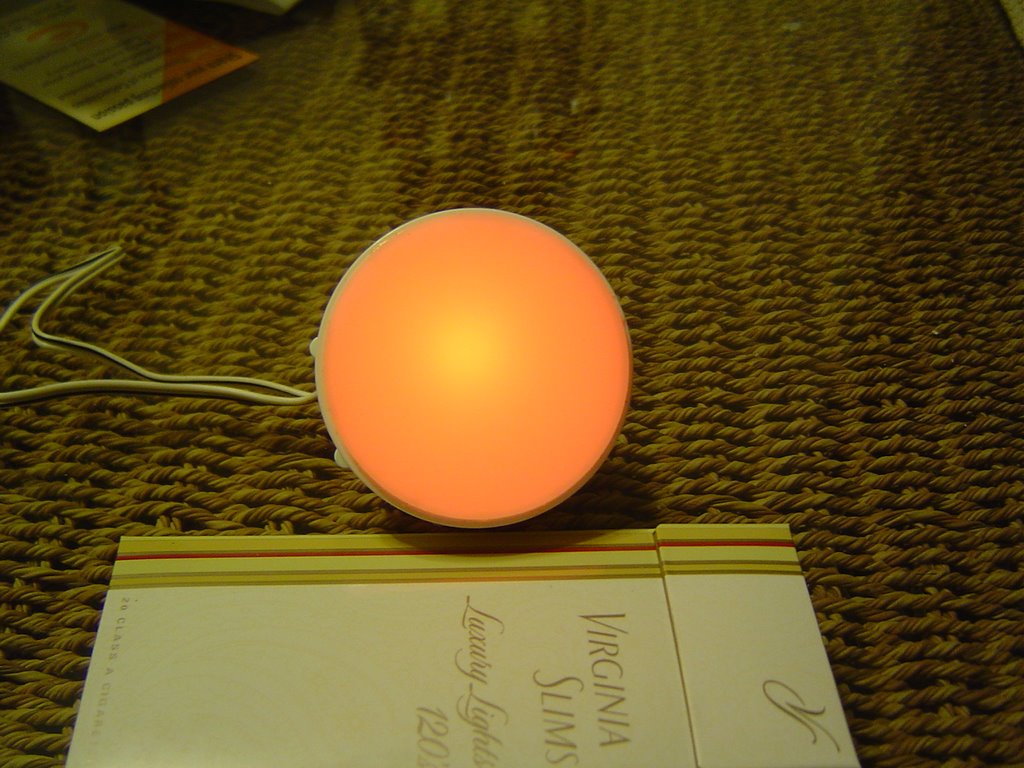
Just got to defuse the red LEDs.
It's the right size and it comes apart real easy.

Once you take it apart, All you have them is just 4 LEDs and a switch.

It will stay solid or flash fast or flash slow.

PSI Colors


I swear, In person you can't see that hotspot!!!

PSI Building


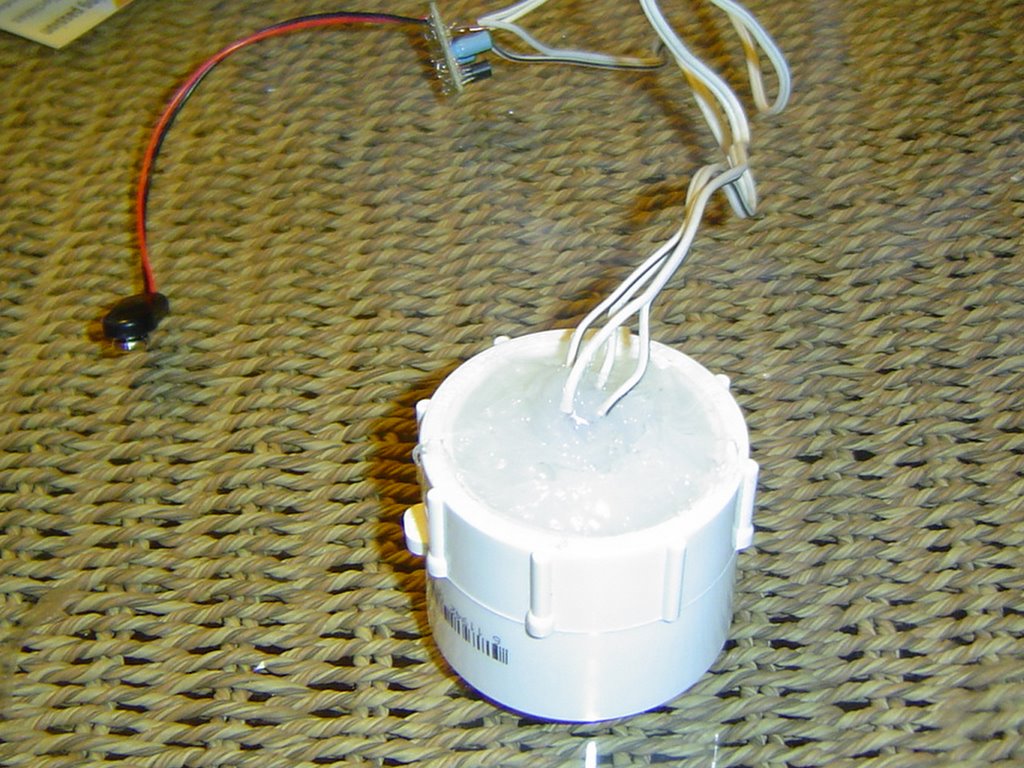
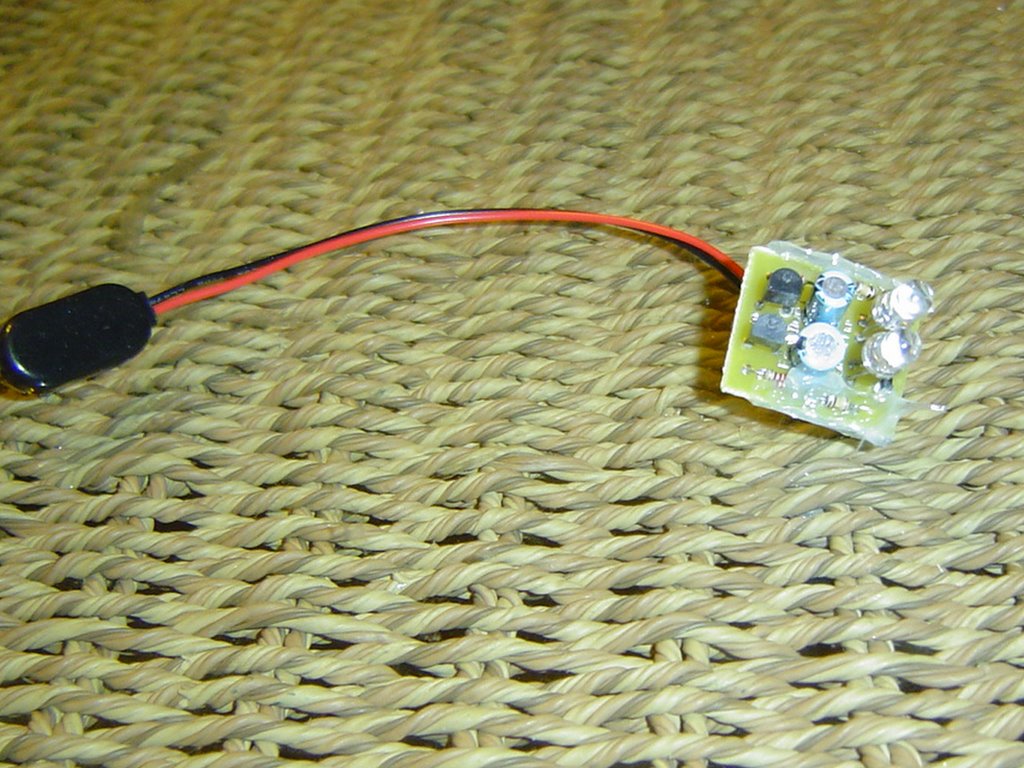
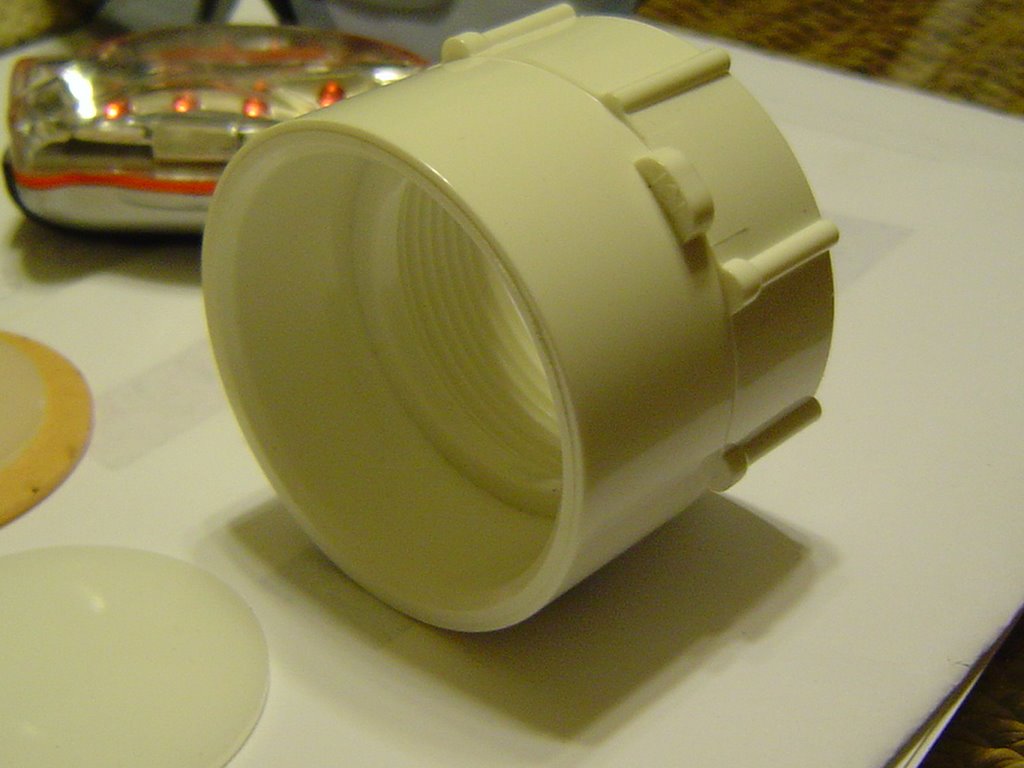
Here's what I used to build the PSI Light.
1- PVC 1-1/2 coupler ( Slip on 1 end- Threads on the other end )
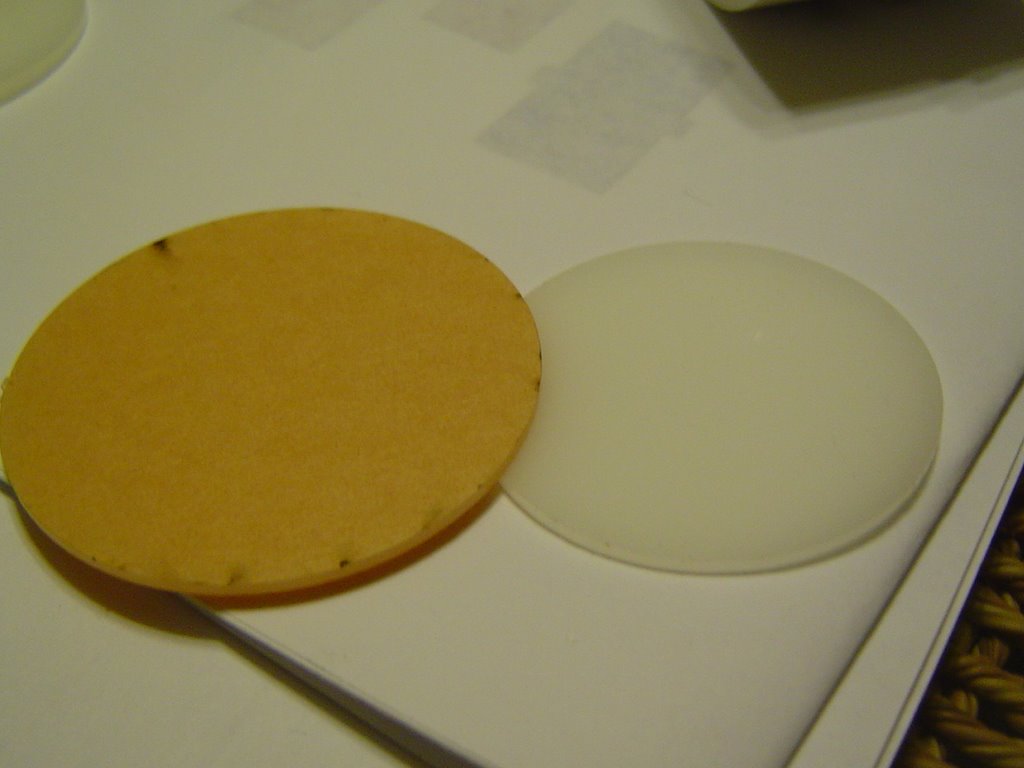
1 set - Andy's PSI Lenses
2 - LED Electronic Boards
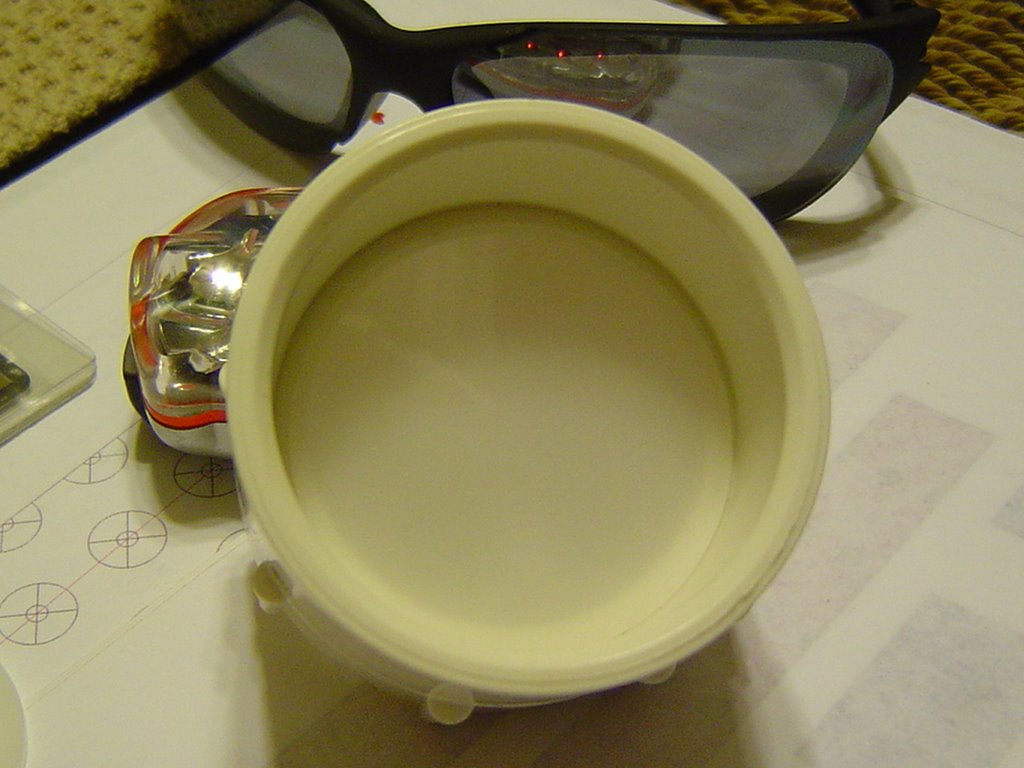
1 - Flashlight reflector

The flashlight reflector fits in the threaded side, ( I only had 1 lense, So I can't show a pic )
Allthough it does not thread in, It just goes in this side. And you can angle the LEDS just alittle.

The PVC coupler has and inner grove inside and the small lense from Andy fits right in there and acts as a diffuser, So the hot spots don't show up on the outter lense. I just used some Silicone to hold it in place.

The Larger Lense fits the outter lip perfect. I used doublesided tape to attach it to the PVC.

Although the pic shows I have'nt peeled the protective cover yet.


The LED Board comes preasymbled, But I had to cut the LEDs loose from the board so I could resolder them to a wire. When you cut them loose, Leave enough on the board to solder the wires too. I also changed the order the lights were flashing. It was Long red/Short blue.
After I had everything in the PVC, I filled the PVC with Silicone to prevent the wires from moving or pulling loose. Kinda permanant but it's cheap, So if it burns out I can build another.
In my earlier post it shows the PSI working and it shows a hot spot, But in person you can't see it.

Sunday, January 28, 2007

More Pics


My wife and Daughter is going to KILL ME, But I could'nt resist.
HAHAHAH

This was our Hotel room, It was'nt bad But I don't think we'll use this Hotel again. It was alittle too noicey for our taste.

And as usual my wife had her Camcorder going.

More Fx Pics


Fx Show Pics


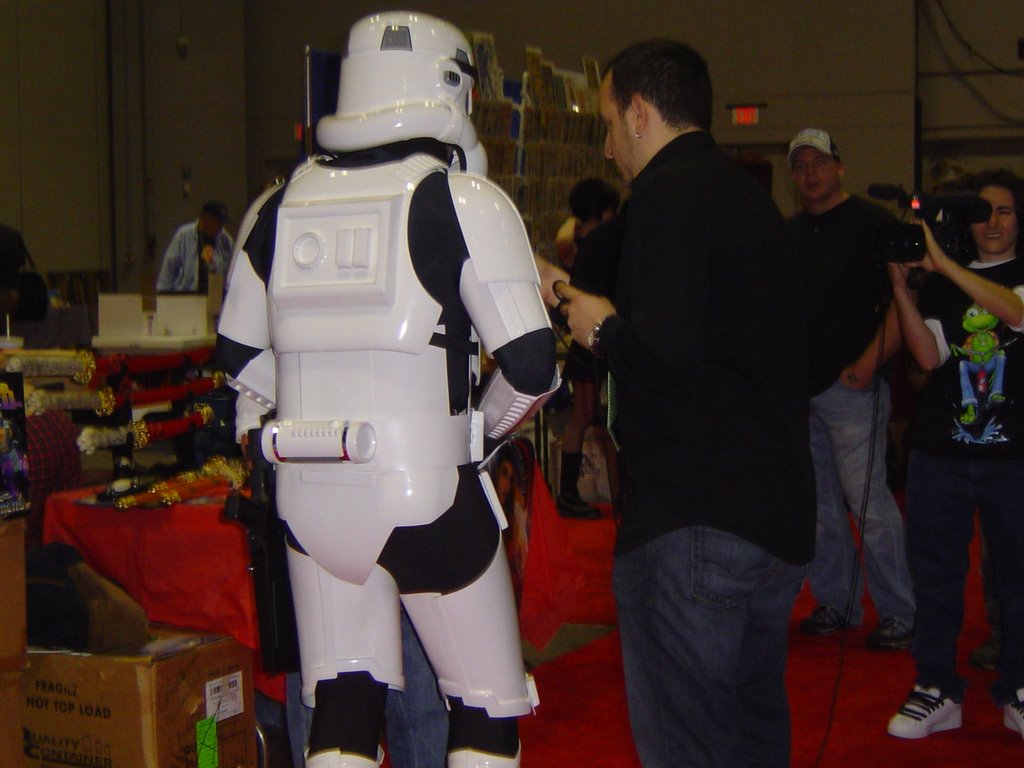
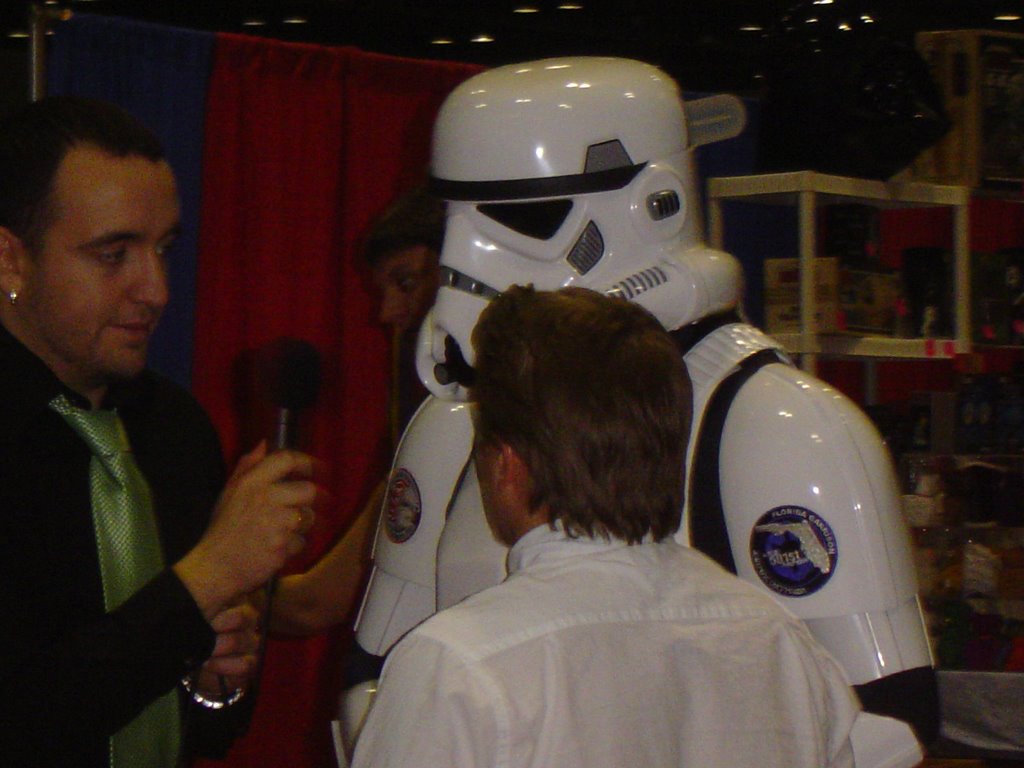
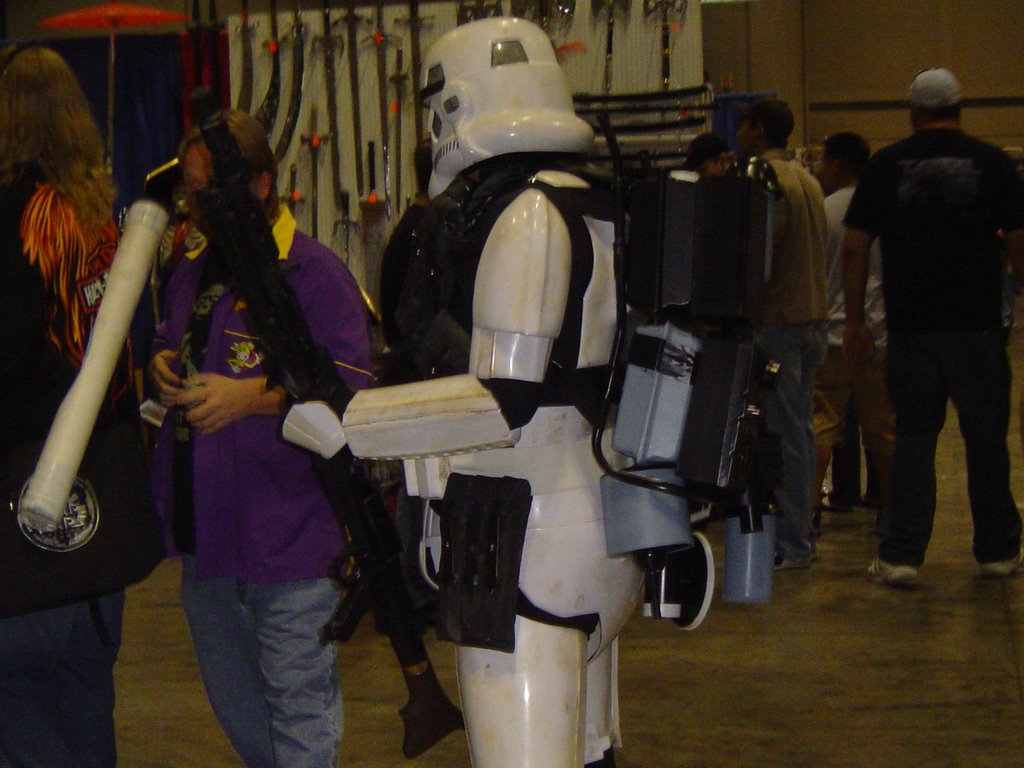
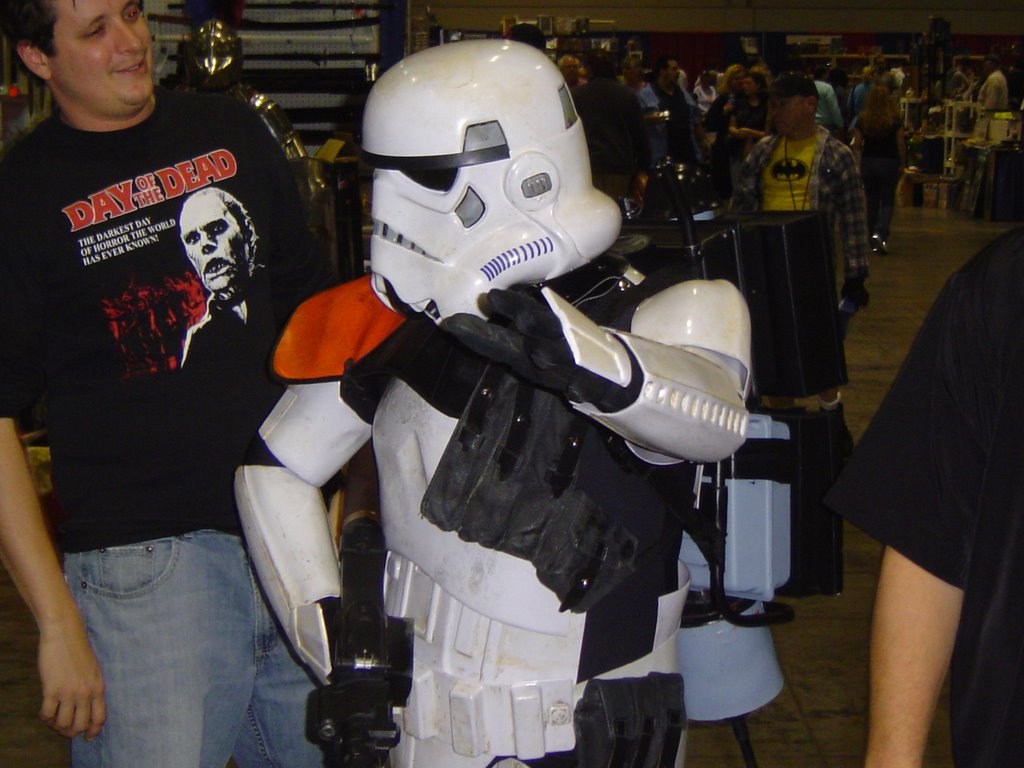
We had a wonderful time at the show. There was Storm Troopers, Resident Evil Guys and some people I did'nt know what they were dressed like.
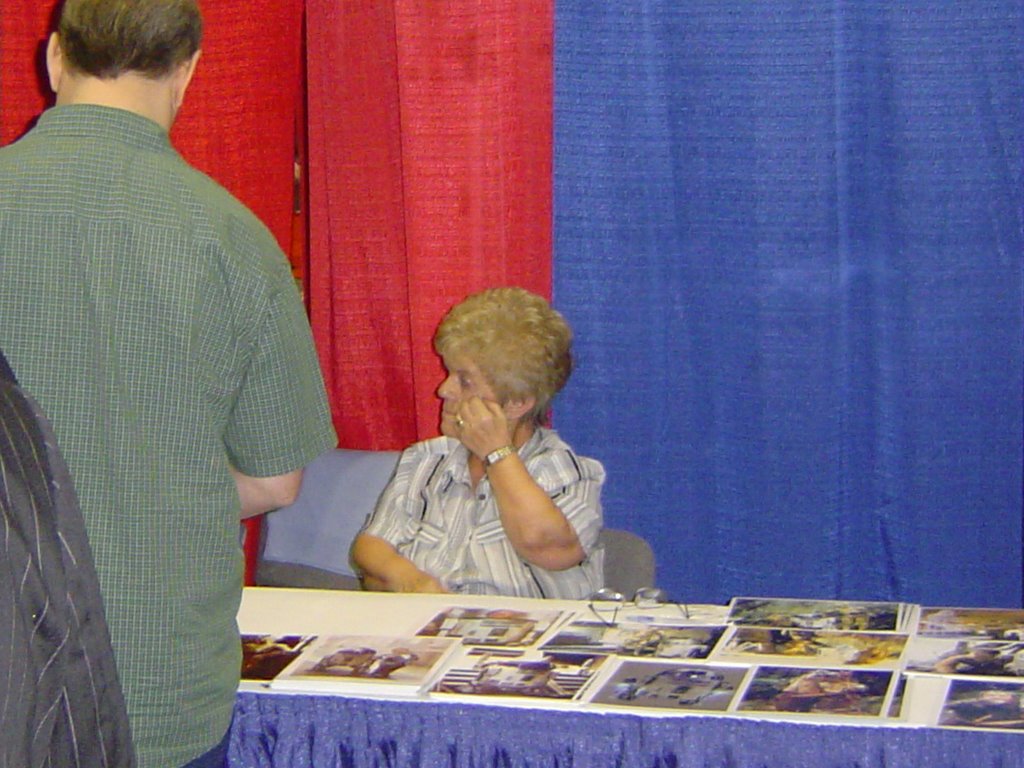
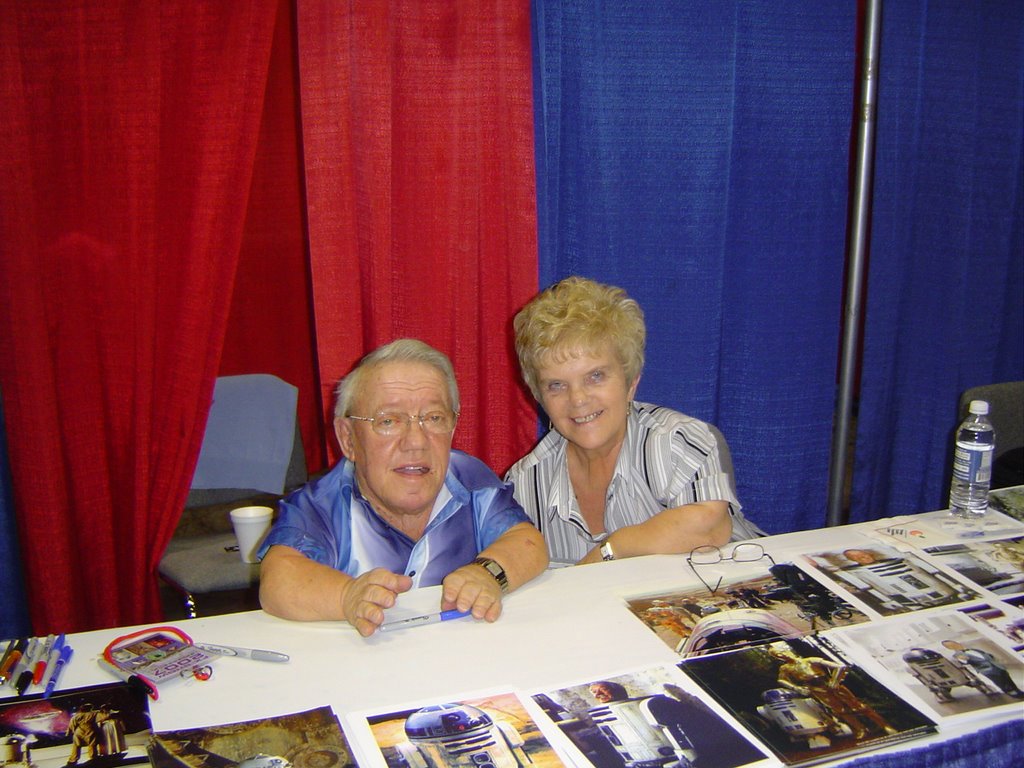
We meet Kenny Baker and his Mrs. Baker and they were very nice.
Most of the signing was done by Kenny and Darth Maul ( Ray Parker )
All the other guest were not doing half as much as these two.
I got R2's back door signed and my wife got her Action figure signed by Darth
and she got her R2 card signed.

Friday, January 26, 2007

PSI Color

Here's the link: http://s71.photobucket.com/albums/i124/ctx3201/?action=view&current=MOV01548.flv
The camera shows the hot spot real bad, But in person you can't hardly
see it with your eyes. I don't know why the camera picked it up so much.

Finally Pics


My comp is still down, But I have the chance to post alittle.
I backed out of having the side panels open. I was not having any luck
at getting the hinges correct, Maybe once I'm better at this I'll release the panels
and try again.
But R2 is starting to look the way he's suppose to look. Once I get the Holos and get the eye painted, He will look even better.

Sunday, January 21, 2007

Panel mounting

I used the Silicone to mount the PSI skin on the dome.
It Silicone bonded fine, But the clamps slightly damaged the paint on the panel.
So the other panels I used the VHB tape, Which I liked much better.
No clean up and the panels feel very well bonded.
I can't post any pics, Because my crappy comp crashed again!!!
Once I get a new comp, I'll post pics of my progress.
I may not have alot to post for the next week, The Fx Show in Orlando
is next weekend and I'm preparing for the small vacation.

Saturday, January 20, 2007

Domes Bonded

Today we took the dome down from the ceiling and my wife ( Brenda )
cleaned all the extra Silicone out of the grooves and around the panels.
It looks like the bond turned out OK.
Everything looks good, I still have 1 Pie that is hitting at the bottom but I
think I can adjust it.
One thing I learned about using Silicone: It's very thick stuff and you'll have to force the domes
together here and there. But it gives you plenty of time to adjust.
Cleanup was pretty easy, She used a dental pick and a xacto knife to remove the extra.
I'm attaching some of the panels now with the Silicone. Some of it got on the paint and I'll know tommorrow if it damages the paint.
I'll have pics soon.

Thursday, January 18, 2007

Good news - Bad news

Well, I guess I'll live, But I bonded my dome today and not 30 minutes after the Holos
came on sale.
I'm glad I got them this time, But I sure wish I'd got them 30 minutes earlier.
My dome is hanging from a hook in the ceiling and I won't touch it for 2 days.
When I do I'll post some pics.

Wednesday, January 17, 2007

Bad Weather Blues

Today I was going to bond the domes, But the weather turned cold and rainny.
So I will wait a day and try again. I'm really nervous about this step and I want the best
day for this to happen. I'm scared the Silicone may react to the moisture in the air.

Tuesday, January 16, 2007

Change of Plans

Ok, I wanted to wait until I got my Holos to bond my dome together.
But I was practicing the steps of bonding the dome and noticed that my Pie's
were very easy to get out of position when I sat the outter dome back on for bonding.
So, Today I will buy more Silicone and bond the dome together.
I hope this does'nt cause alot of problems down the line ( Which I expect it too )
Mounting other items will be alot more of a problem, But I can't continue working
if I don't bond.
As soon as it dries, I'll post some pics.
Man, I hate this change in my plan, But this is how things go sometimes.

Thursday, January 11, 2007

Pie's Attached


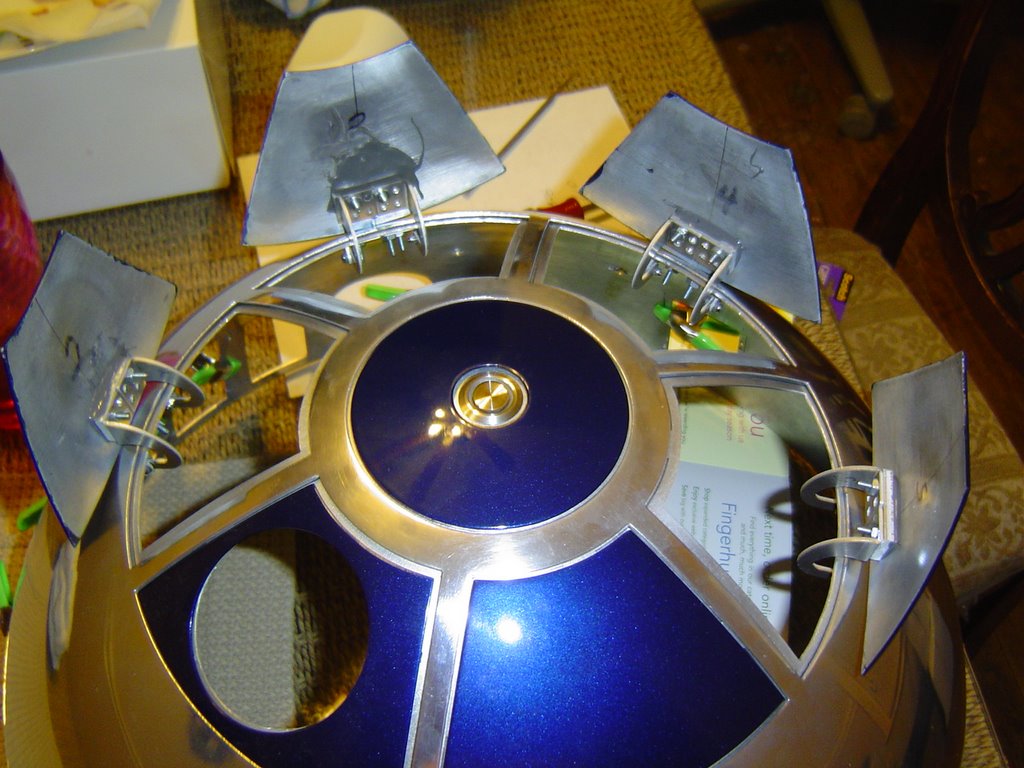
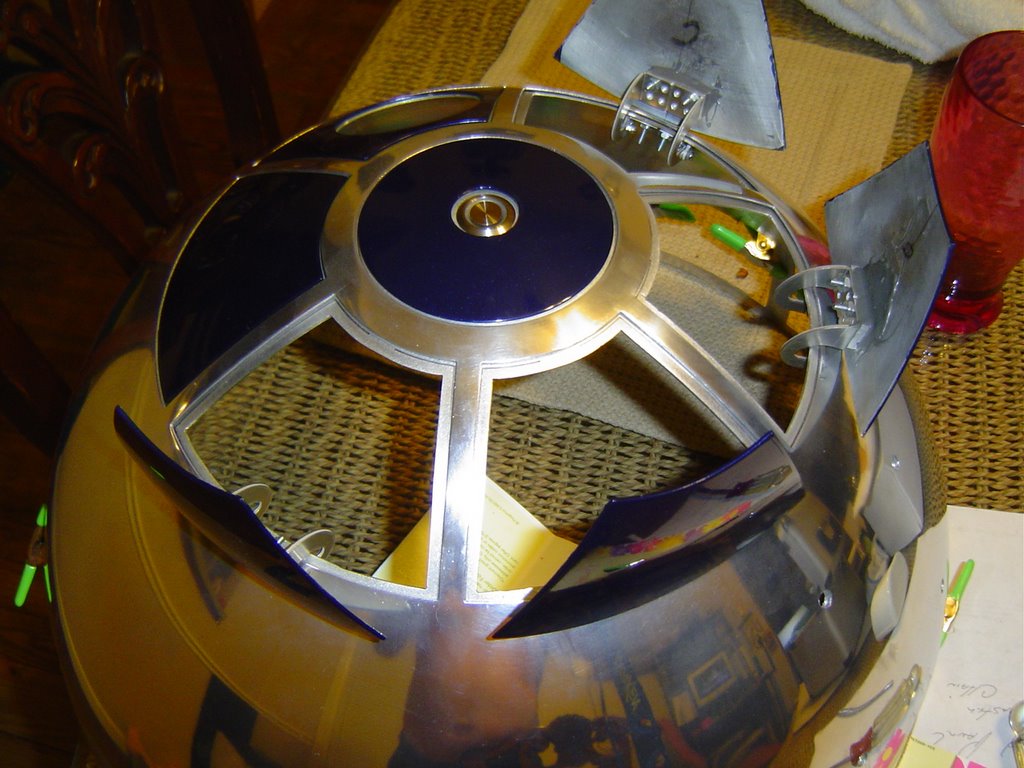
Ok it dried enough for me to open the Pies.
I still have'nt cleaned up anything yet, But took the pics anyway.
I have 1 Pie that is hitting the outter dome at the bottom.
I know what's wrong, With the outter dome not bonded yet it's alittle high in that area.
Once I bond the 2 domes, This should go away.
Also I have not fine tuned the panels yet.
The button in the center of the dome needs to have a spacer to raise it up higher and I have'nt centered it yet.
The Pie for the Periscope is just taped in place and the 1 for the Holo is just sitting on the dome.

What a Mess


If you ever want to see just how sloppy and unstraight something is, Take a PIC!!!
I've got cleaning to do and some aligning to do, But as bad as it looks.
Those Pie's open very smooth and hold they're position.
I can't show the outside right now, Because 1 Pie is not dry yet.
So in the long run, If you do better than my mess.
Your panels will be no problem.

Wednesday, January 10, 2007

Pie Pains

I don't have any new pics yet, But I wanted to caution you guys about the Pies.
I notice when I attached a couple of pies to the dome, I did it not on the dome ring.
When I sat the dome back on the ring, The setting changed alittle.
Luckly my hinge holes are alittle large and this allowed me to reposition the hinge.
It was'nt much, But I'm doing the best I can on the dome.
Once I get the other Pies hinged, I'll post some pics of my mess.

Monday, January 01, 2007

Front Logics


http://s71.photobucket.com/albums/i124/ctx3201/?action=view&current=MOV01520.flv
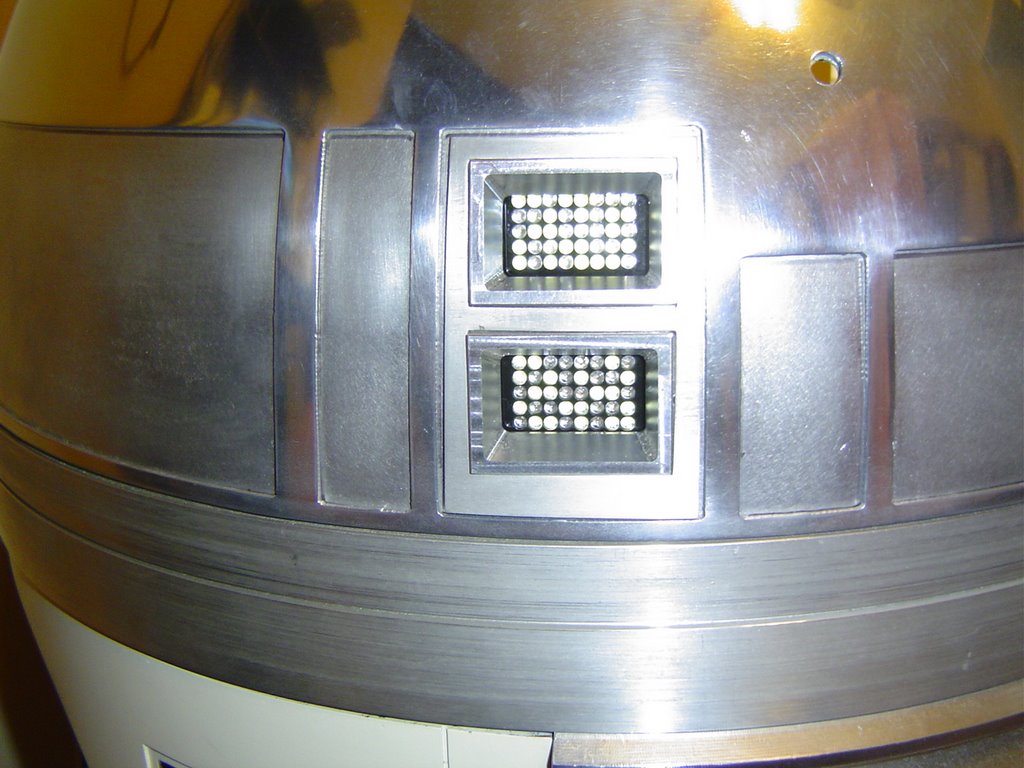
I got the front Logics mounted.
I've got to set the outer panel, So it looks alittle off right now.
I predrilled the Aluminum surround and screwed them to the inner dome.
Then I mounted the logics with double sided tape.
You can tell from the pic, That the Logics are alittle large and caused the top Logic to be
alittle high. But the bottom looks fine and thats the one that will have the message on it.

Saturday, December 30, 2006

Glorious Hinges


I tell you, Don't use those hinges from McMaster.
There's too much slop in them and they might be cheaper,
But it's not worth it.
I got 2 hinges from www.robart.com and they're perfect.
They cost alittle more, But if you want your panels to stay in place use them.
I placed 2 side by side, The idea I got from Keith and Carolyn.
My panel opens/closes and hooking a servo to it will be alot easier.
I've got some J.B.Weld to clean up, But I had to show these hinges.

Tuesday, December 19, 2006

Infared Video

http://s71.photobucket.com/albums/i124/ctx3201/?action=view&current=MOV01502.flv
I wanted to show how the infareds see the mirror mounted on the dome ring .
I know the video is not that great and my hands shake, But you can get the general idea.
When the Vex is first turned on the motor finds the front position.
As the Ultra is blocked, The motor will turn to that side. If the signal is lost it returns to the front position. If the signal is constant, The motor will pause for 2 seconds then return to the front position.

Monday, December 18, 2006

More Changes


The bumper switches added a drag to the dome when the switch was pressed.
So I changed them to the Infared sensors I had from Vex.
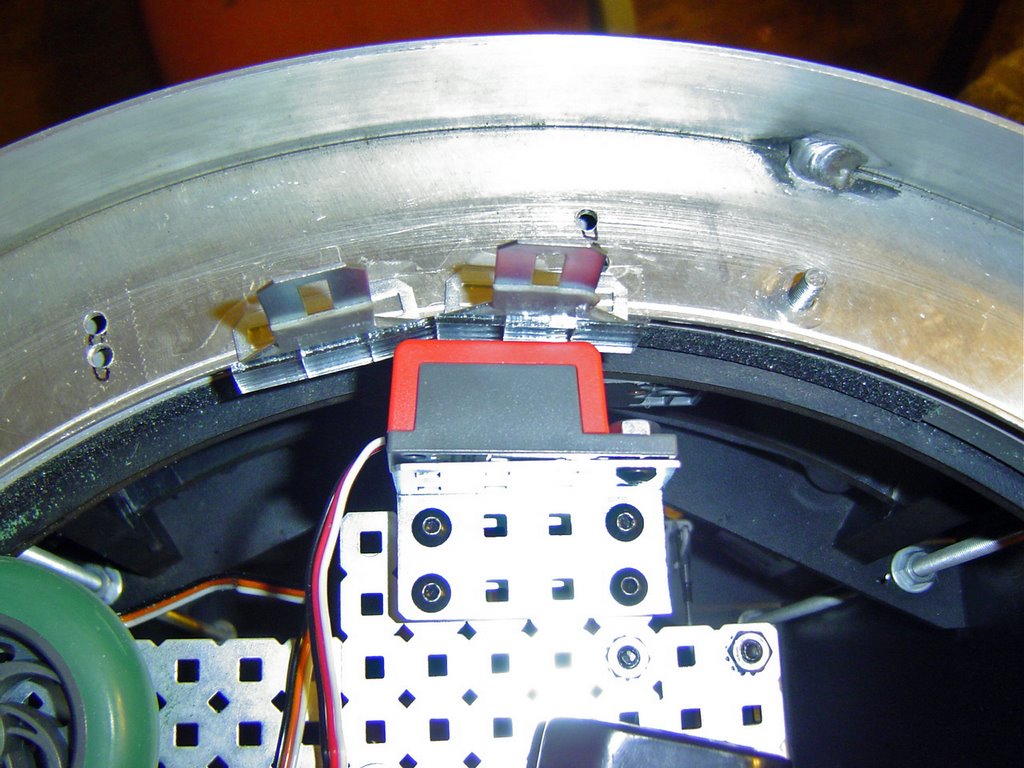
As the dome turns the Infa's light is refected by the mirrors and acts like a on/off switch.
This gives me a No Contact switch and no drag on the motor.
It's still a mess, But I will clean it up after I get some more progress.
Once I replace the rod I bent for the Utility arm movement, I'll add more pics
and video. The rod was bent because I had it on a Remote switch instead of a
Remote joystick. When that thing was activated it flew out full power and bent the rod.
Which I'm glad this happened now, If a kid was infront of R2 and it opened.
The kid would probly need a doctor. LESSON LEARNED!!!

Wednesday, December 13, 2006

Video

http://s71.photobucket.com/albums/i124/ctx3201/?action=view&current=MOV01498.flv
This's a link to view a Video of R2 turning the dome by Remote and by Ultrasonics.
When you see my hand to the left of the screen, R2 is turning the dome not the Remote.
I need to get a quite servo for the dome, But this is what I have so far.
OOOPPSS!!!

Want to see a Mess!!


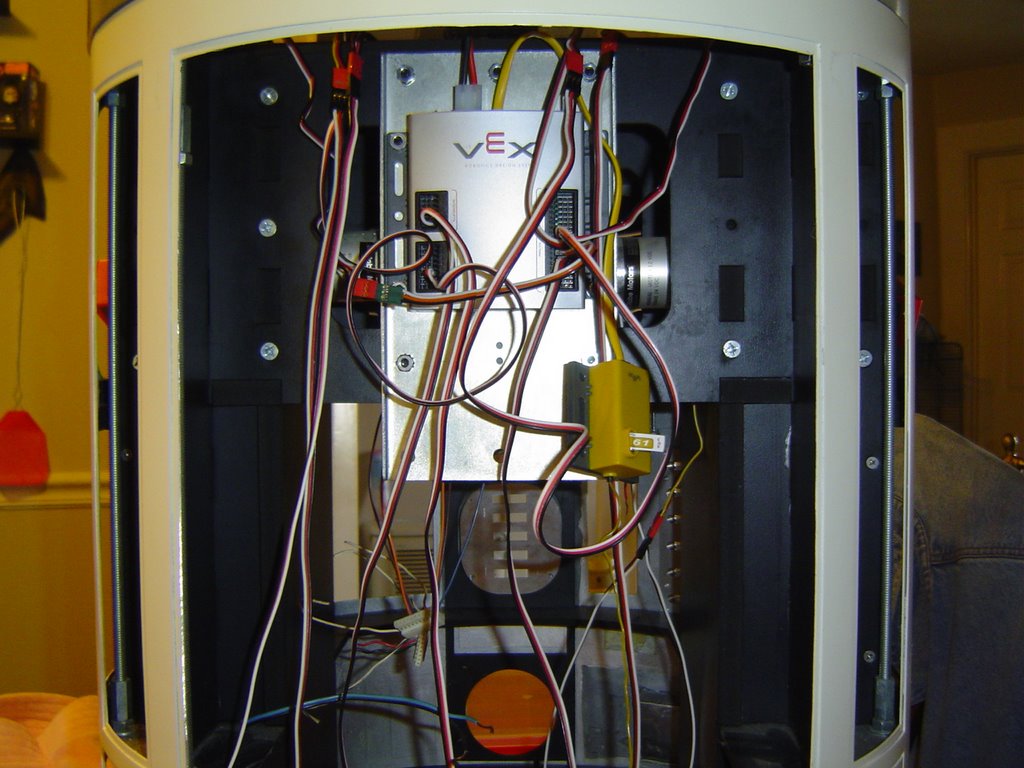
Heres some of the progress I've made on R2's Vex system.
Once I get the Legs attached and know for sure the length of the wire,
I'll clean it up then.

Sunday, December 03, 2006

Vex Mounting


I started putting some of the Vex to the test and it works Great!!
I have some bugs to work out, Like the drive wheel is slipping just alittle and I did'nt buy enough cables to move the Vex to the back of the frame.
That little brown area in the front is made of wood and I'll have to change it to a plastic.
It kinda graps the switches as it hits them, I think it's because the wood is rough.
Once I get enough cables any work out the bugs, I'll post some more pics and I going to find out how to post some video.

Wednesday, November 29, 2006

More Vex

Ok, The coding for the Vex used in the body is finished. With the help of Marko, We were able to get what I was after in the code and it works better than I expected.
Now I need to get the Vex mounted in R2 and I need to order some longer wires for the Ultrasonics going in the legs. I think I'm going to try that Youth Tube to post some Video of R2 moving his dome.
Now that this is finished, I'm going to start on the Dome Vex. This will control movement in the dome.

Thursday, November 23, 2006

Vex Setup

I don't have any pics to post right now, But maybe by the weekend I'll have some to post.
I've been working on coding the Vex for the body and have some of the electronics mounted in R2. This has been a time consuming task and the code keeps changing as I move froward.
R2 at this time can tell if someone walks up on either side and turns the dome to that side as to look at whatever is there, Then the dome returns forward and waits for the next victom.
Thats about it for now.

Monday, October 30, 2006

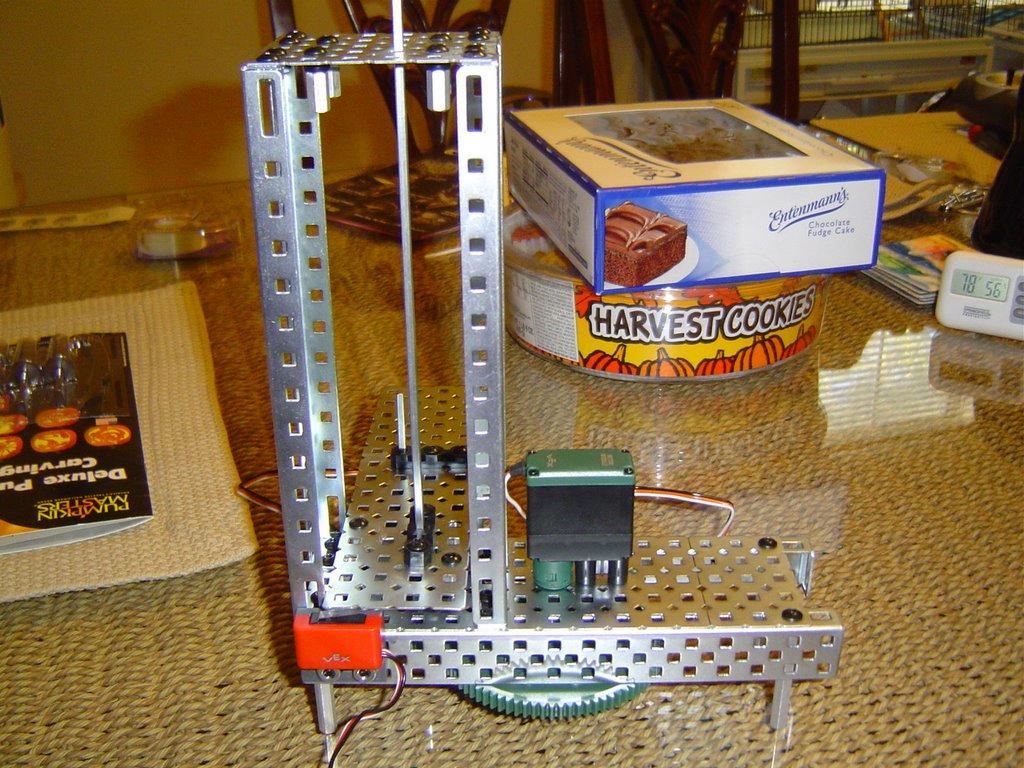
Periscope Lift


I know this thing looks huge, But it not and it will get reduced where the bulk is not needed.
I plan to have this activate by a Light Sensor in the dome.
It will raise the Periscope then pan left/right then lower the Periscope.
I'm getting alot of help from a fellow Vex user and it's very nice of him to do this for me.
Well, Here's the Pics!

Wednesday, October 25, 2006

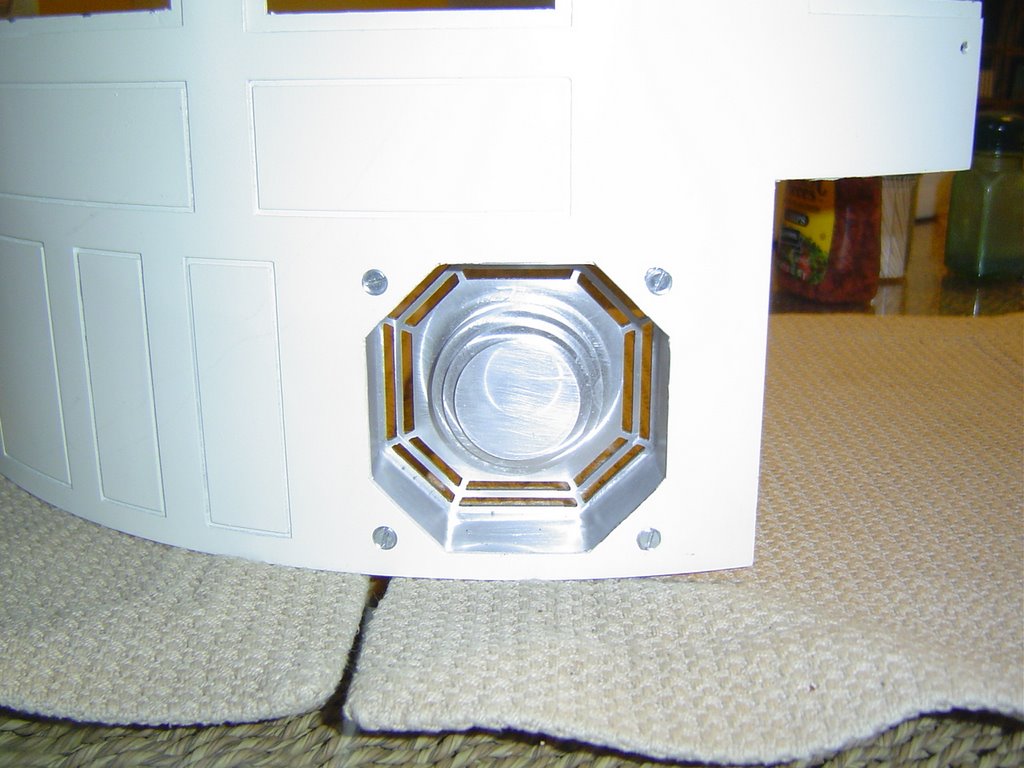
Octagon Port


I installed the 1st Octo. today and will J.B. Weld the countersunk screws when I get the door hinges mounted.
Once I do this, You'll never know there was screws showing on the outside.

A&A & Utility Arms


As I said, Things will change here alot. I'm learning as I go and will make many mistakes.
But I try to improve on everything I work on.
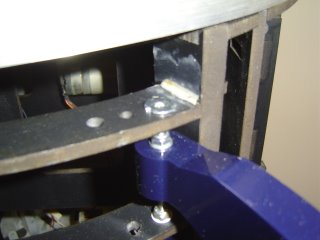
The Arm mounting point, I found alittle area for improvement.

This pic shows the end of the arm carriage and I used a shim to lock the carriage. I don't know if this is what Andy intended this for, But it sure adds strength to the carriage.

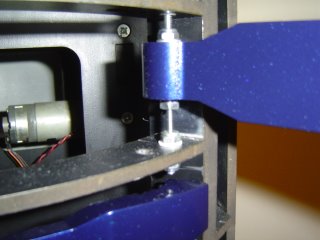
The next pic shows the threaded shaft I used to pivot the Arms.
The Aluminum Arms come predrilled, But the hole was to big for me.
So I used a Nylon sleeve inside the Arm and reduced the size of the hole to fit the threaded rod.
I used 2 teflon washers on top/bottom of the Arm, The I bolted them with 2 lock nuts.
This gives me an adjustment point for the Arms to be set to the skin.

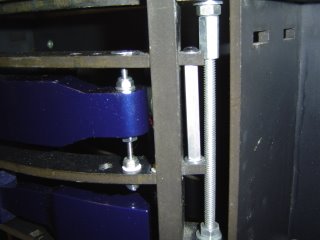
The next pic shows the T-nut I used to align the threaded rod to the carriage.
Now the T-nut does'nt lock the Arm so it won't move and thats what I intended it to do.
I greased the T-nut and threaded the rod into it and at the bottom of the carriage I used teflon washers and lock nuts. Between the lock nuts, Theres another nylon sleeve inside the frame.
This allows the threaded rod to pivot.
This is what the whole system looks like.
The system allows the threaded rod with the Arms locked to the rod to pivot the whole system together. I've took my skins off the frame several times and pivoted the Arms over/over and the position has stayed true everytime. So I'm convinced the system will hold up to wear and tear.
I'm currently working on the Vex system to move the Arms and other items.

Thursday, October 19, 2006

Pics Finally


Ok, I could'nt wait till the weekend to post some new work on R2.
So here's the Utility Arms, I got them painted and installed.

Wednesday, October 18, 2006

Utility Arms

Well since my Comp. died, I'm on my wifes laptop and will only post pics on the weekends.
But today I got my Utility Arms painted and installed into the A&A frame.
I have the Aluminum arms and I ran into a problem when installing them.
The arms are to spec., But the Aluminum skins I have are not allowing the arms to open.
So what I did was to enlarge a certain area of the skin as the R2 Builders requested.
Also after doing this, I had to cut the arms in the area where the back of the hand area comes
into contact with the skin.
From the outside you can't see where I cut the arm and when the arm is open,
It looks like R2 has thumbs.
I'll post pics this weekend and you'll see where the cut was done.