
Ok, I found plenty of wheels at Skate Bomb.
I was sweating it about the wheels being to wide from K-mart.
This place had plenty and I got Blue ones to boot.
Your local skate shop should have the wheels, But just incase heres they're addy.
Skate Bomb
1365 S. 3rd st. Jacksonville Beach, Florida 32250
904-241-3337
They'll mail what you need.
Saturday, December 31, 2005
Tuesday, December 27, 2005
Oooo Pretty
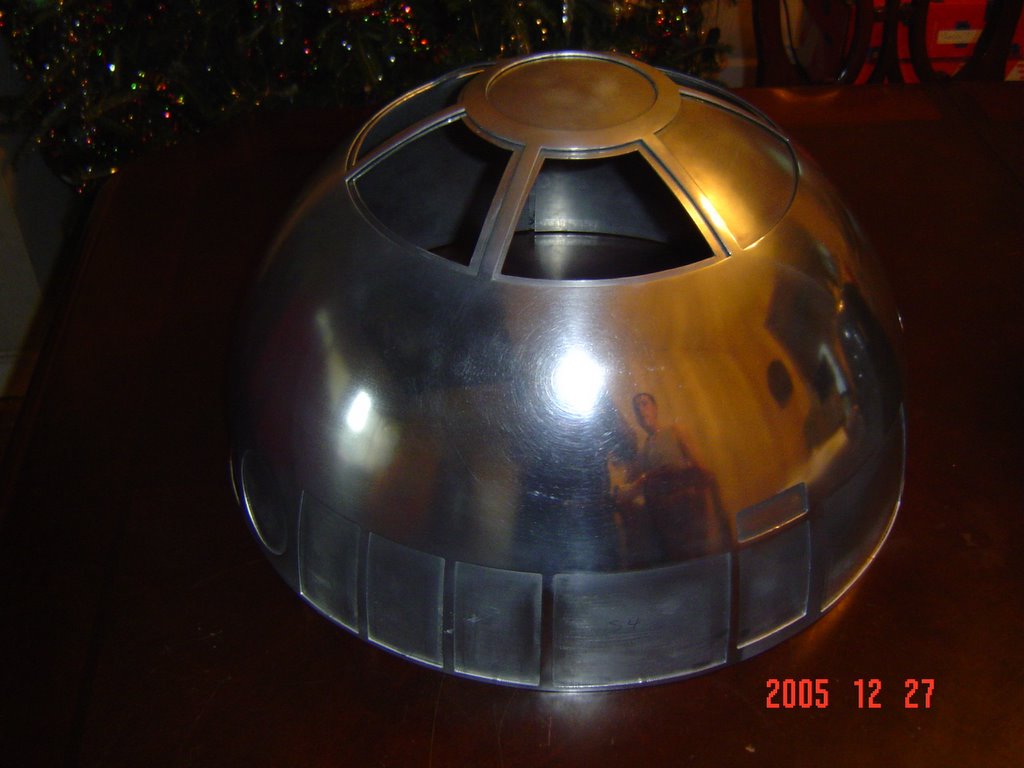
Just started working again on the dome.
I'm going the shine way. Like I said I'm not after a movie perfect R2.
I'm building him the way I like him.
It's kinda hard to get the dome to shine, But it's worth it.
When you get the dome from Ron, it has to be sanded down.
This will get rid of the lines around the dome.
I started with 120 paper, then 150, then 220, then 240.
Once I got this far, I started with 320 paper wet, then steel wool.
The shine is slowly getting better with Mothers Mag and Aluminum Polish.
Sorry the Pic is so dark, But I wanted the shine to show more than the dome itself.
New Discovery
As with anything, I found a flaw in my design.
The scooter wheels I used are 100mm made by CX. They were available at Toys r Us.
The wheels have smooth sides and the ones I bought at Kmart have raised areas.
And CRAP they don't fit!!!
So I contacted a skate shop and they have some that are like the CX models.
As soon as I make sure they'll work, I'll post the name brand.
My setup is maxed out in Kriders foot, So theres no room for play in the wheel area.
Friday, December 23, 2005
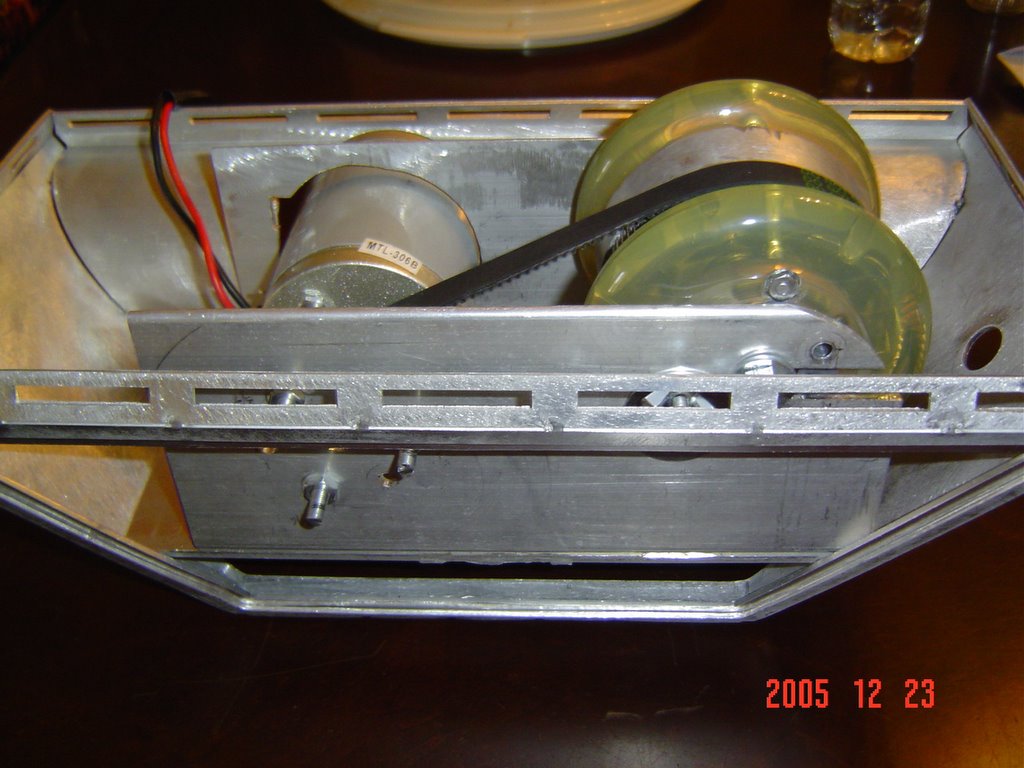
Just some updates
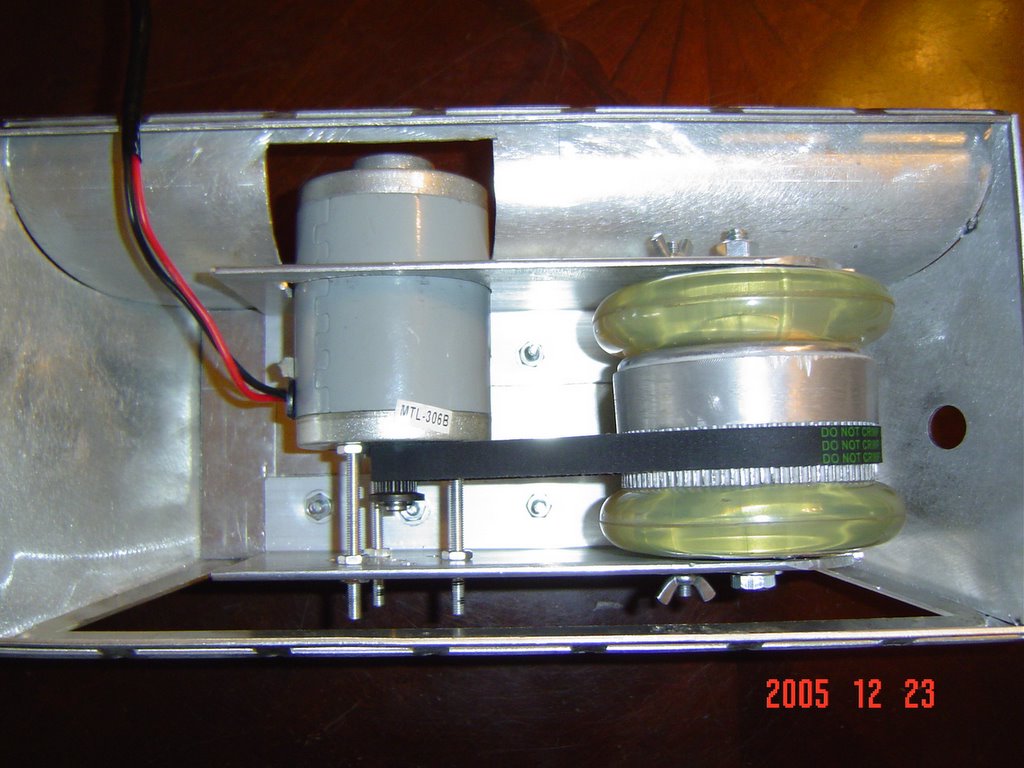
This is how the motors will fit in Krider's feet.
Not a finished product, But I'm working at it.
Wednesday, December 21, 2005
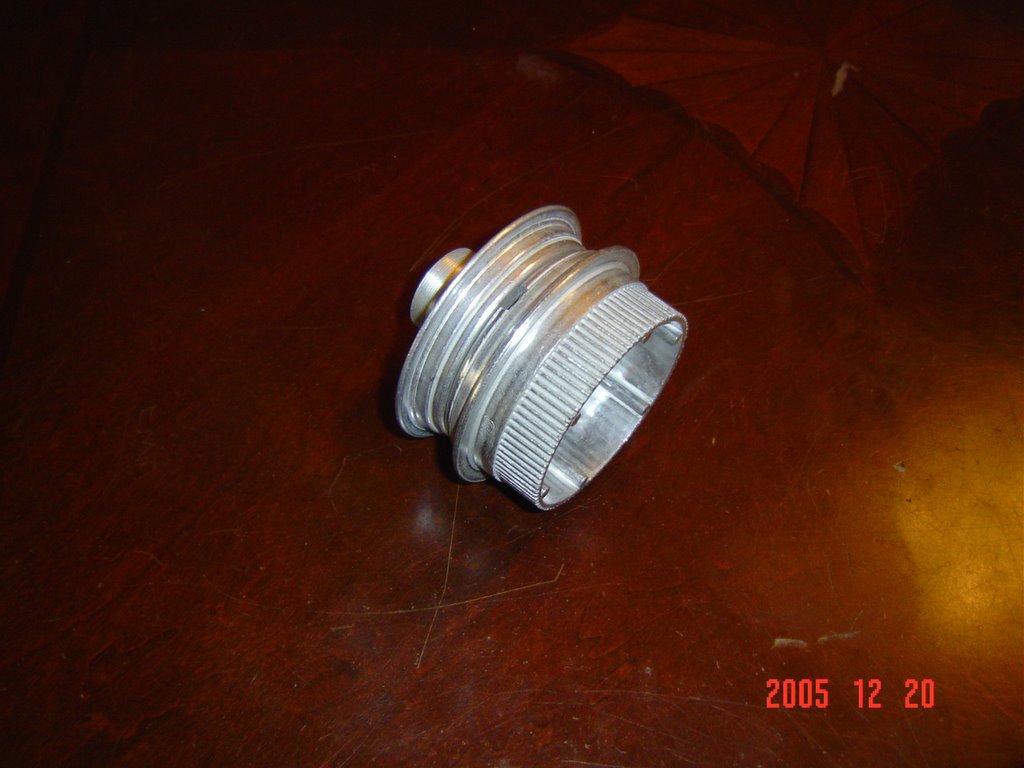
Drive Gear Prep

Here's what it will look like after you remove the tire ring.
I used a jigsaw and a ginder to remove the ring.
The small sleeve beside it is the 10mm to 8mm sleeve.
This is used, Because the scooter wheels i used have a Abec 5 bearing
and it's 8mm. It's a tight fit but just tap it in the bearing.
Tuesday, December 20, 2005
Drive Gear

After you seperate the 2 pieces, You'll use the Gear on the right. The ring around the bottom will have to be cut off. I used a grinder and cut it smooth with the rest of the gear. Just be carefull and not hit the teeth on the gear. Also the bearing in the gear is 10mm and it needs to be 8mm. You can order a sleeve from:
www.mcmaster.com. The part #1650173 or PAP0810P10. It's a tight fit but just tap it in the bearing.
Gutting it Out
After you gut out the good parts, You'll have to remove the tire from the drive gear.
The easiest way is to remove the three screws and remove the tire. This is what you windup with.
Big Lot Scooter
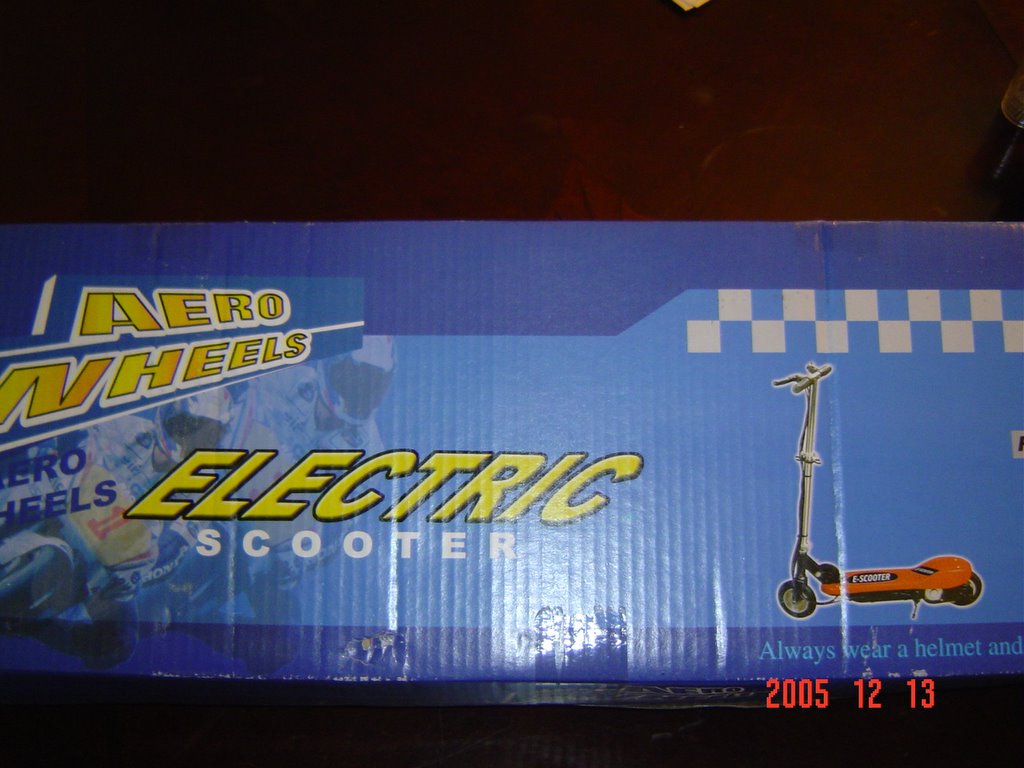
This is not a bad deal for $49.00. You'll have 2- 12v Batteries, 1- Drive gear, 1- Drive belt and misc. parts per scooter. You'll need 2 scooters which will set you back about $100.00 total,
But its worth it, Getting all the parts at 1 time.
Friday, December 16, 2005
Mounting Kriders Foot
I've got the motor in the foot, The only thing I was concerned about is the motor hole in the foot.
I had to cut more than I expected. But the battery boxes should cover this up.
Pats design is thinner than mine and I think the motor is alittle higher up in the foot.
So there is probly less cutting on the foot.
I had to cut more than I expected. But the battery boxes should cover this up.
Pats design is thinner than mine and I think the motor is alittle higher up in the foot.
So there is probly less cutting on the foot.
Tuesday, December 13, 2005
Mounting the Motor
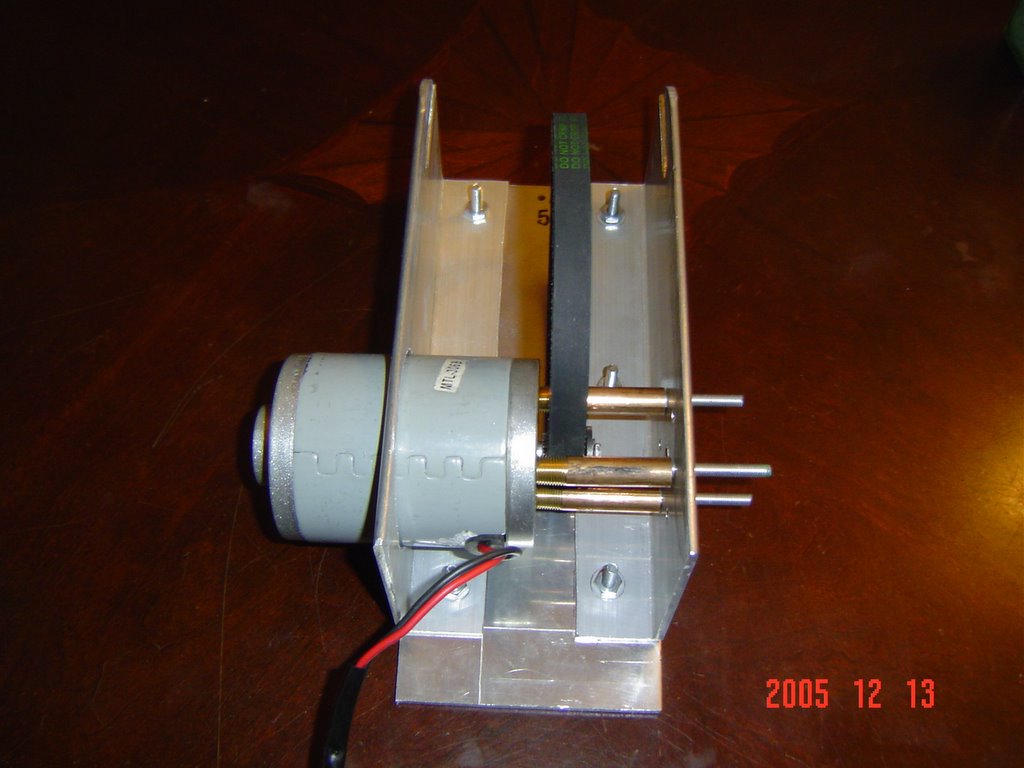
Heres a pic of the motor installed. Just make sure the belt does'nt touch the spacers and make sure you install the belt with the motor.
Motor Mounting Hardware
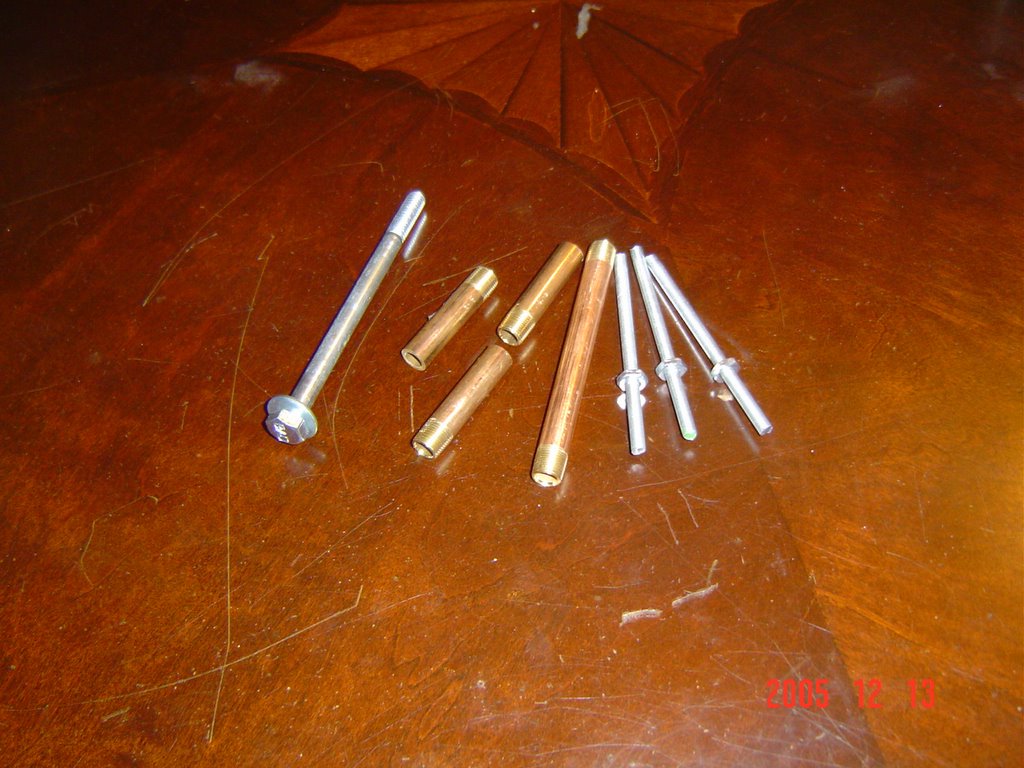
I used a 1/8x4" brass plumbing tube and cut it into 3 pieces. They measured: 1-13/16 each.
And #10-32 fine threaded rod with nuts. The 5/16 large bolt on the left is for the scooter wheels.
Mounting the Side Plates pic 2

Another view.
And you can see the extra 1" for the Omniwheel mounting block.
Mounting the Side Plates

Here you can see how I mounted the top to the side plate. The screws are #10-32x1" and counter sunk into the top plate. I'll have to adjust the lenght of the screw, But I'll do that once they're mounted in the foot.
Top Plate

The top plate, I used 3/16 Aluminum. It is 1 inch longer than the side plates. I did this so I would be abile to mount blocking for the Omniwheel. Which I still don't have.
I drilled 6 holes to attach the sides and I think I will drill 4 more. Better safe than sorry.
The plate measures: 9-5/16x 3-13/16
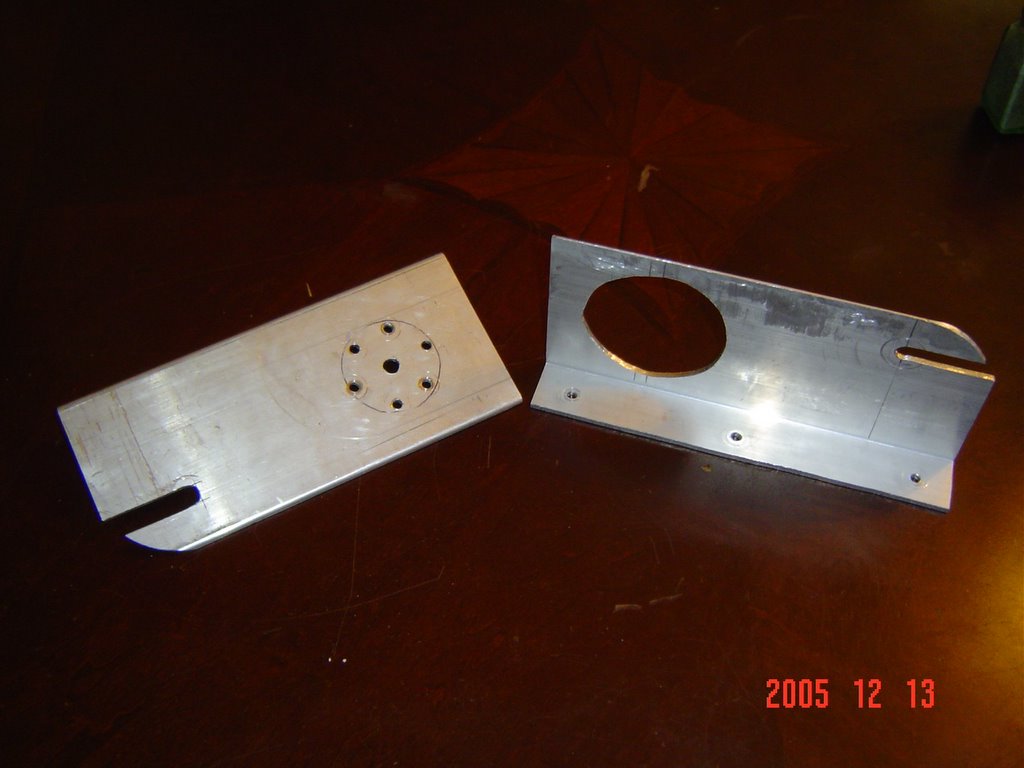
2nd Step

I cut the 2 brackets 8-5/16 long. The slot on the bottom for the scooter wheels. I cut this slot
1 inch from the bottom and 1-7/8 long. This is so you can adjust the wheels to tighten the drive belt. I also rounded the end so it won't hit anything. I know my motor hole is sloppy, But I only had a dremel to cut the opening .
The old mount from the Big Lot scooter, I used to get the screw hole correct. Don't make the same mistake I did and drill the hole where the belt rides. I had to redrill them, Thats why theres 6 holes.
Foot Motor Bracket

This is how I started. The tube measures 1-1/2 x 3-11/16. You can get it at your local Garage Door company. It's called a windload post. I got mine for free. It was in the scrape pile and they let me have it. All you do is cut the post on opposite side and you'll have 2 nice L-channels
for mounting the motor and wheels.
Monday, December 12, 2005
Motor Mounted

Just got the motor mounted and it hums along nicely. We put it on the floor and gave it some juice and it shot across the floor draggin its behind.
I need the omniball now.
Friday, December 09, 2005
4 Wheeling R2
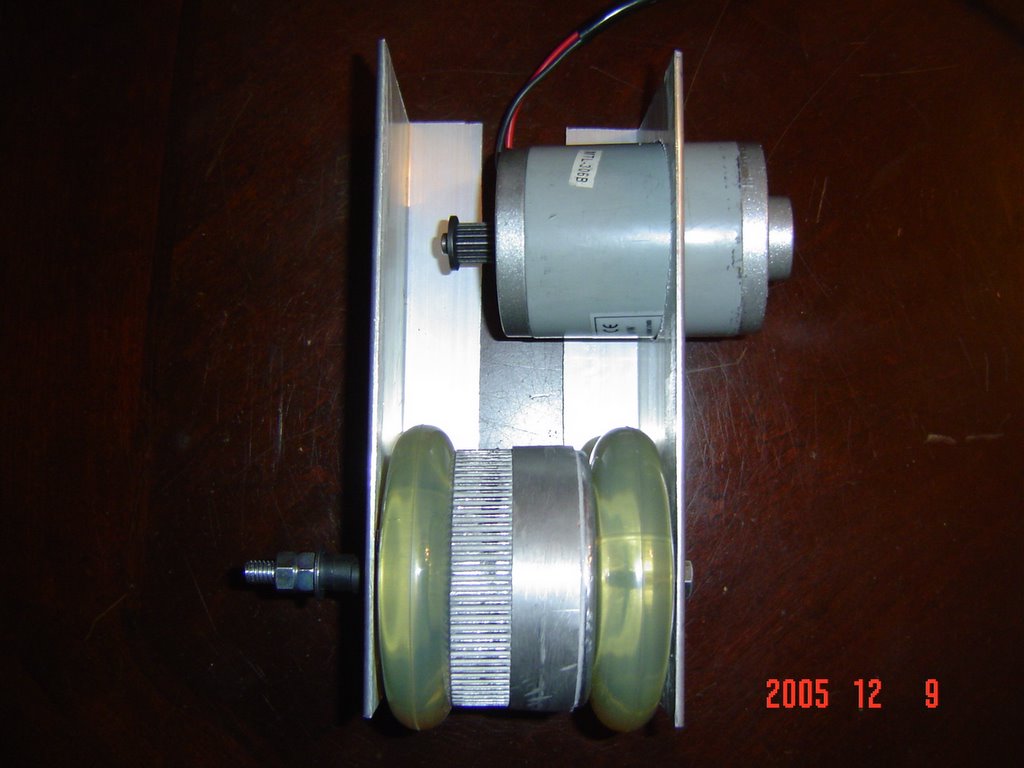
I manged to find a way to have 2-wheels per foot.
I thought this would give R2 more balance than having 1 per foot.
I have'nt got the Omni wheel ordered yet , But hopefully soon.
Thursday, December 08, 2005
Another 3m Tape
My wife bought this tape at Target it's Indoor carpet tape.
It's strong stuff, We put some scrape Aluminum together and it stuck really strong.
I don't know if its as strong as the VHB tape, But it's alot cheaper and I think its strong enough.
It's strong stuff, We put some scrape Aluminum together and it stuck really strong.
I don't know if its as strong as the VHB tape, But it's alot cheaper and I think its strong enough.
Wednesday, December 07, 2005
3M Tape
If anyone needs the info on the Double sided Tape:
I called 3M and they say this stuff is only .5 mill thick and will bond the Aluminum permanant.
Part #9469
Heres a website that carries it in Stock: www.uline.com
I'll use it for the rest of the skin bonding.
I called 3M and they say this stuff is only .5 mill thick and will bond the Aluminum permanant.
Part #9469
Heres a website that carries it in Stock: www.uline.com
I'll use it for the rest of the skin bonding.
Thursday, December 01, 2005
Front skins

I got the front skin on. I had to use 4 small screws to keep them on the A&A frame, But I hope the legs will hide them. Like I said, I'm not building mine to specs. I'm changing a few things.
Thats why I did'nt paint the inner skin. I like the Aluminum showing through the cracks.
I used Double sided tape to attach the skins together. I did'nt want the JB Weld oozing throught the cracks.
Subscribe to:
Posts (Atom)

