Wednesday, April 05, 2006

Rear Door


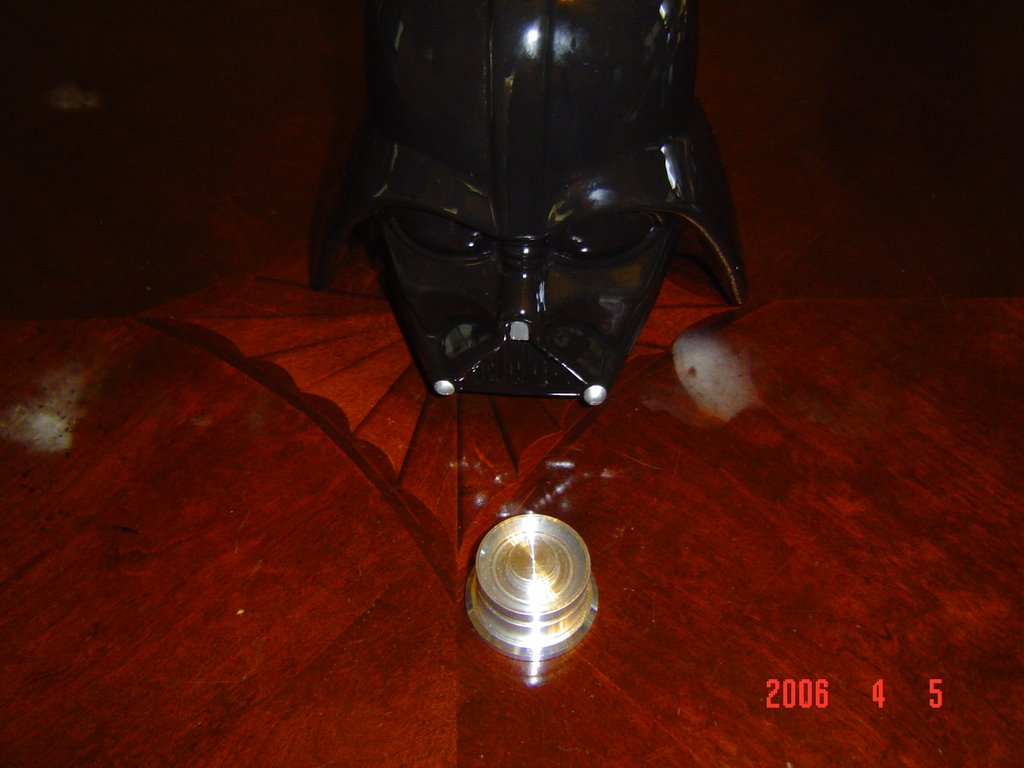
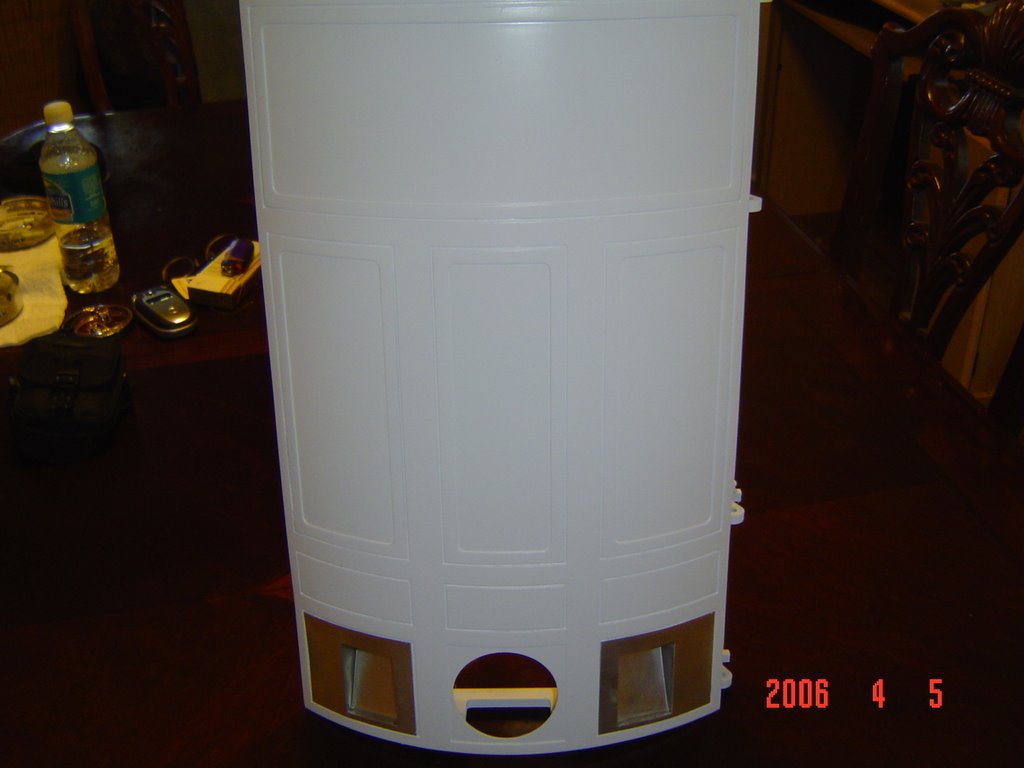
The coin returns are in the back door now. I made the returns myself from leftovers from the skins.
So they're not perfect, But they'll be good enough for me.
I'll put the finish paint coat on when the door is complete.

Jason's Sneeky Gift


I did'nt know these were coming in the mail, But I got a GREAT SURPRIZE!!!!
These are for the channel in the top of the Aluminum feet that Krider had built.
Thanks Jason, I owe you one!!!

Restraining Bolt


I missed the run for these, But as faith be, Nick Murray had some leftovers and I got one anyway.
My lucky day!!!!

Vent Surrounds


Got the Wayne Orrs' surrounds and they're GREAT.
Can't wait to get them into R2.

Sunday, February 26, 2006

Parts

I got the Utility Arms from Keith and some other parts.
I also bought the Logitech QuickCam robotic version for R2's sight.
Its pretty neat it will follow your face, So I thought when time comes it would be cool!
I've been busy buying parts for my Mini Mill, So I can produce some parts myself for R2.
It will take time to get it together, since I'm converting it to CNC.
As soon as the weather warms up I'll be back working on R2.

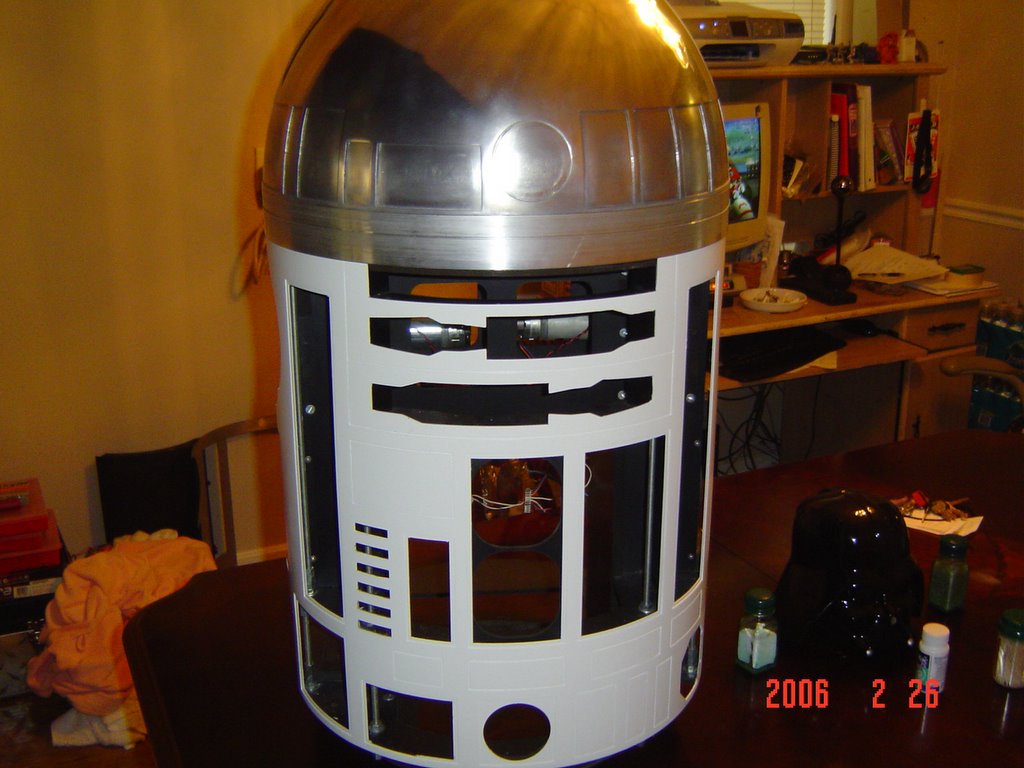
Got the Front


Repainted the front and got the Dome installed on the rockler bearing.
Starting to look like R2 now. Still got a lot of parts to get, But looking better!!

Getting Back to Normal


Got the rear reprimed and ready for paint.
The Gorilla Glue is working perfect, Holds very strong!!

Tuesday, January 24, 2006

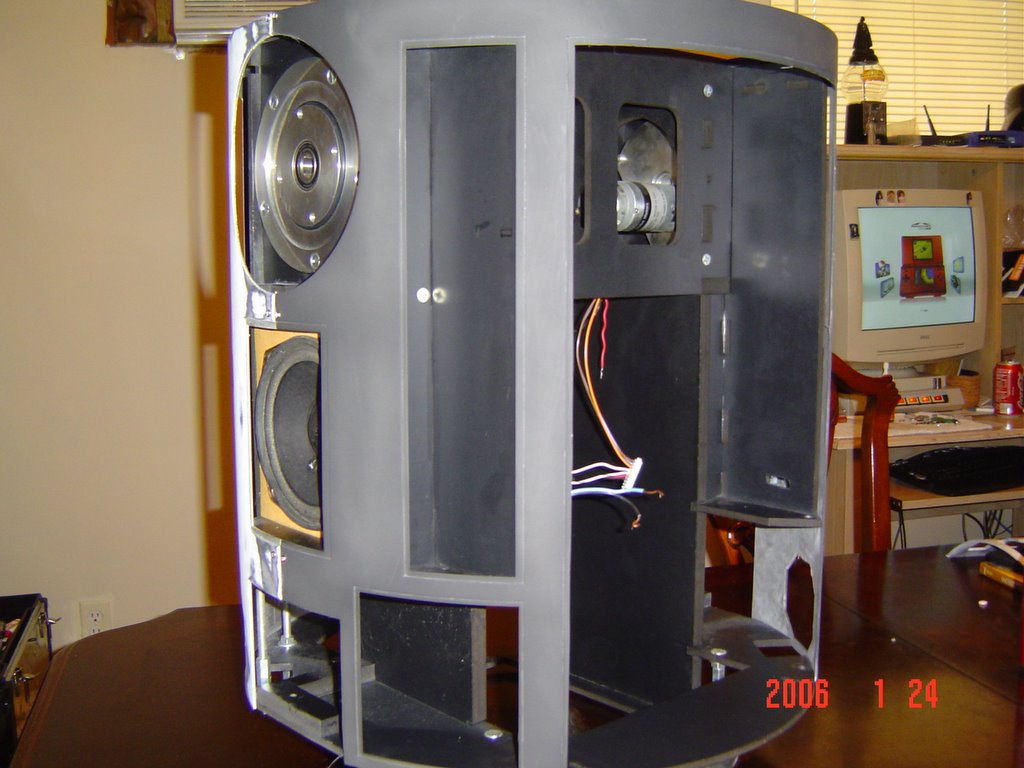
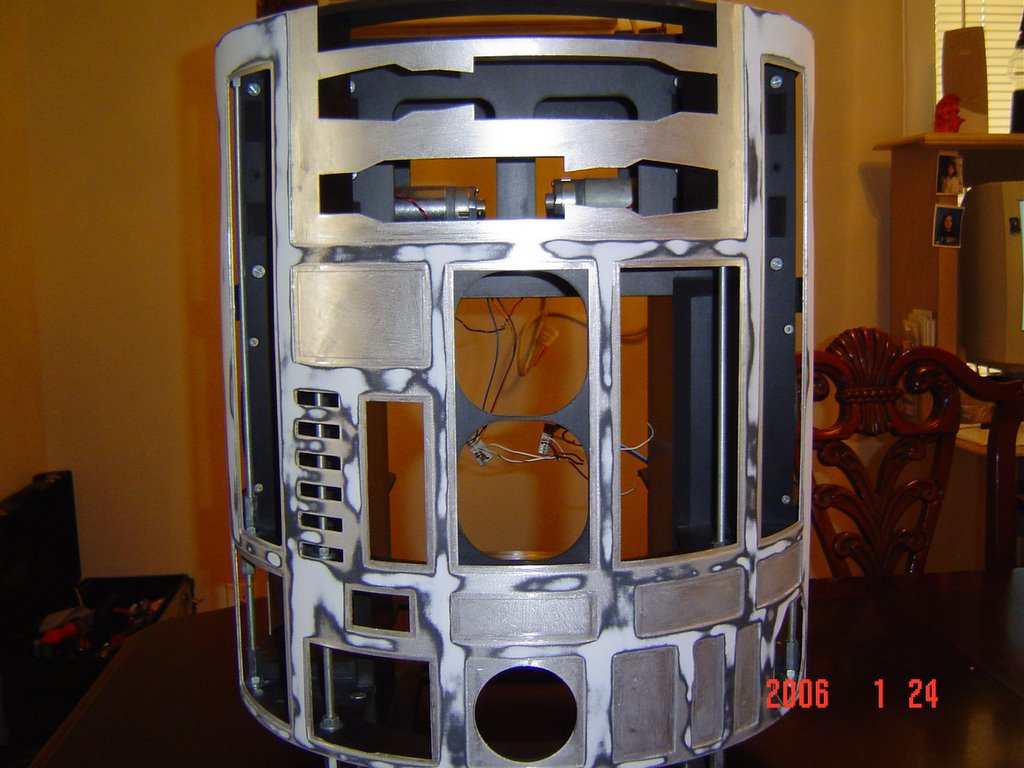
Recovery Room


After the bad tape experiment, This's what R2 looks like now.
Looks like some serious laser damage, But it's only for a little while.

Saturday, January 14, 2006

2 Steps Foward / 5 Steps Back

Ok, The tape I used to bond the skins did'nt hold as good as I needed.
So I pulled it apart and I'm currently redoing my skins.
And now it will not have the Aluminum showing through the cracks.
Back to specs for me.
The Gorilla glue works great and cleanup is nothing.
I'll post pics as soon as I get it repainted.

Monday, January 02, 2006

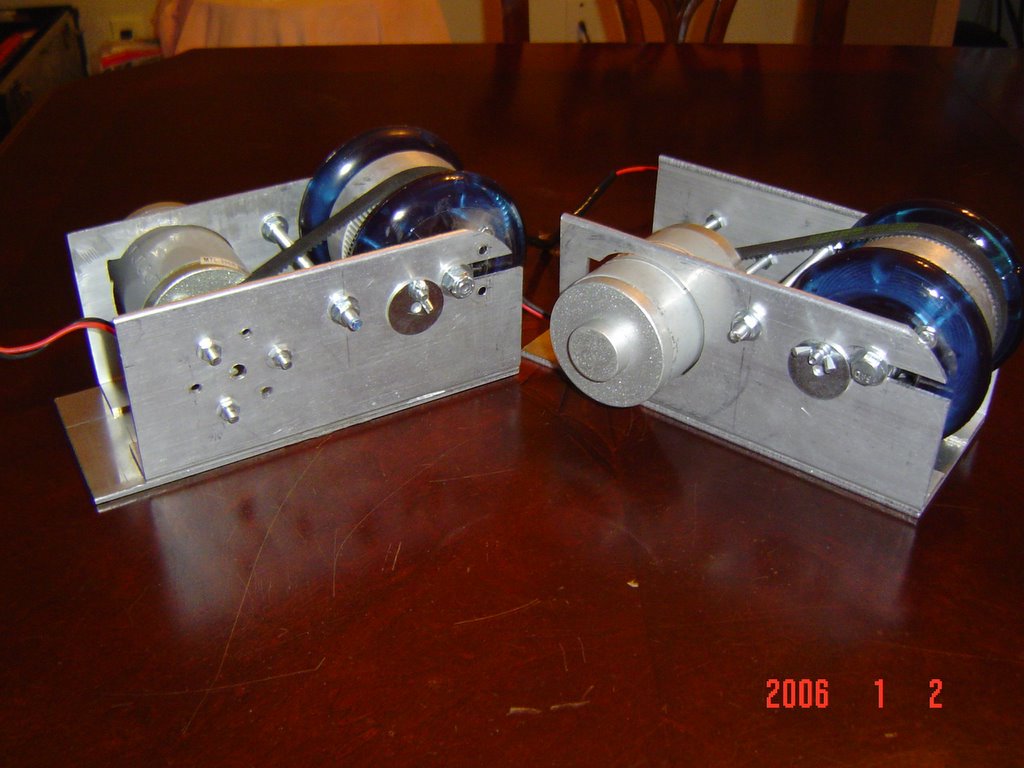
Look Ma - Twins


Got some more work done.
Just got to trim some bolts and get the Omniball installed.
I just love those blue wheels!!

Sunday, January 01, 2006

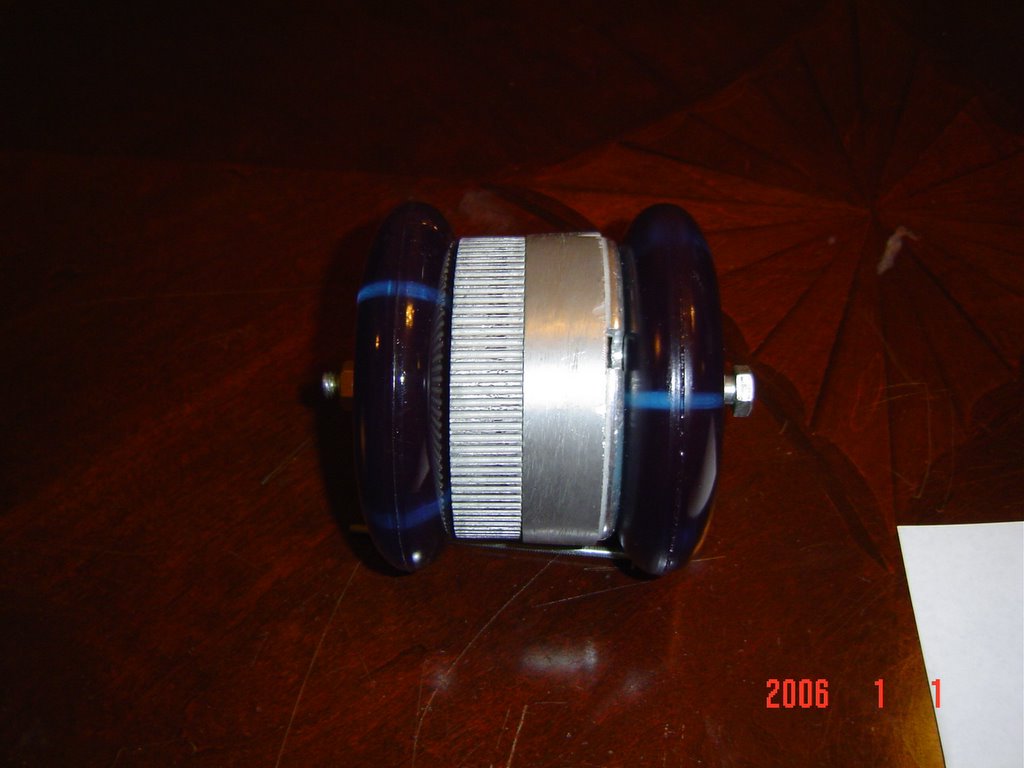
Final Product

This is what you'll wind up with.
The 3- 1/8 screws will have to be drilled all the way through the wheels and gear assy.
The way I did it was:
When you set the wheel and gear on the axel,
You can see the factory holes. Drill through these and they'll be inline.

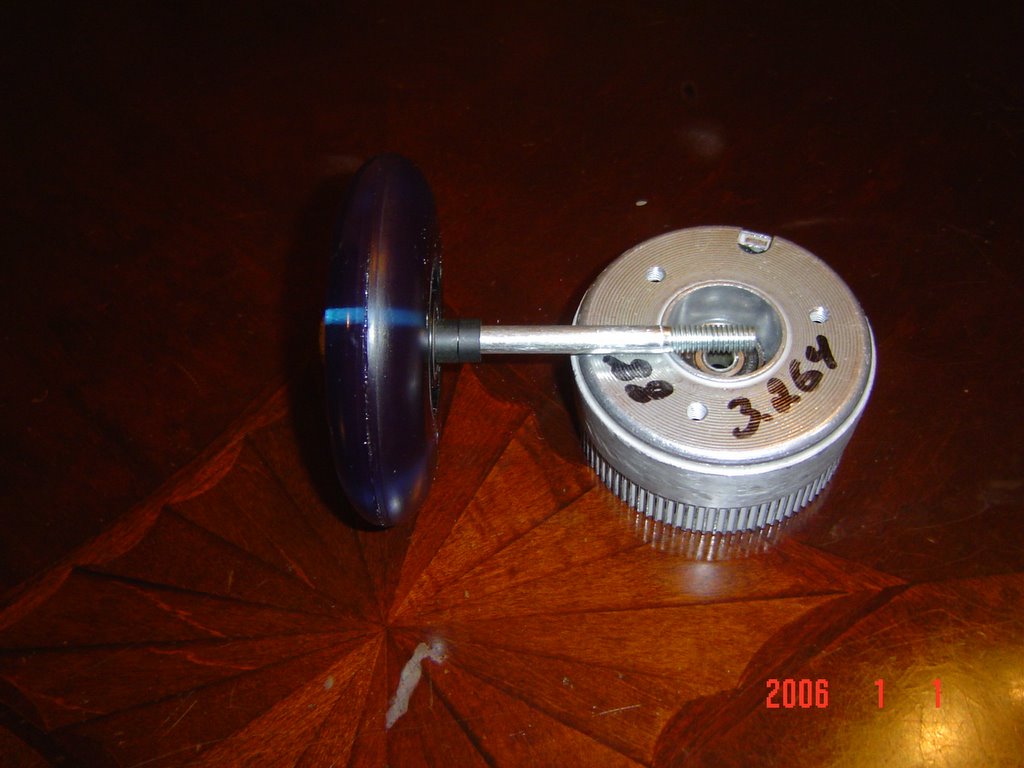
Next Step


Heres the Assy. going together.
Make sure you shim the entire Assy.
Or the bearings will come out of the wheels.

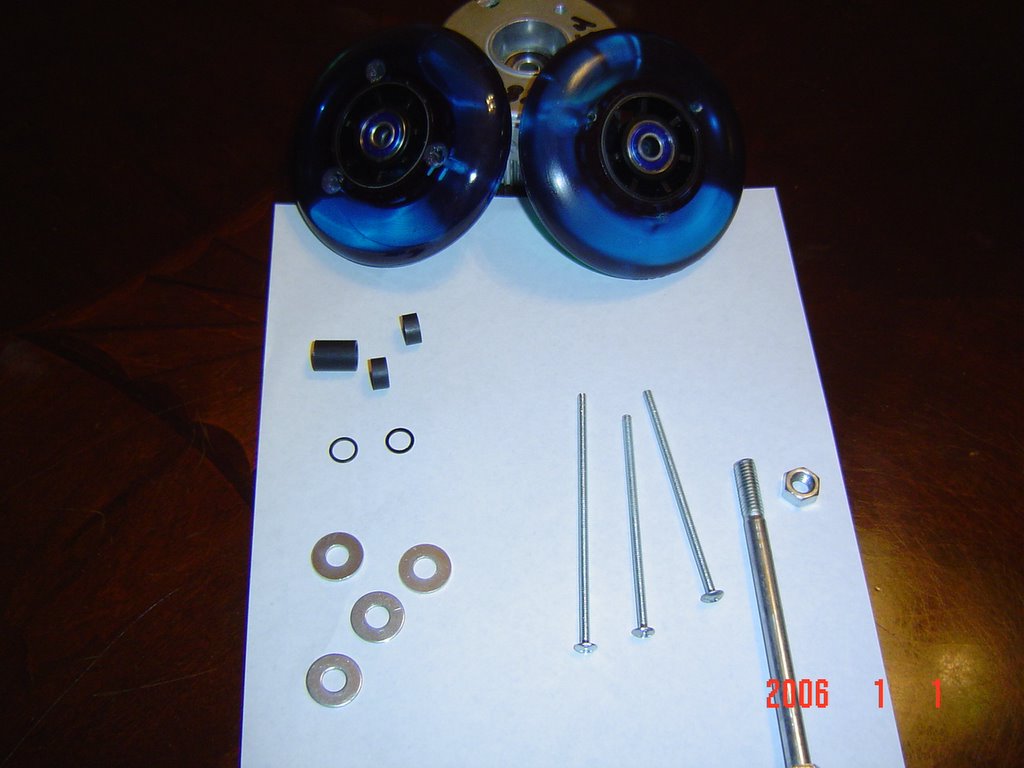
Wheel Assy.


Heres the parts I got from the Skate Shop.
The shims will be different lengths, So you'll have to adjust them yourself.
The 5/16 bolt is the axel.
The 3- bolts go through the wheels.
They're 1/8 x 4 toggle bolt screws.
And various shims.

Saturday, December 31, 2005

Wheel Solution

Ok, I found plenty of wheels at Skate Bomb.
I was sweating it about the wheels being to wide from K-mart.
This place had plenty and I got Blue ones to boot.
Your local skate shop should have the wheels, But just incase heres they're addy.
Skate Bomb
1365 S. 3rd st. Jacksonville Beach, Florida 32250
904-241-3337
They'll mail what you need.

Tuesday, December 27, 2005

Oooo Pretty


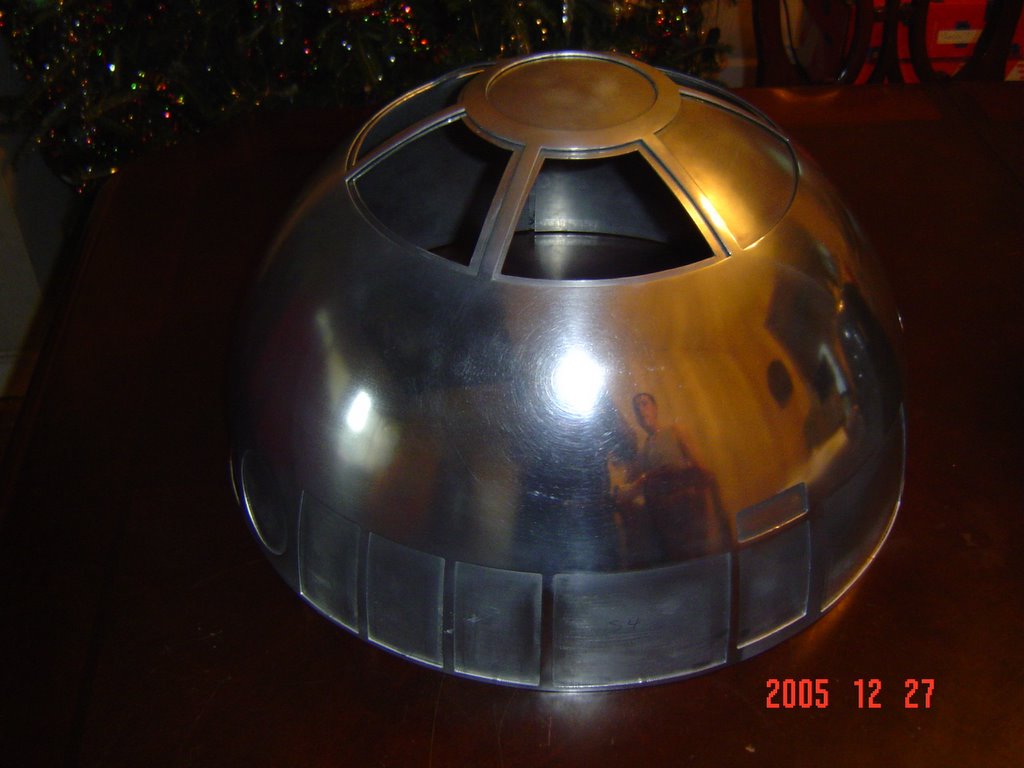
Just started working again on the dome.
I'm going the shine way. Like I said I'm not after a movie perfect R2.
I'm building him the way I like him.
It's kinda hard to get the dome to shine, But it's worth it.
When you get the dome from Ron, it has to be sanded down.
This will get rid of the lines around the dome.
I started with 120 paper, then 150, then 220, then 240.
Once I got this far, I started with 320 paper wet, then steel wool.
The shine is slowly getting better with Mothers Mag and Aluminum Polish.
Sorry the Pic is so dark, But I wanted the shine to show more than the dome itself.
New Discovery

As with anything, I found a flaw in my design.
The scooter wheels I used are 100mm made by CX. They were available at Toys r Us.
The wheels have smooth sides and the ones I bought at Kmart have raised areas.
And CRAP they don't fit!!!
So I contacted a skate shop and they have some that are like the CX models.
As soon as I make sure they'll work, I'll post the name brand.
My setup is maxed out in Kriders foot, So theres no room for play in the wheel area.

Friday, December 23, 2005

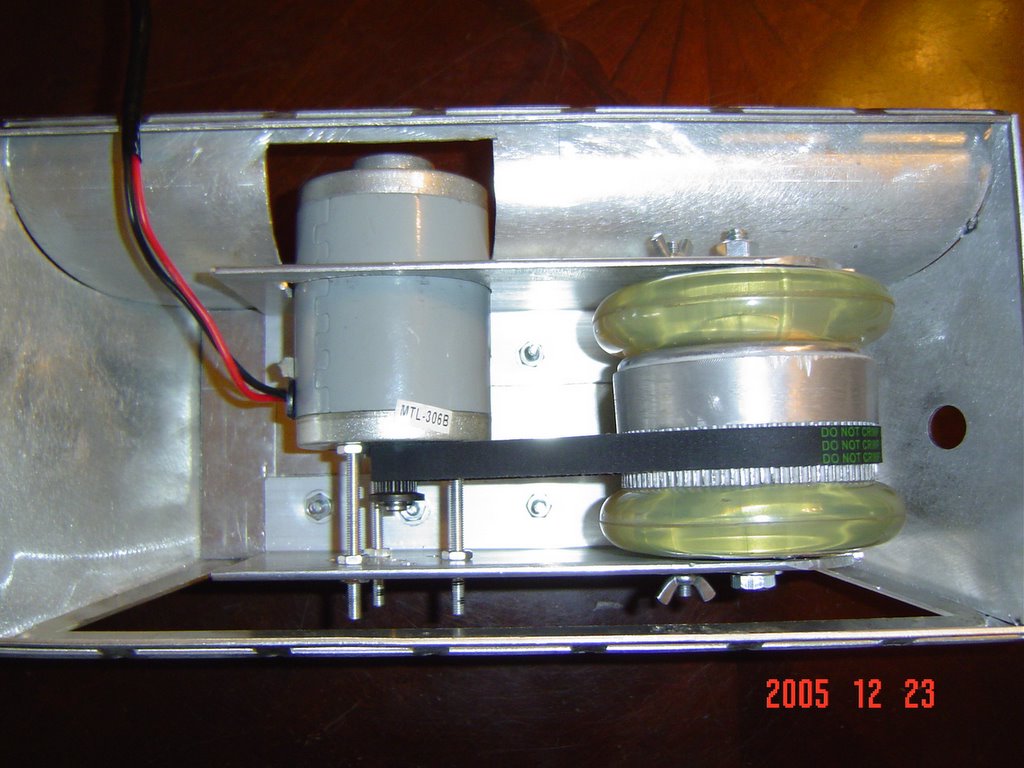
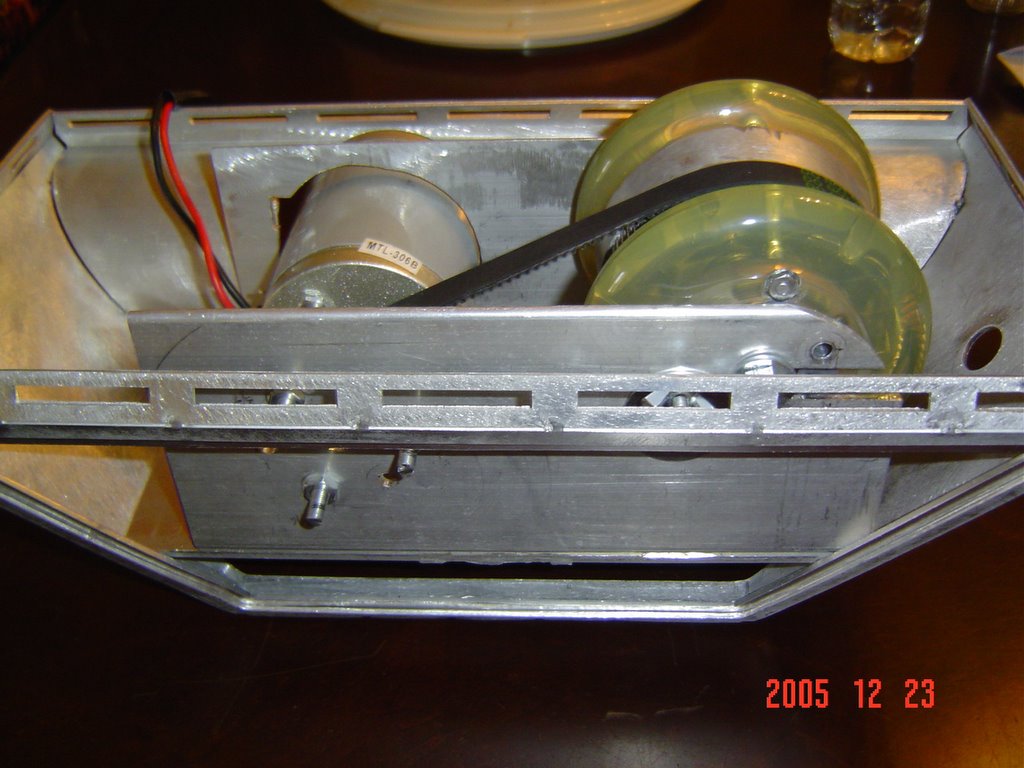
Just some updates pic 2

Just some updates


This is how the motors will fit in Krider's feet.
Not a finished product, But I'm working at it.

Wednesday, December 21, 2005

Drive Gear Prep


Here's what it will look like after you remove the tire ring.
I used a jigsaw and a ginder to remove the ring.
The small sleeve beside it is the 10mm to 8mm sleeve.
This is used, Because the scooter wheels i used have a Abec 5 bearing
and it's 8mm. It's a tight fit but just tap it in the bearing.

Tuesday, December 20, 2005

Drive Gear


After you seperate the 2 pieces, You'll use the Gear on the right. The ring around the bottom will have to be cut off. I used a grinder and cut it smooth with the rest of the gear. Just be carefull and not hit the teeth on the gear. Also the bearing in the gear is 10mm and it needs to be 8mm. You can order a sleeve from:
www.mcmaster.com. The part #1650173 or PAP0810P10. It's a tight fit but just tap it in the bearing.