

Here's what I used to build the PSI Light.
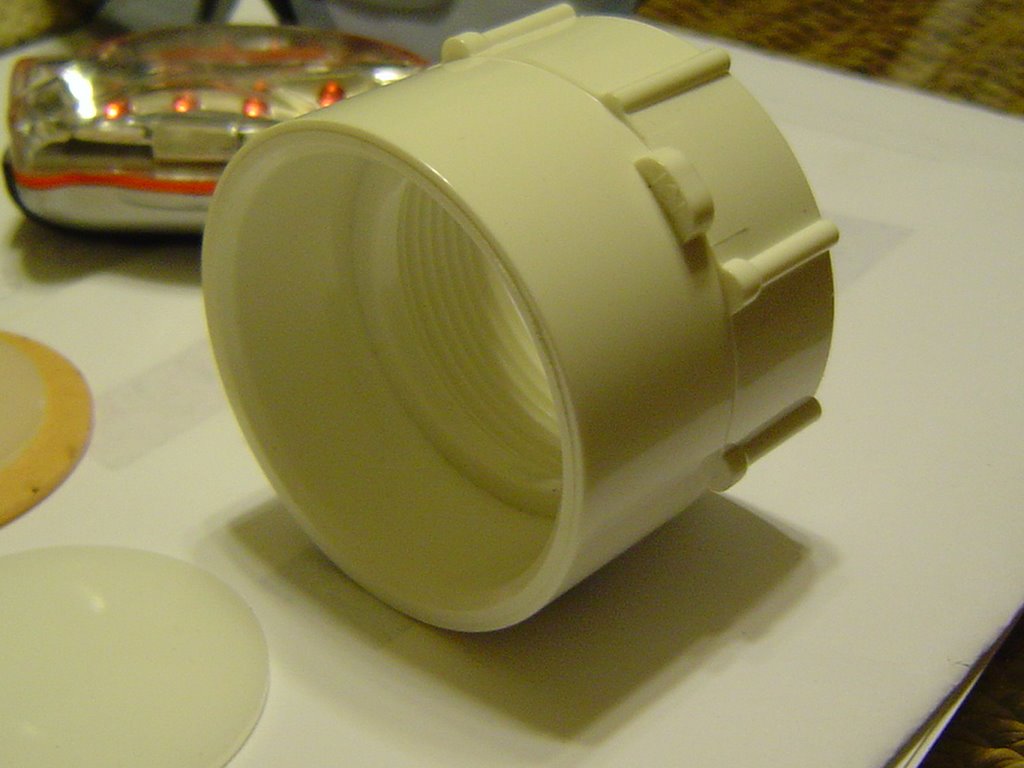
1- PVC 1-1/2 coupler ( Slip on 1 end- Threads on the other end )
1 set - Andy's PSI Lenses
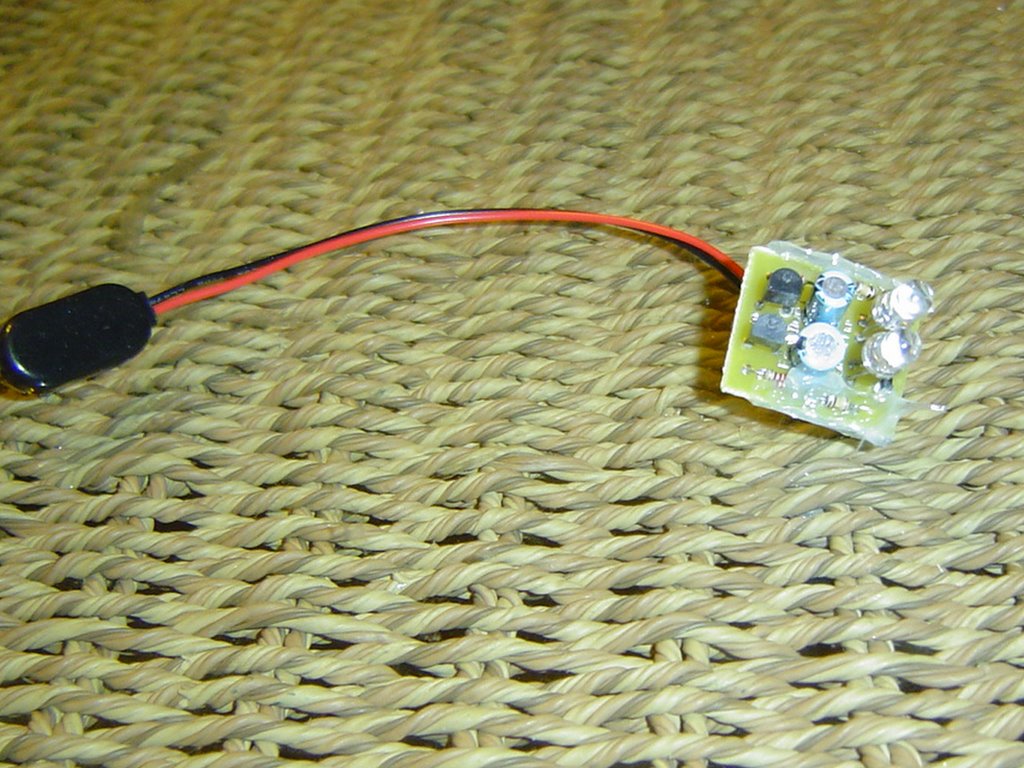
2 - LED Electronic Boards
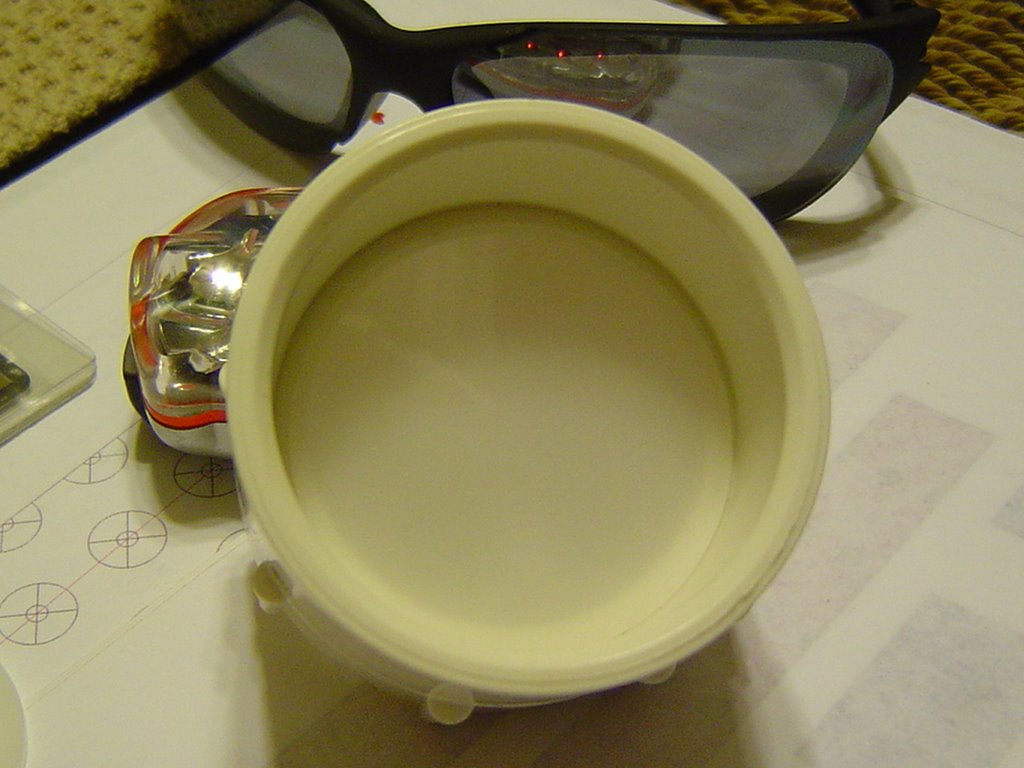
1 - Flashlight reflector
The flashlight reflector fits in the threaded side, ( I only had 1 lense, So I can't show a pic )
Allthough it does not thread in, It just goes in this side. And you can angle the LEDS just alittle.
The PVC coupler has and inner grove inside and the small lense from Andy fits right in there and acts as a diffuser, So the hot spots don't show up on the outter lense. I just used some Silicone to hold it in place.
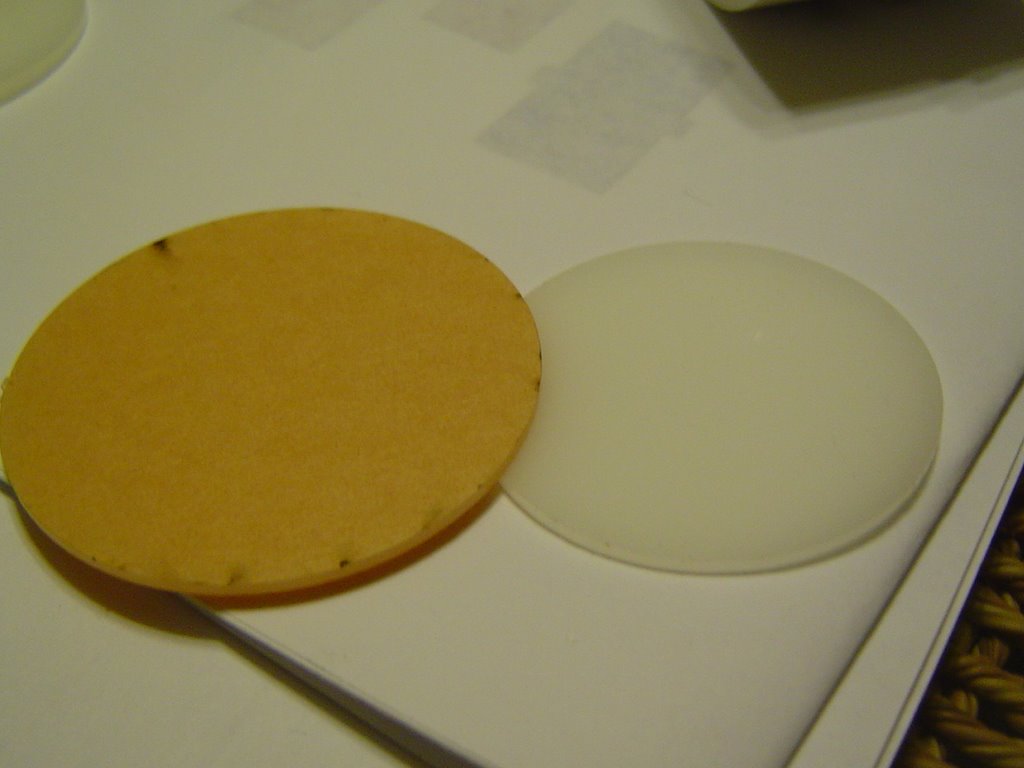
The Larger Lense fits the outter lip perfect. I used doublesided tape to attach it to the PVC.
Although the pic shows I have'nt peeled the protective cover yet.
The LED Board comes preasymbled, But I had to cut the LEDs loose from the board so I could resolder them to a wire. When you cut them loose, Leave enough on the board to solder the wires too. I also changed the order the lights were flashing. It was Long red/Short blue.
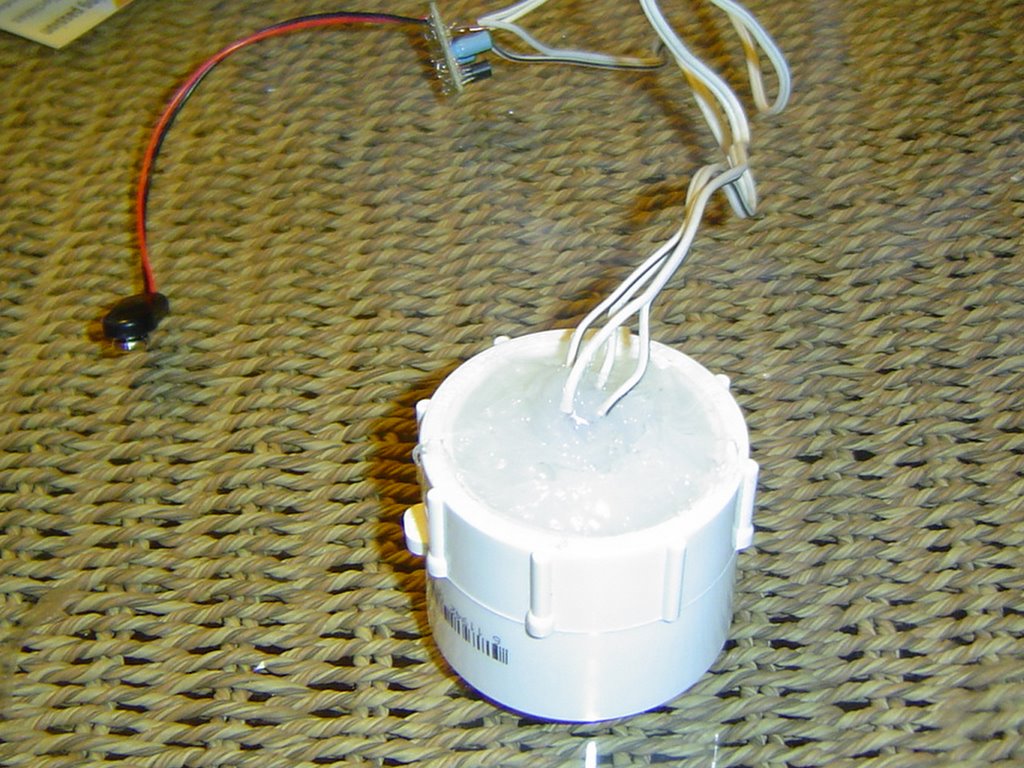
After I had everything in the PVC, I filled the PVC with Silicone to prevent the wires from moving or pulling loose. Kinda permanant but it's cheap, So if it burns out I can build another.
In my earlier post it shows the PSI working and it shows a hot spot, But in person you can't see it.


2 comments:
I have the same PSI Lights. Does the flashlight lens brighten it up considerably? I was thinking of taping some silver-like paper in the housing to brighten mine. I was also going to use a cut-out of a plastic milk jug for the outer lens.
Yes it made a huge difference in the light and it allows the light to disfuse alot better.
I still need to build the rear PSI.
Calvin
Post a Comment